Quick Start Guide
This guide shows you how to connect to a remote computer over the Internet. For direct connection in a LAN, see Connect over LAN.
On the remote computer
- Download and install Host. When prompted, set the Host access password during installation.
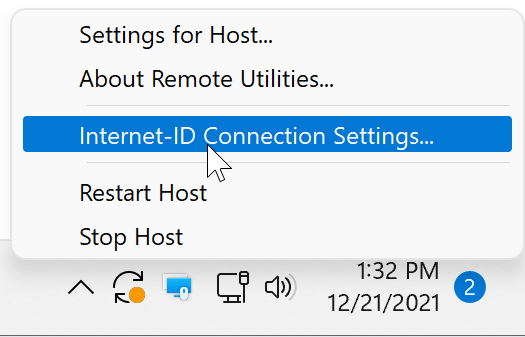
- Right-click the blue Host icon and select Internet-ID Connection Settings.
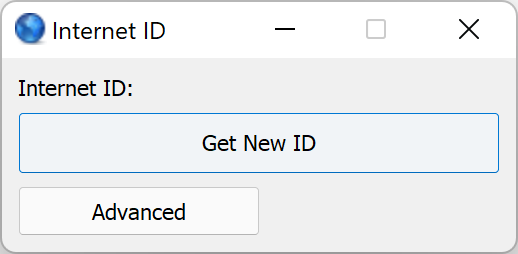
- Click Get New ID.
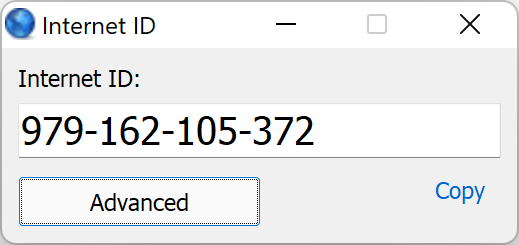
- Note down the Internet-ID code and close the window.
If you skipped setting the access password during Host installation:
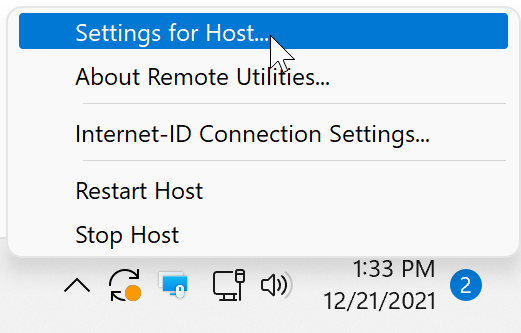
- Right-click the blue Host icon and select Settings for Host.
- Go to Authentication, select Single password, and click Change password.
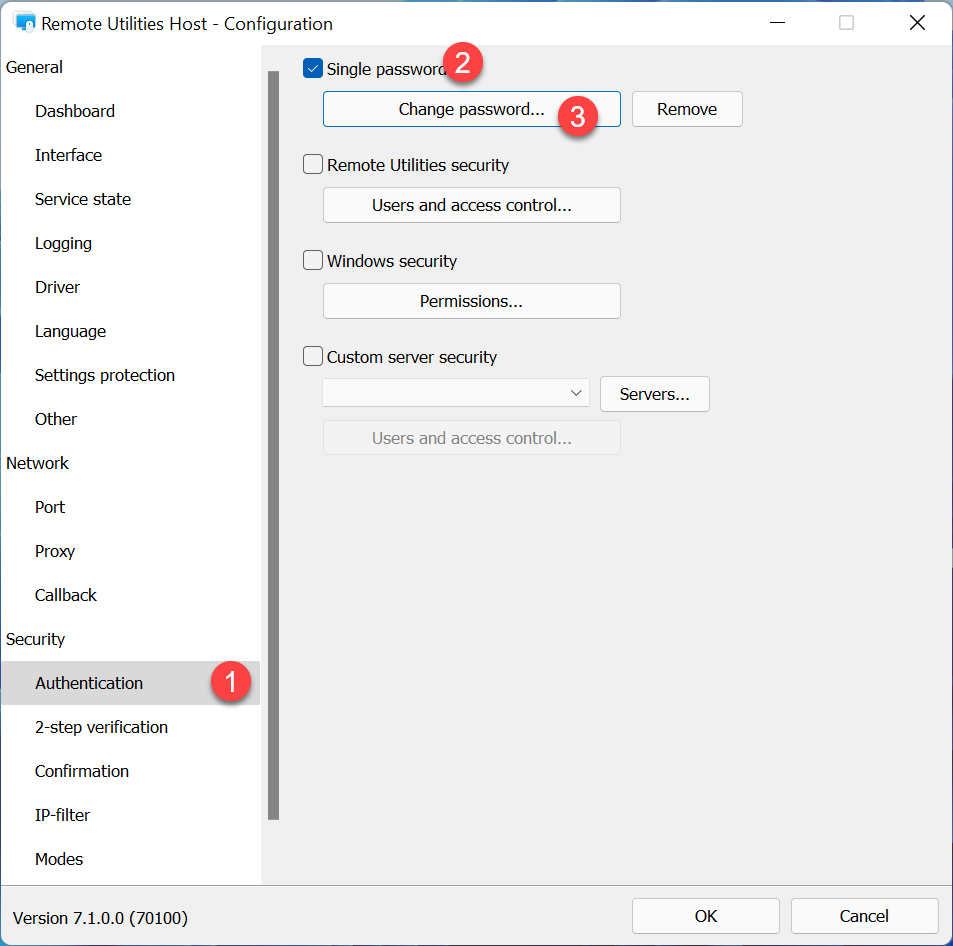
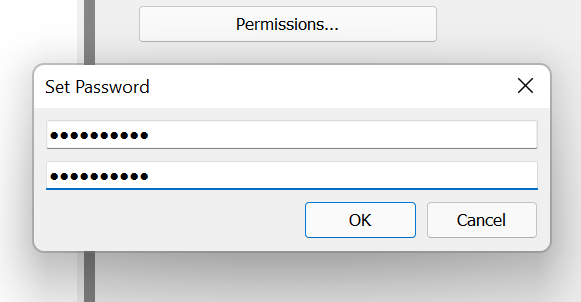
- Set the desired access password, click OK, and close the settings window.
On the local computer
- Download and install Viewer.
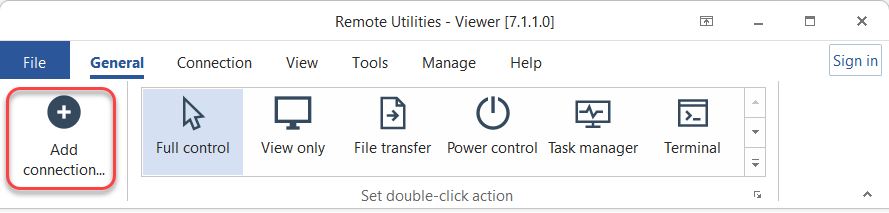
- Open Viewer and click Add Connection.
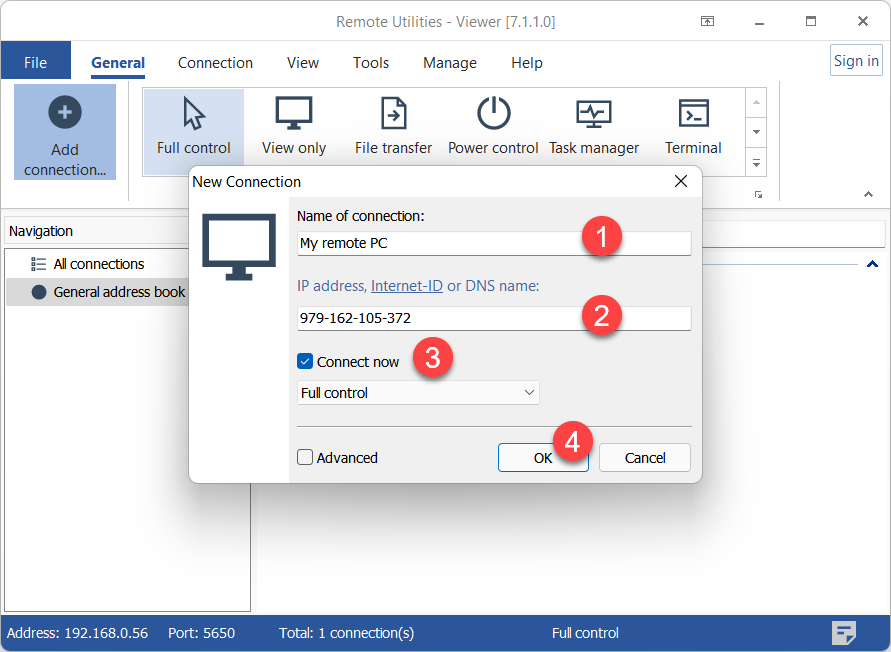
- Enter a desired connection name and the Host Internet-ID code. Select Connect now and click OK.
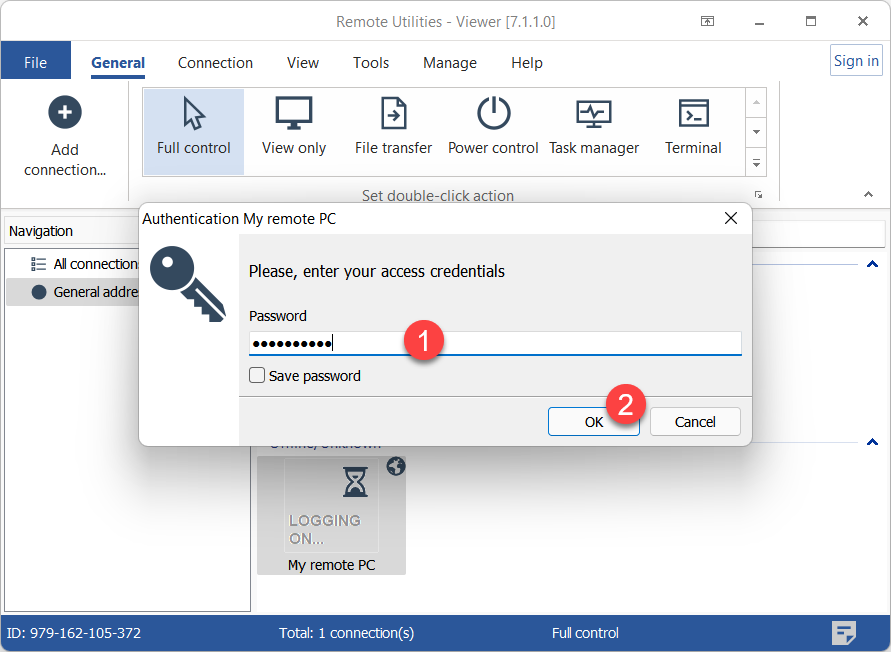
- Enter the Host access password and click OK.
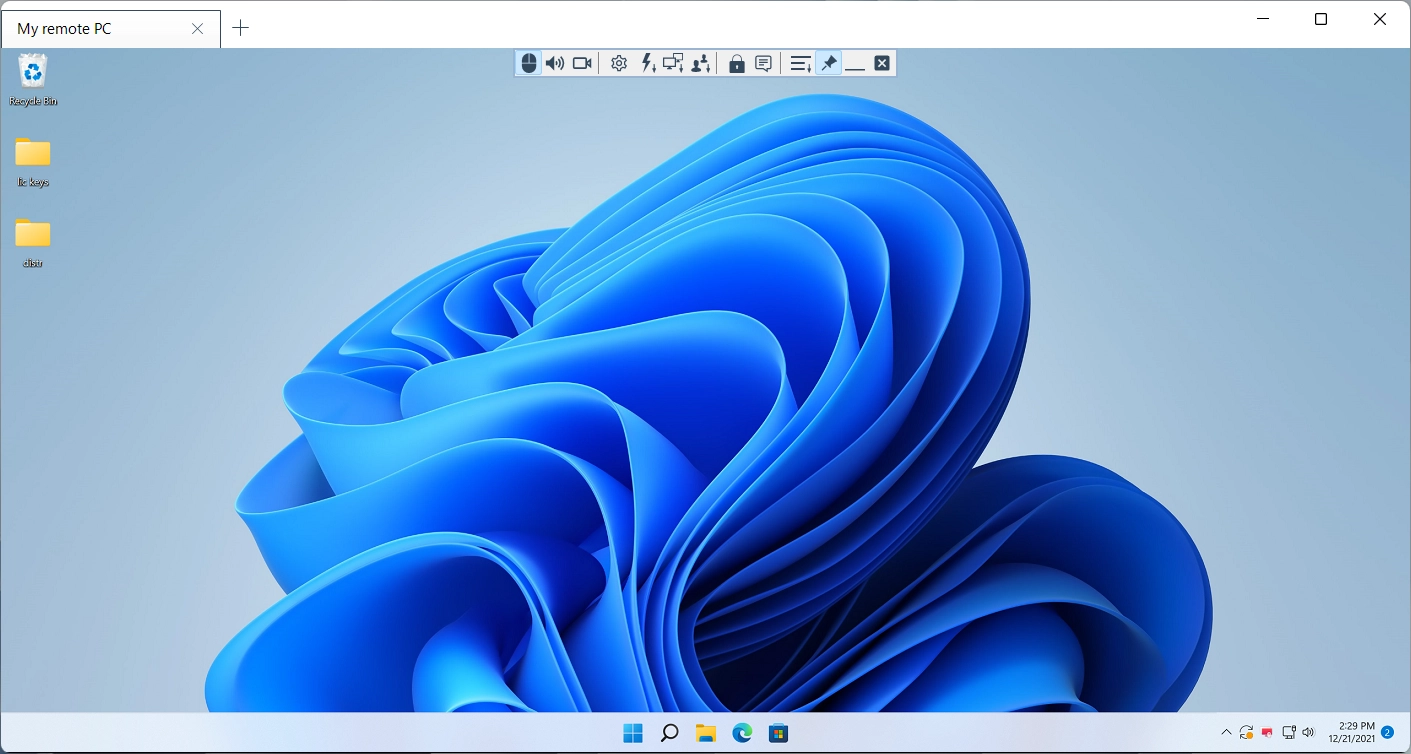
- A remote session will start in the Full Control connection mode.
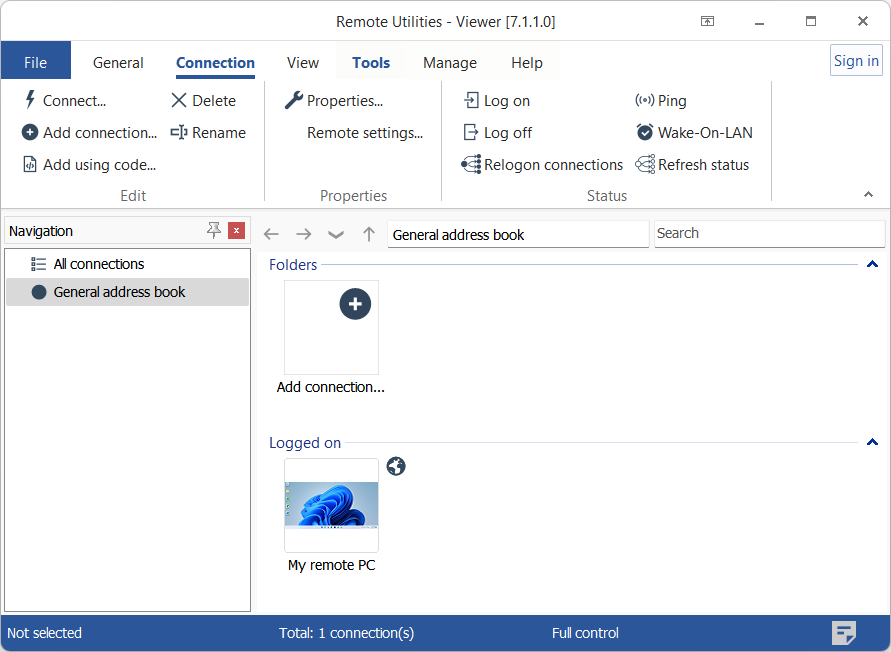
- A new connection will be saved to your address book for future use.
Use Agent for spontaneous support
For spontaneous support, Agent can be used instead of Host. On the remote computer, have your partner do the following:
- Download and run Agent.
- Tell you the Internet-ID code and password shown in the Agent window.
Use the provided Internet-ID and password to add a new connection and start a remote session, as described in the "On the local computer" section above.
Tip
If you have difficulty making an Internet-ID connection work, please check this troubleshooting guide.