Remote Install Tool
Use the Viewer's Remote Install Tool to deploy, upgrade or uninstall remote Host. You can also use the tool to start and stop the remote Host service.
Open Remote Install Tool
- In Viewer go to Tools and click Remote install:
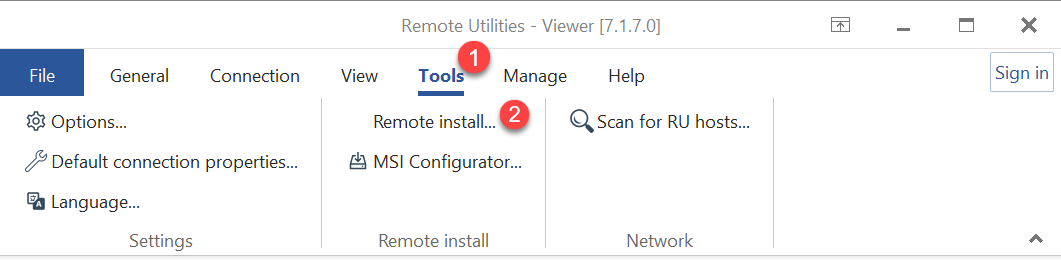
- A Remote Install Tool window will open.
Install or upgrade Host
- Click Tools→Remote Install to open the Remote Install Tool.
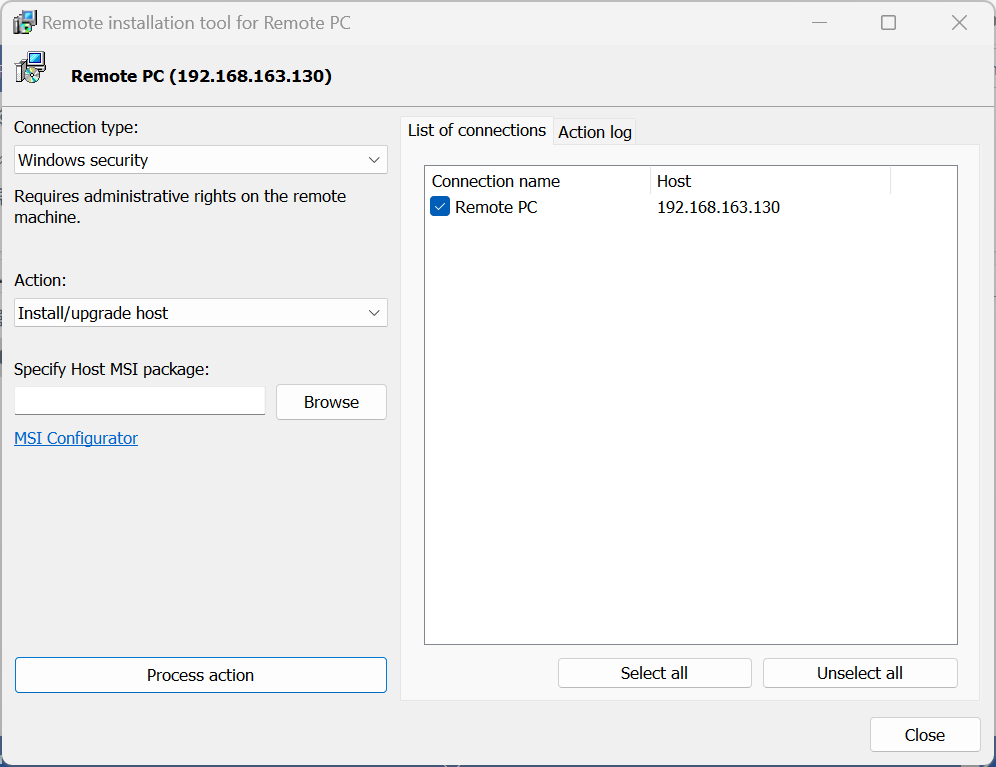
- Make sure the remote PCs that you want to apply the action to are added to your address book and selected on the List of connections tab:
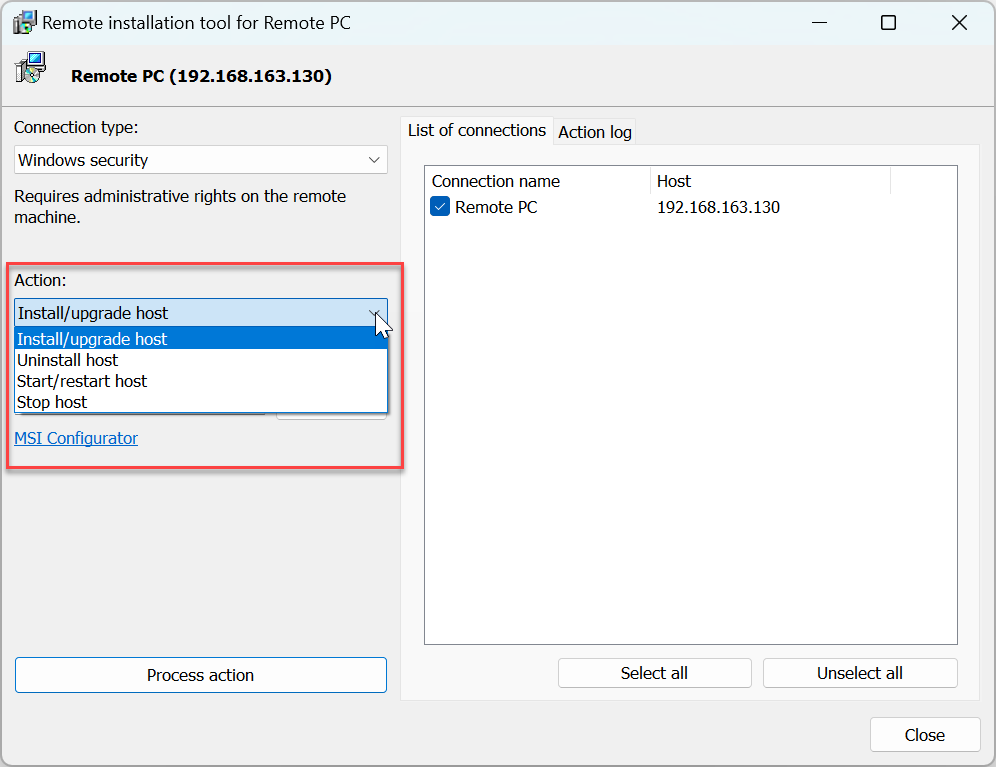
- Select how you want to connect to the remote PC:
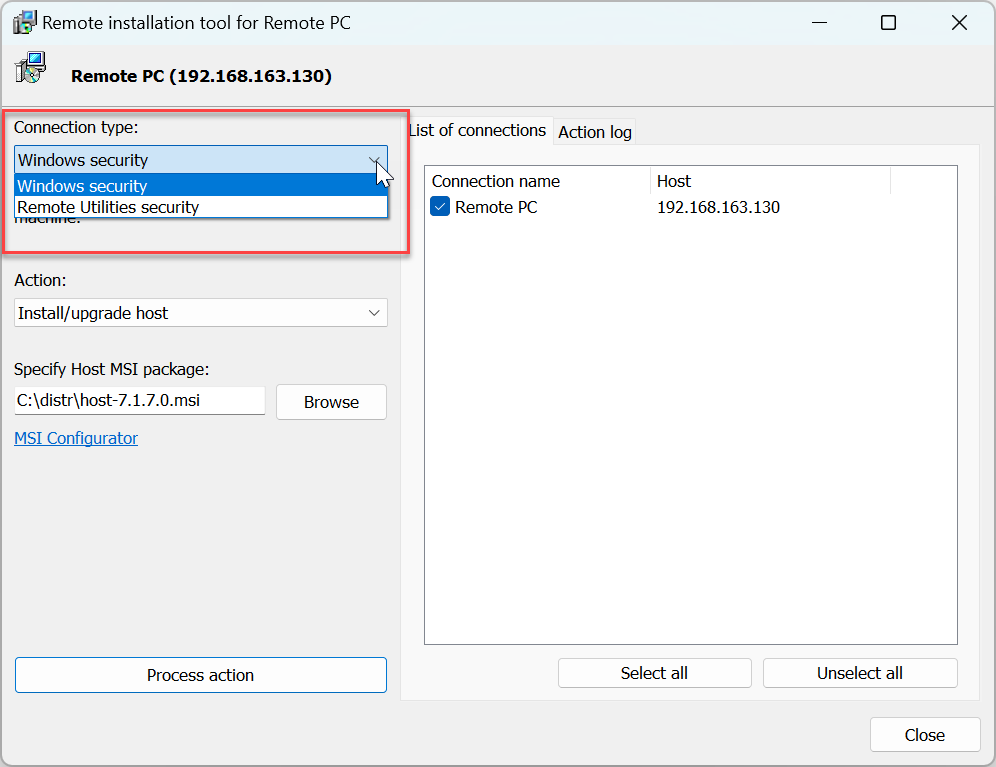
- Windows security—connect to a remote computer using
admin$ share. You must have local administrator rights on the remote PC. A typical example of using this option is "push-installing" the Host to a remote computer across your network. - Remote Utilities security—connect to a remote computer using "Remote Utilities security" authentication method. A typical example of using this option is updating remote Hosts over the Internet.
- Windows security—connect to a remote computer using
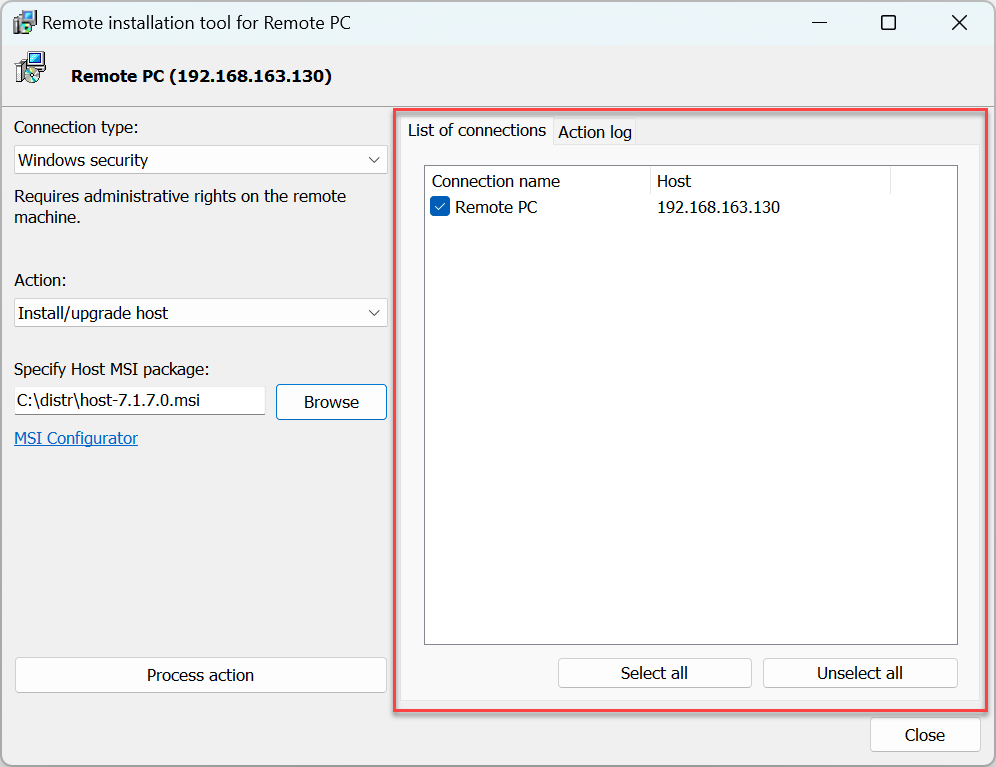
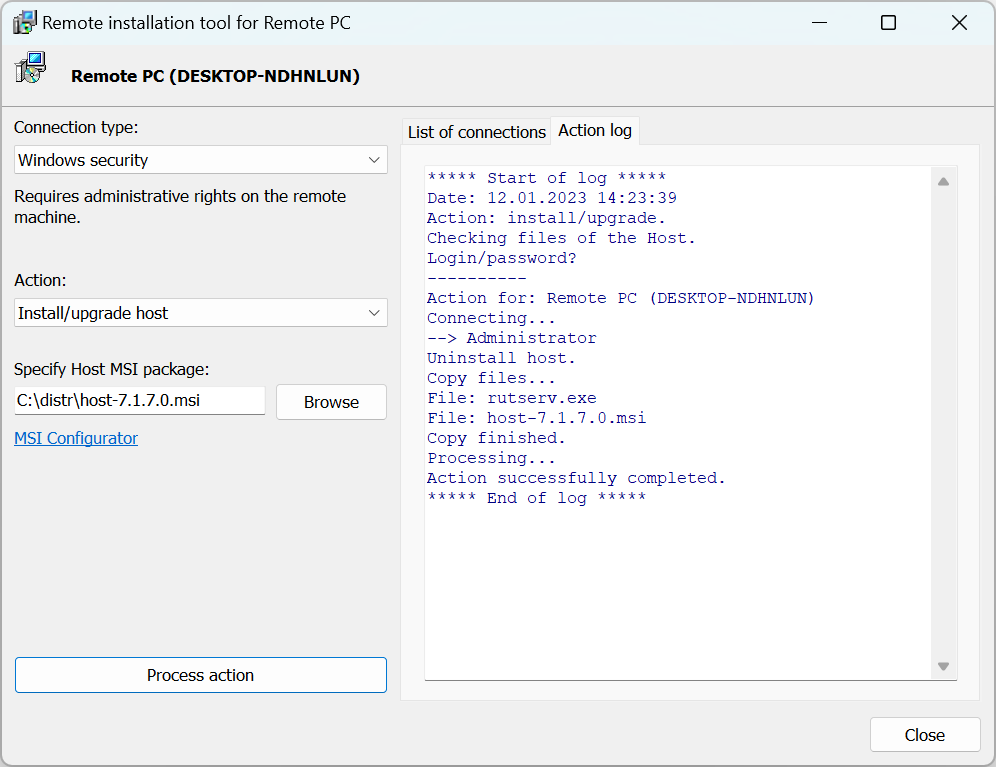
- Select Install/Upgrade Host to install the Host package on the remote computer or upgrade the existing installation.
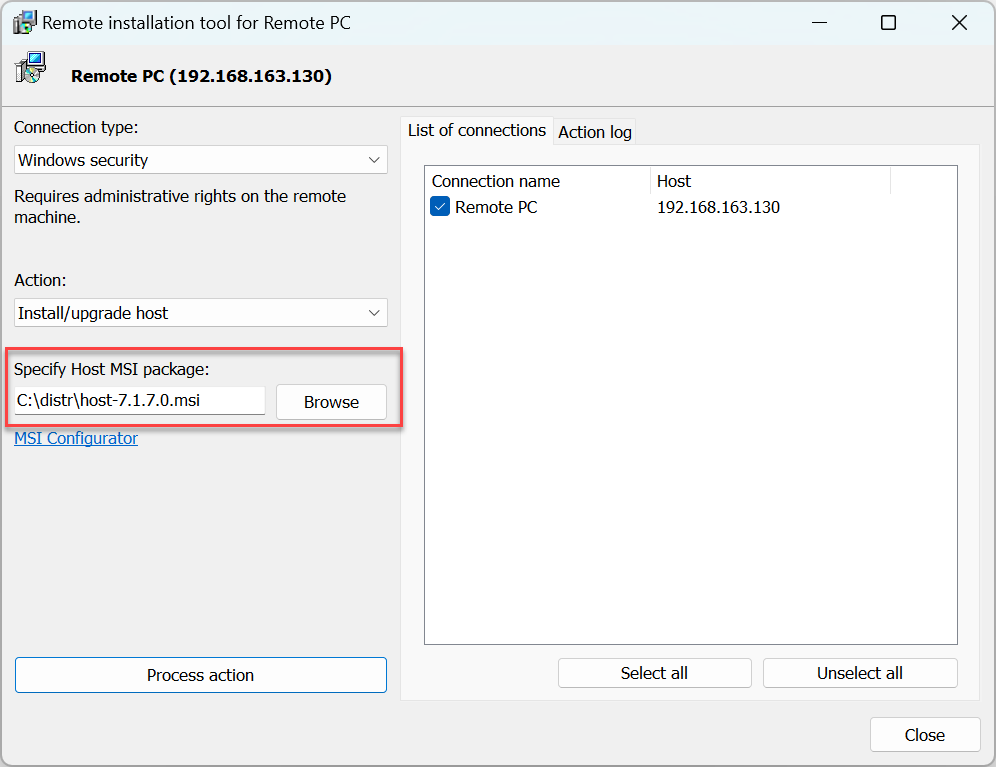
- Specify the Host MSI package—this can be the vanilla Host package or a custom package build with MSI Configurator.
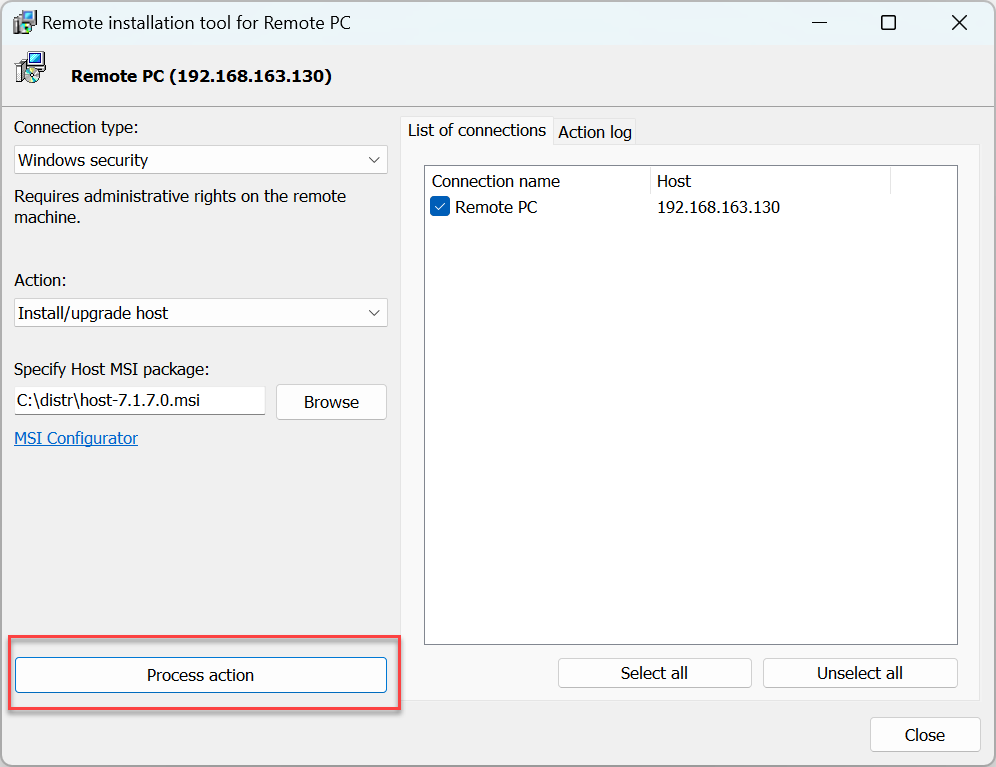
- Click Process action:
- Enter the account credentials and click OK:
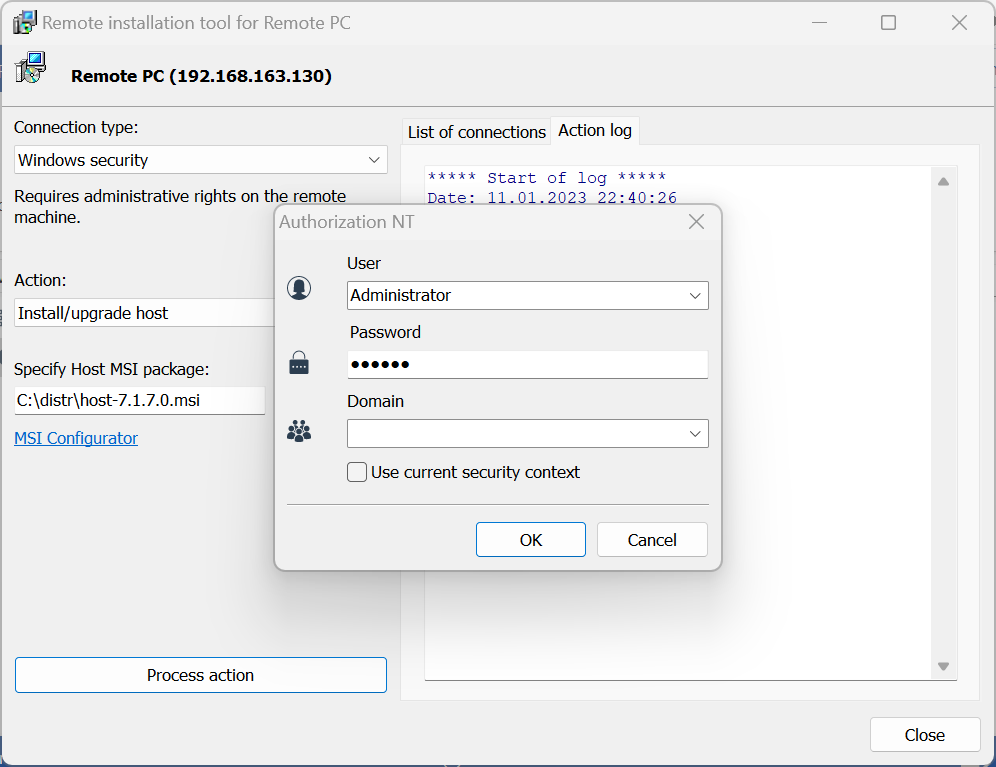
- Action progress is displayed in the Action log tab:
Uninstall Host
Follow the steps for "Install/Upgrade Host". When in step 5 select Uninstall Host and proceed with the rest of the steps.
Start/restart Host
Follow the steps for "Install/Upgrade Host". When in step 5 select Start/restart Host and proceed with the rest of the steps.
Note: This action is only available for "Windows security" connection type.
Stop Host
Follow the steps for "Install/Upgrade Host". When in step 5 select Stop Host and proceed with the rest of the steps.
Windows XP support
If Windows XP is installed on any remote PC on your list, you should disable Simple File Sharing in Windows XP. Go to Control Panel➝Folder Properties➝View and deselect the Simple File Sharing checkbox.
Windows 7/Vista support
Turn off UAC (User Access Control) for network connections. In the Windows registry open the key [HKEY_LOCAL_MACHINE\SOFTWARE\Microsoft\Windows\CurrentVersion\Policies\System] and create a new DWORD value "LocalAccountTokenFilterPolicy"=dword:00000001
Ignore this advice if you install the Host on a domain.
Troubleshooting
If connecting via admin$ doesn't work you might need to enable file and printer sharing on the remote computer. See this knowledge base article for more information.