Screen Recorder
Use the Screen Recorder mode to start a screenshot taking process on a remote Host that will continue according to a set schedule. The taken screenshots can be viewed and exported as graphic files.
Start Screen Recorder
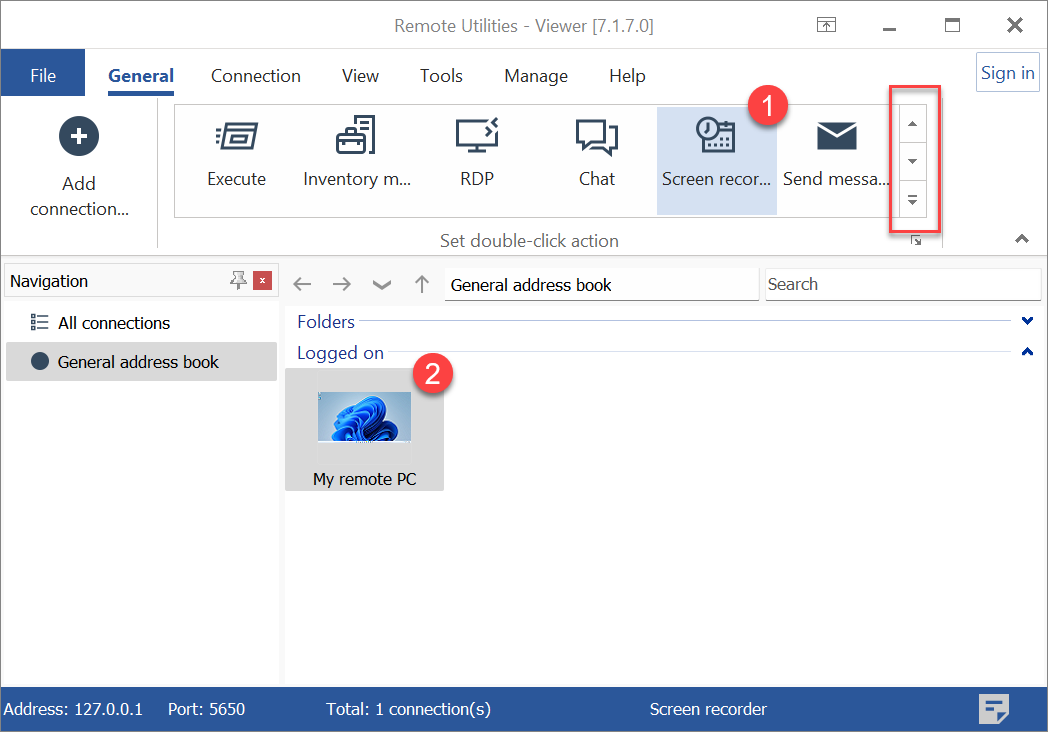
- On the General tab select Screen recorder and double-click on a connection in your address book:
Hint: Use the scrollbar on the right to reveal additional connection mode icons.
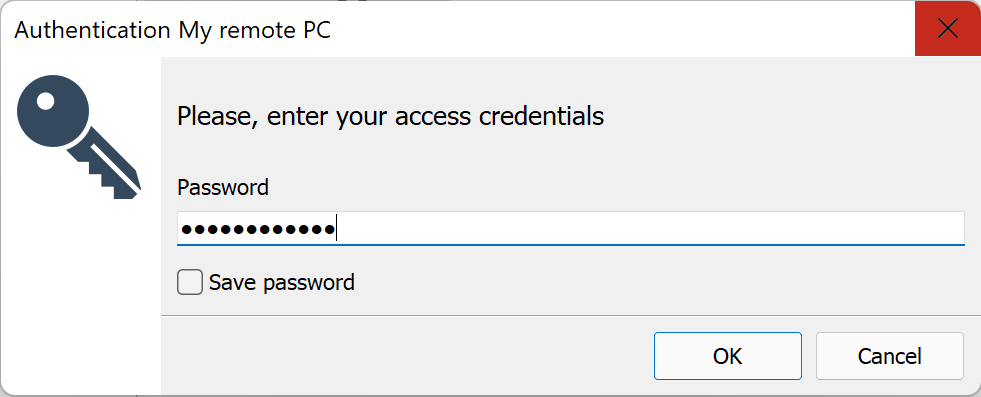
- Enter the access password and click OK:
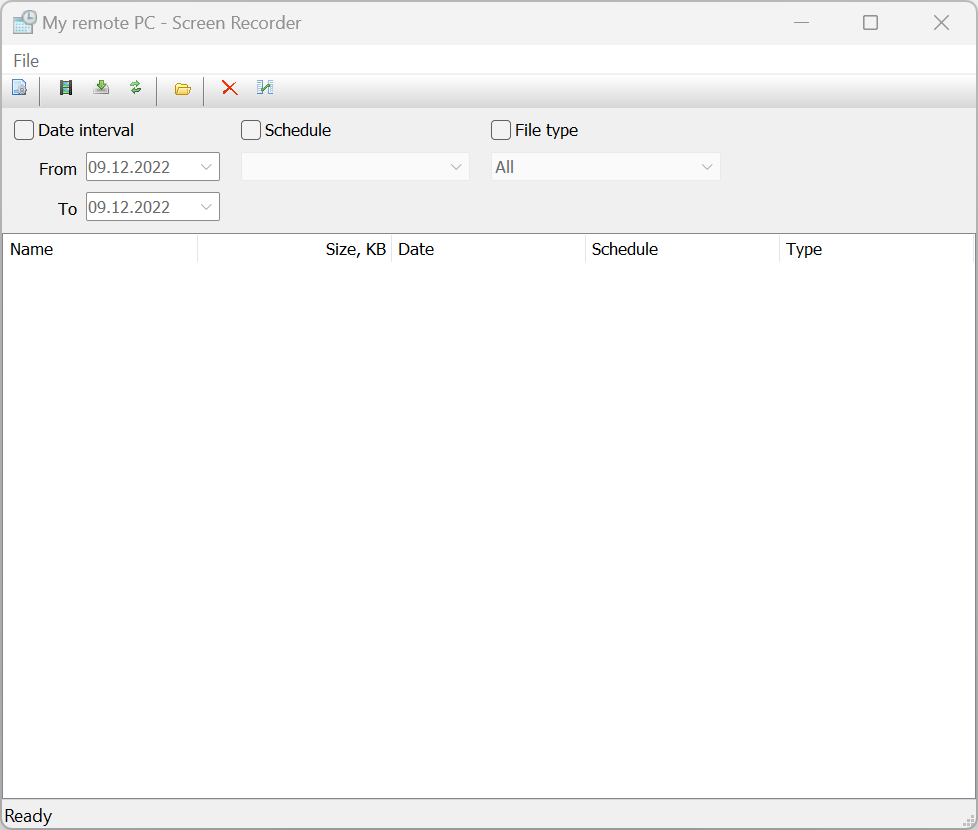
- A Screen Recorder window will open. Use the window to set screenshot taking schedules and view container files that store screenshots.
Set schedule
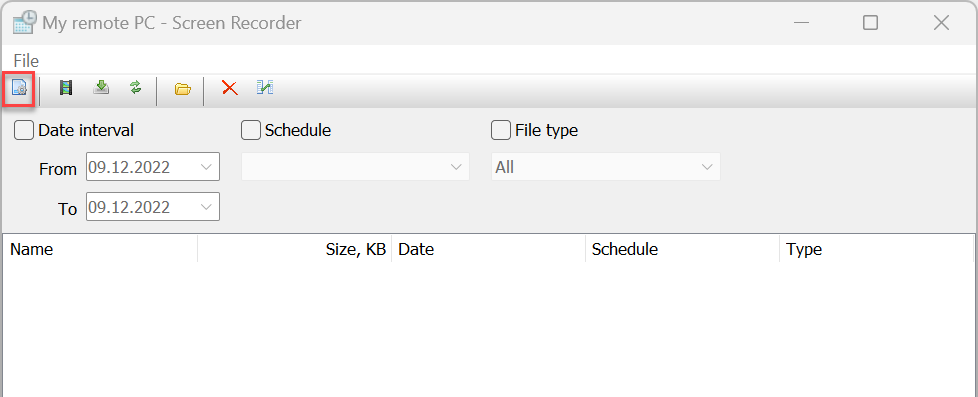
- In the Screen Recorder window click the Settings icon:
- Go to the General tab and select Enabled. Set an interval at which the program should take screenshots:

- Switch to the Schedules tab and set your schedule for taking screenshots. Make sure you selected the Active checkbox:
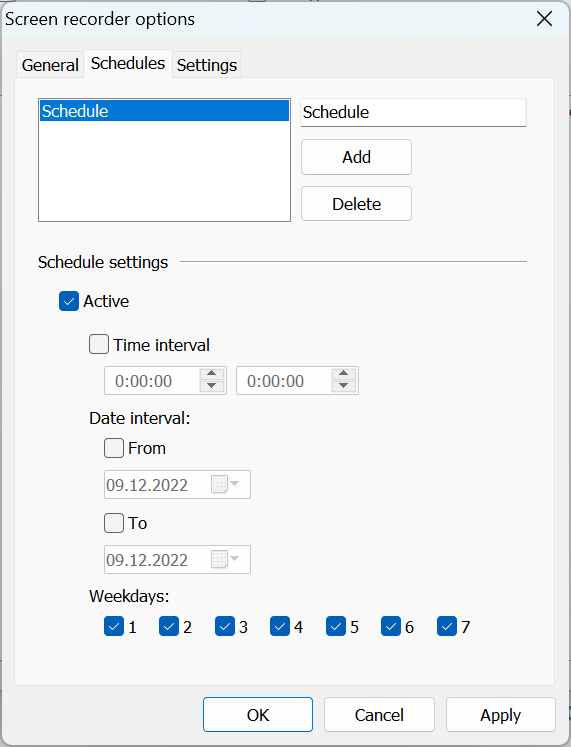
Important!
You must create at least one schedule and make it active if you want the screenshot taking process to run. To add multiple schedules use the Add button.
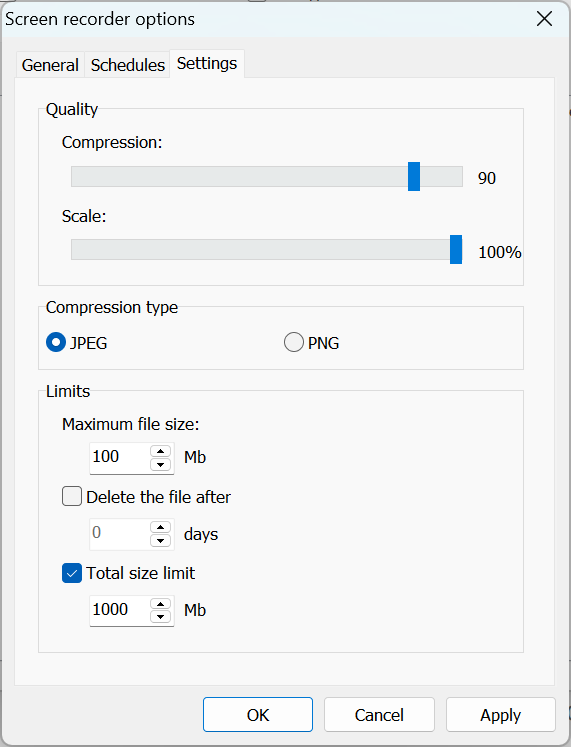
- Switch to the Settings tab to change additional settings such as quality, compression type etc.
- Click OK and close the Screen Recorder window. The screenshot-taking process will start on the remote Host.
Start and stop screenshot taking process
Use the Enabled checkbox in the General tab to start and stop the screenshot taking process. This is a global switch that applies to all schedules running on the given Host.
Please, note that the screenshot-taking process is running on the remote Host independently from Viewer. Make sure that you clean up the old container files and not set too frequent a schedule to avoid filling up the available disk space.
View screenshots
You can use the built-in viewer to view the screenshots stored in a container file on the remote Host.
A container file is a collection of screenshots stored in a single file with the .rrf extension. This file is stored on the remote Host side. New screenshots are added to the file as they are taken according to your schedule.
- Connect in the Screen Recorder connection mode to the target remote PC where the screenshot-taking process is running.
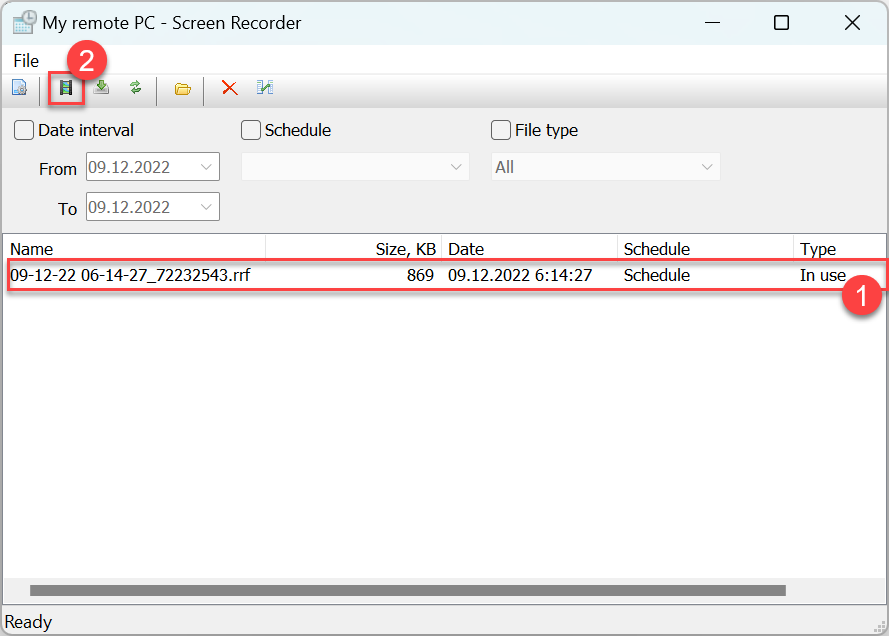
- In the Screen Recorder window select the container file you want to view and click the View file icon:
- The player window will open:
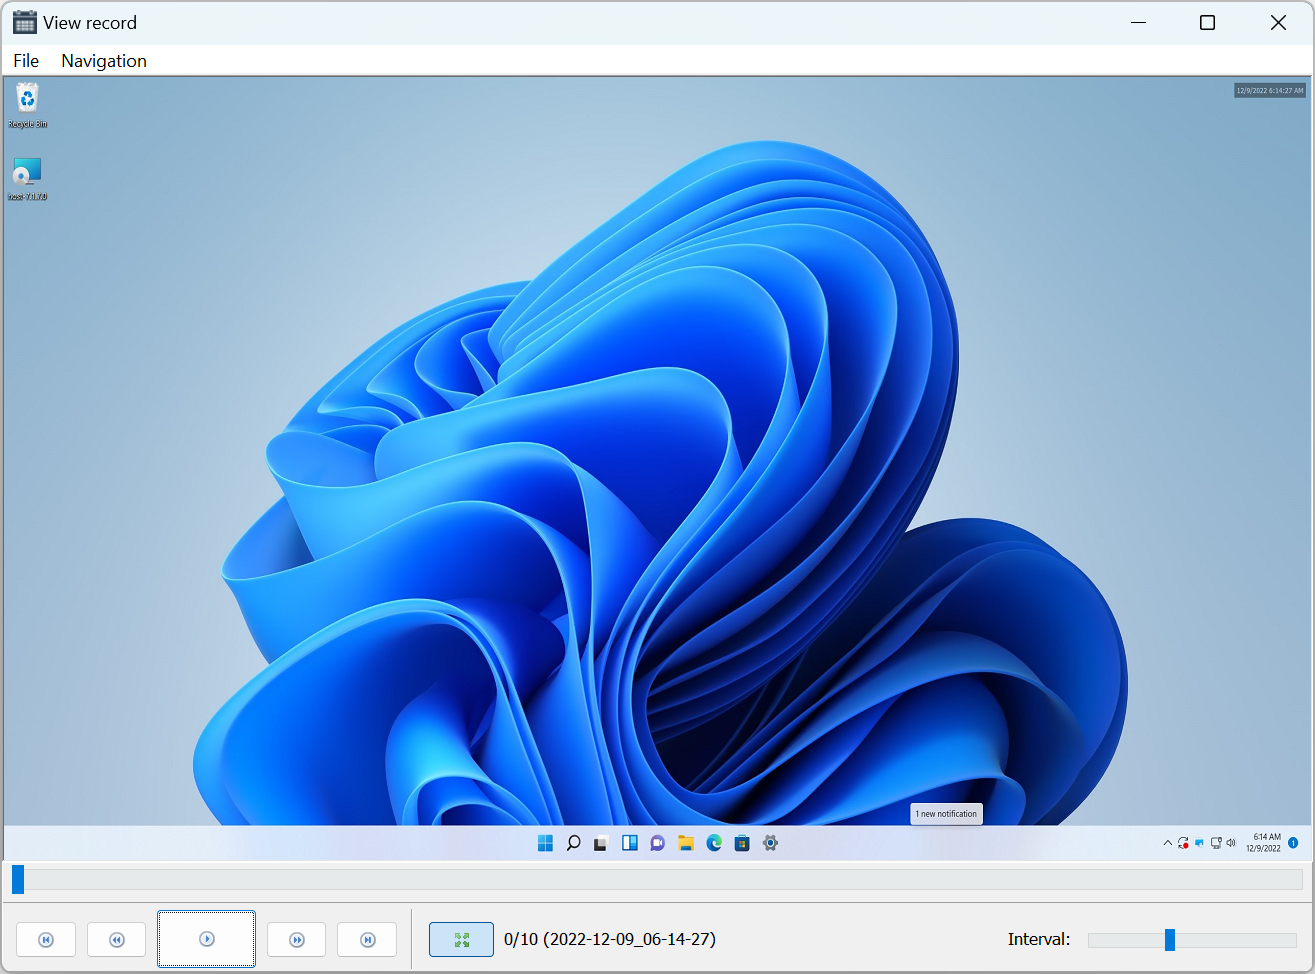
- Use the buttons at the bottom of the window to control the playback.
Export screenshots
Use the File menu in the player window to save/export screenshots:
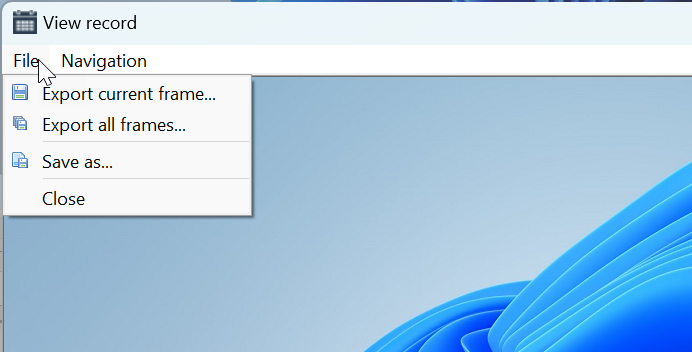
- Export current frame—save the current screenshot to the disk.
- Export all frames—save all screenshots from the current file to the disk as separate graphic files.
- Save as—save the entire screenshot file to the disk.
- Close—close the player window.