Export or Import Address Books
With this method, the address book is simply copied (imported) from one Viewer to another. When you further update one copy, the other copy is NOT updated. Use this method when you have few records in your address book or when you don't update records often.
Throughout this page, we refer to "Viewer A" as the source Viewer from which you export the address book, and "Viewer B" as the target Viewer to which you copy the address book.
Export address book
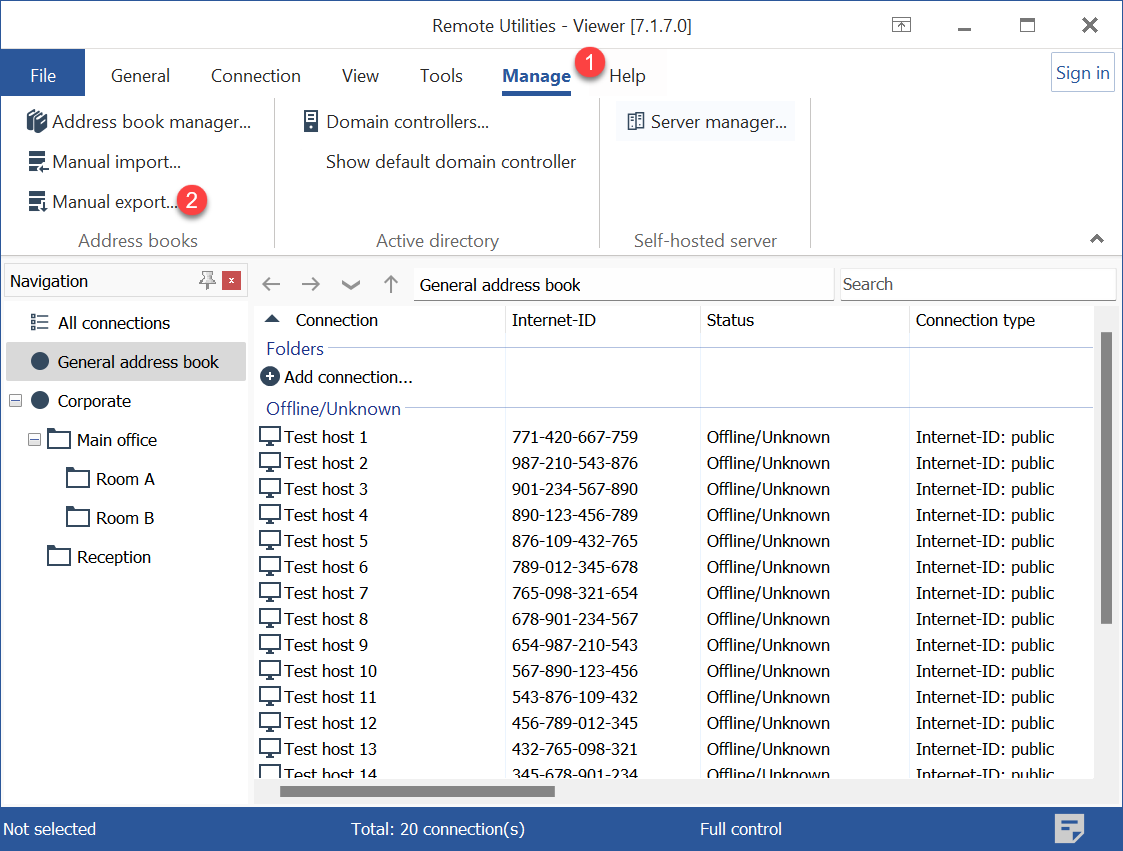
- Open Viewer A, navigate to the Manage tab, and click Manual export:
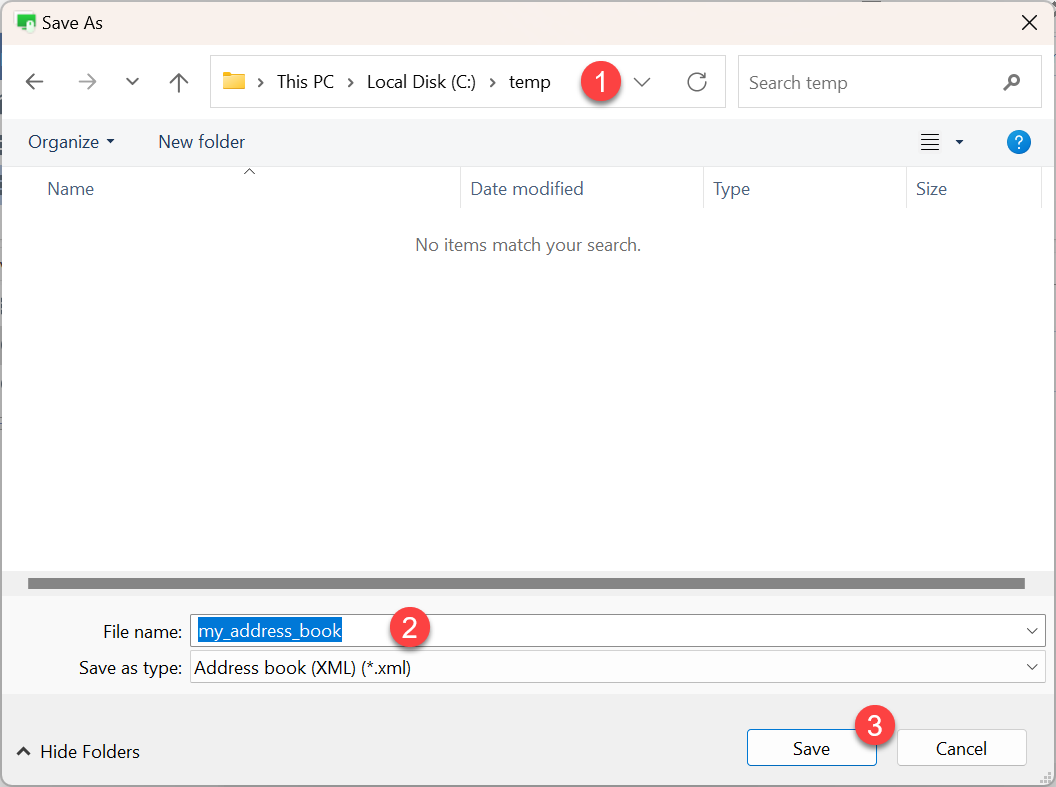
- Specify a location and name for the address book XML file and click Save.
- Copy the address book file onto Viewer B's computer (e.g., using a USB stick, via email, Dropbox etc.).
Import address book
There are two ways you can import an address book into the Viewer — merge it with an existing address book or add it as a new address book. Encrypted address books can only be added using Method 1.
Method 1: Merge with existing records
This section shows how to merge records from the exported address book with records in an address book that already exists in Viewer B.
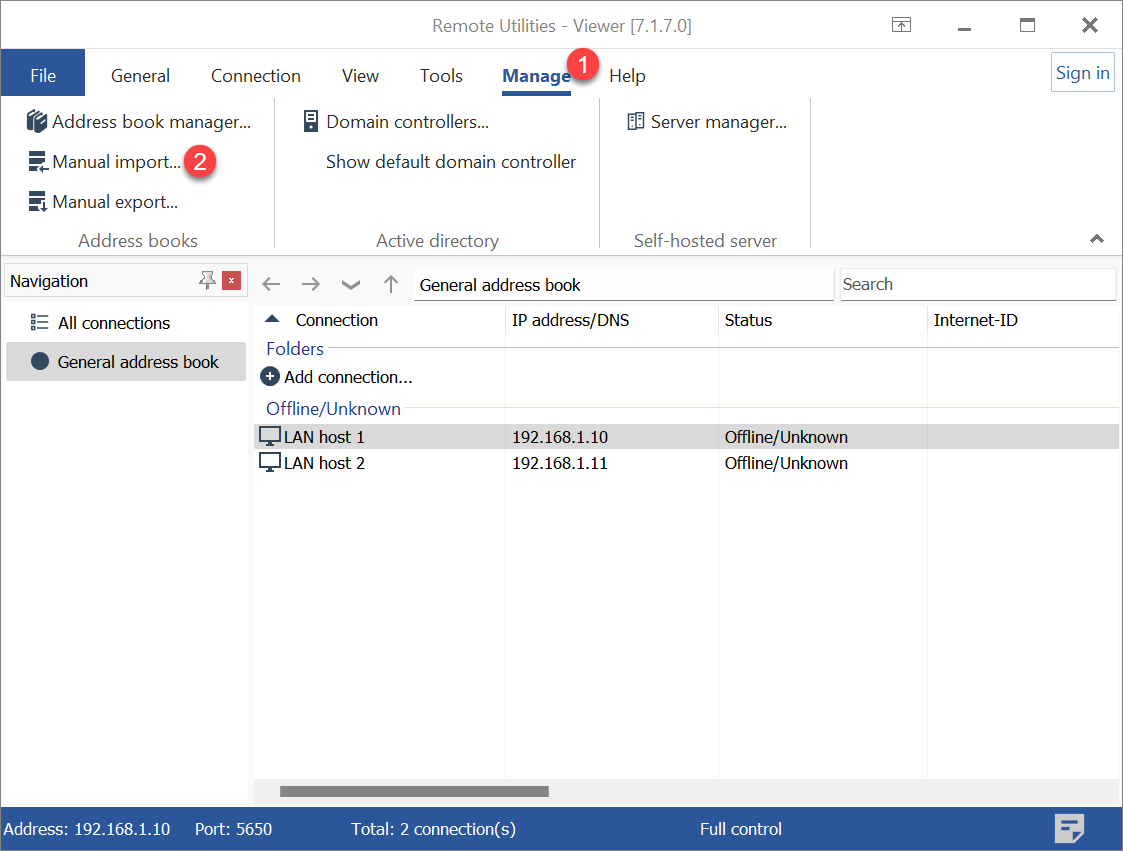
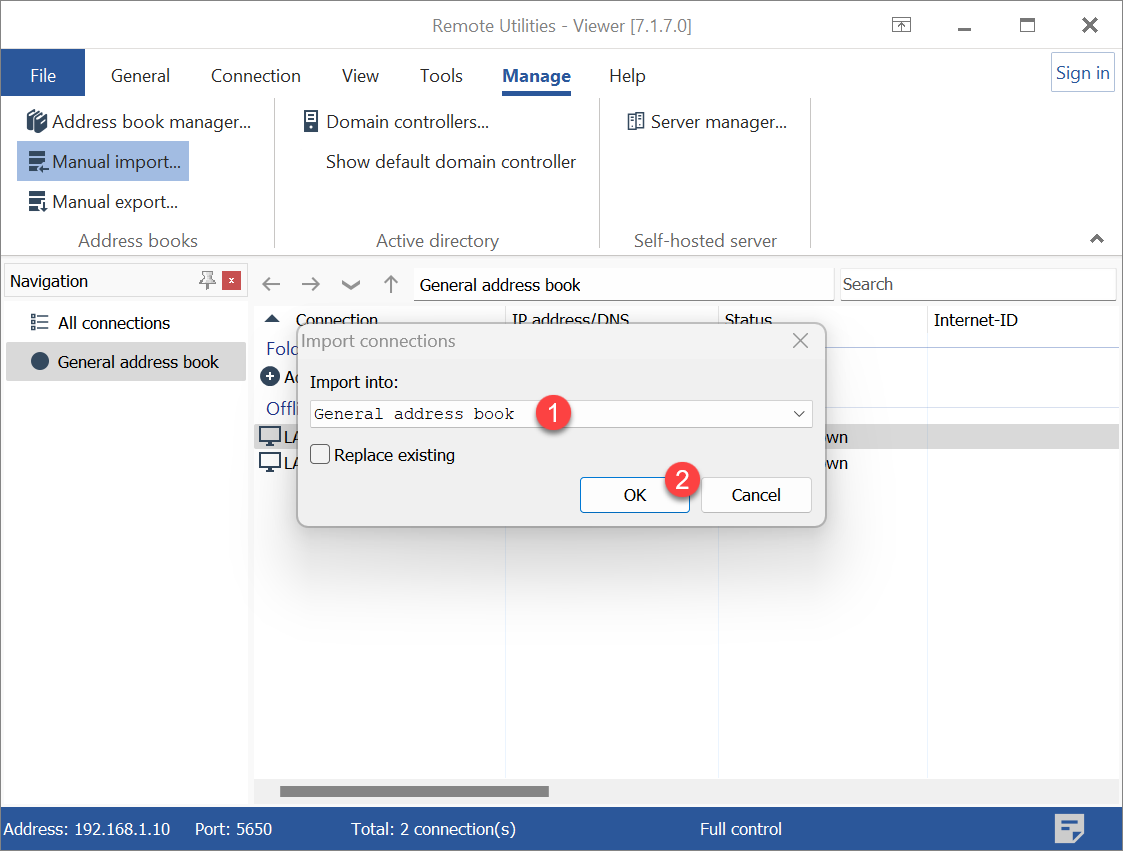
- Open Viewer B, navigate to the Manage tab, and click Manual import:
- Select the target address book and click OK:
- Select the exported address book file and click Open:
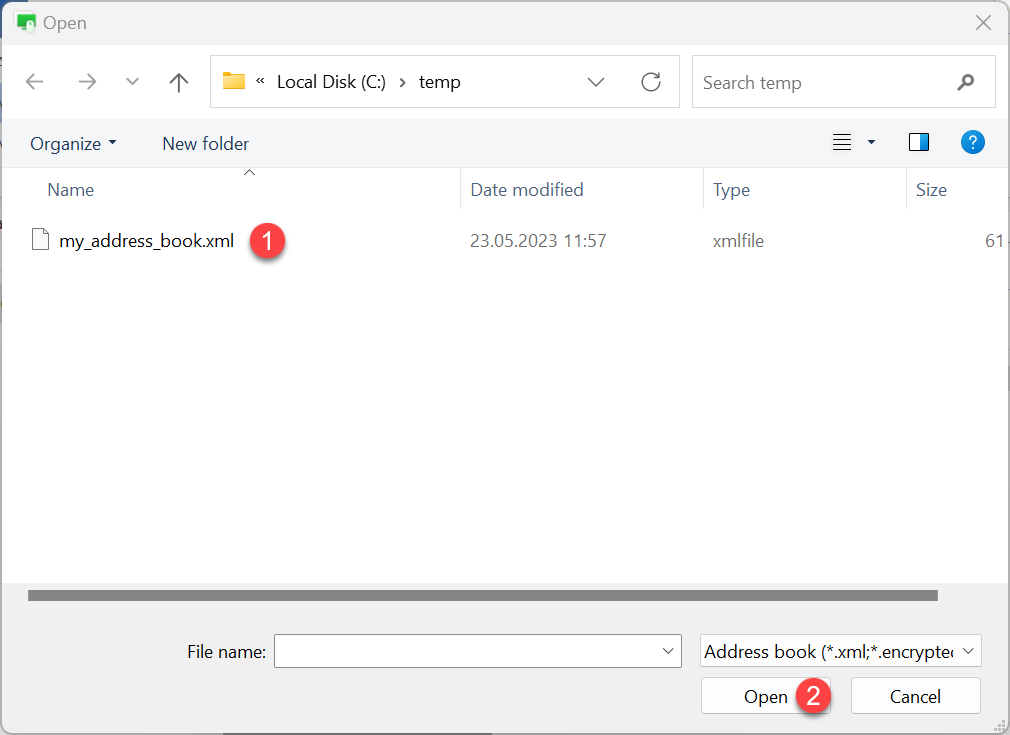
If you selected an encrypted address book (with the extension
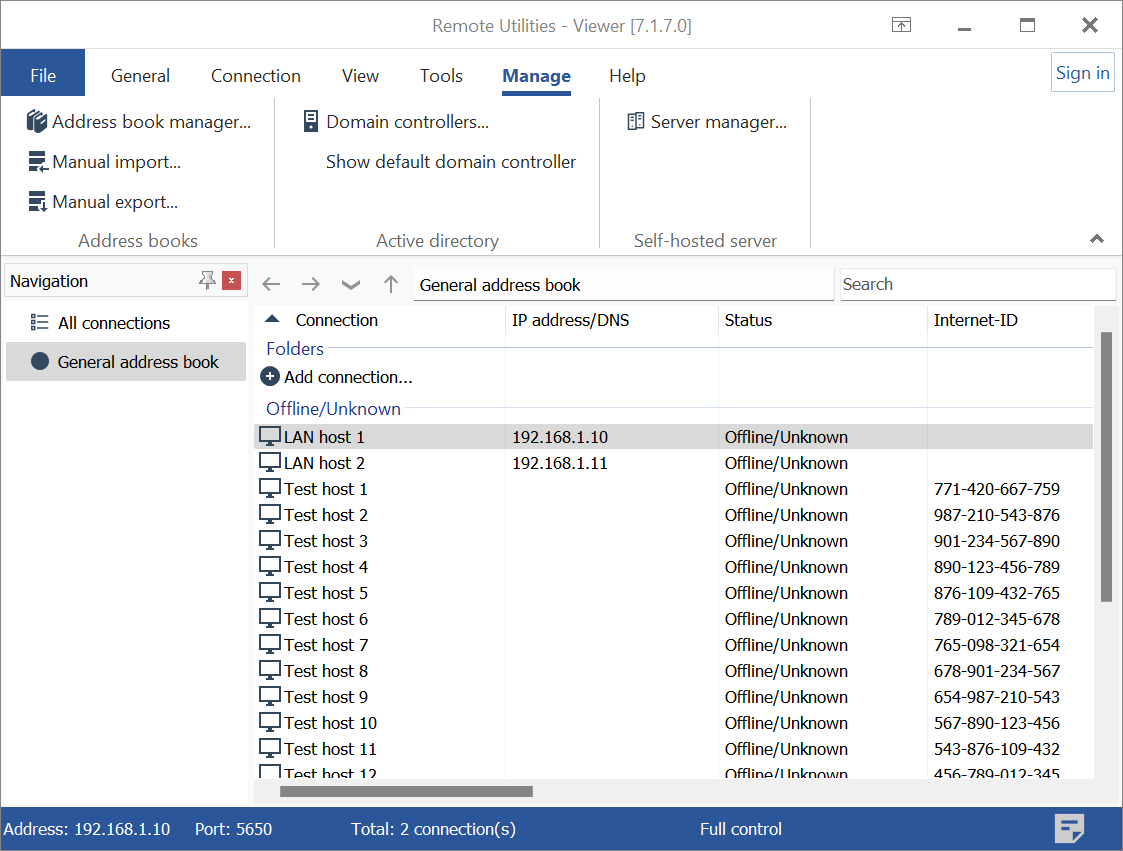
.encrypted), the program will ask you to enter the encryption password. - The records from the exported address book will appear alongside the existing records in the target address book in Viewer B:
Method 2: Add as new
Unlike merely adding records to an existing book as described above, you can load the exported address book so that it is displayed as a separate entity in the Viewer B folder tree.
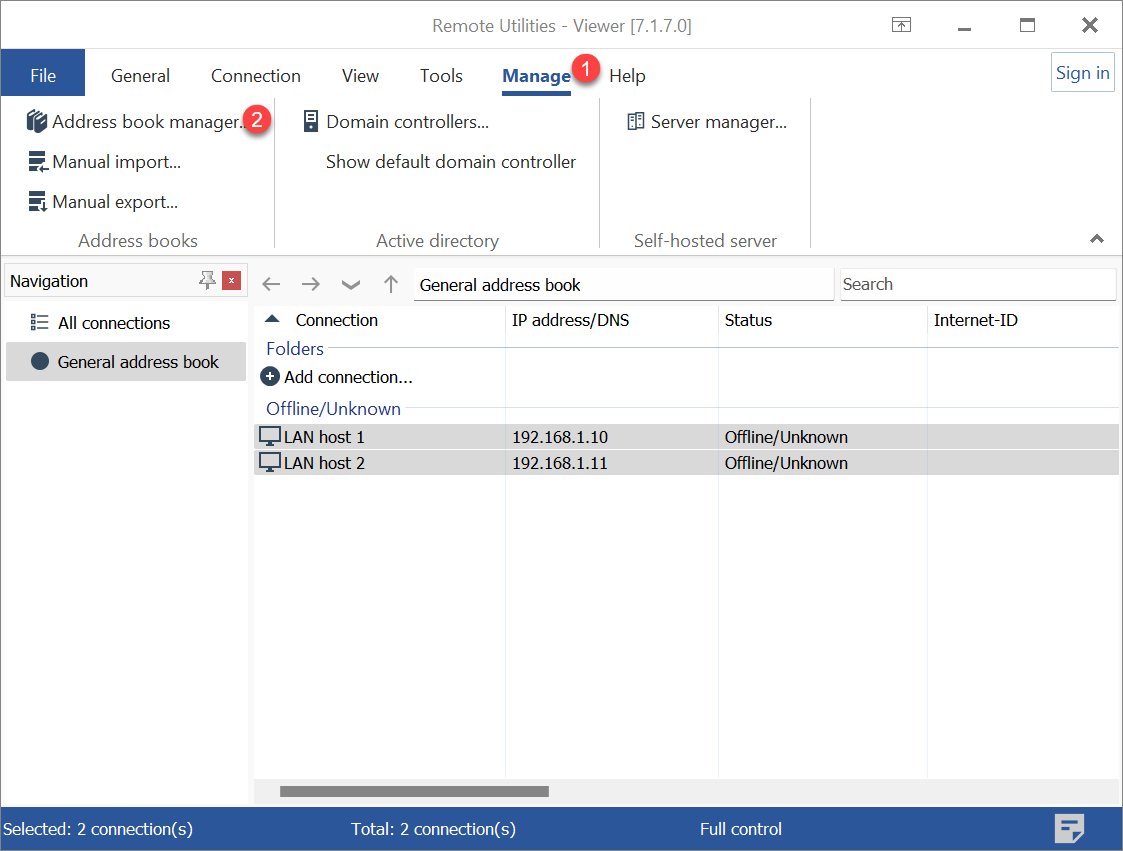
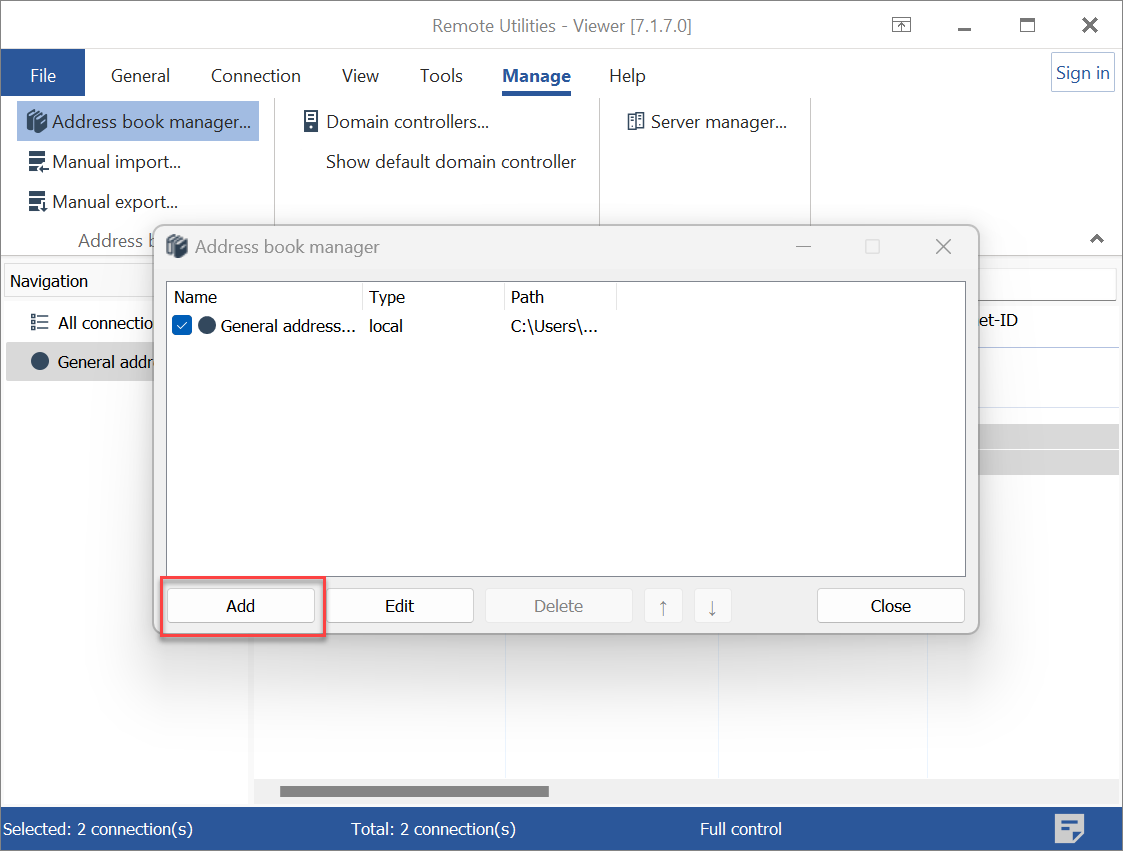
- In Viewer B, go to the Manage tab and click Address Book Manager:
- In the Address Book Manager window, click Add.
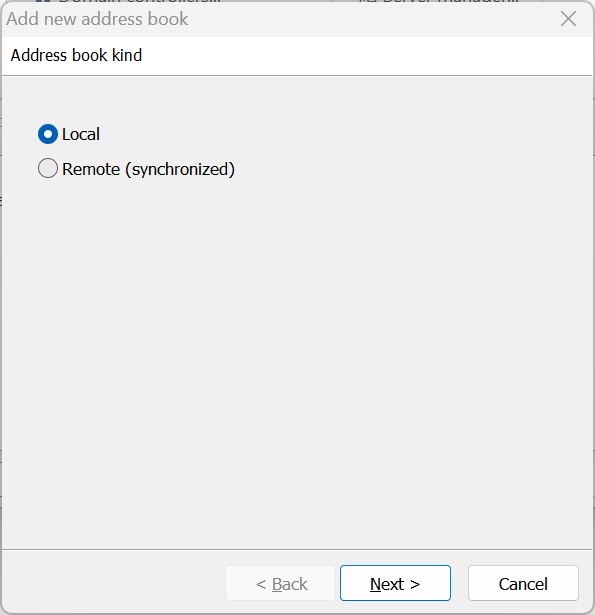
- Select Local and click Next:
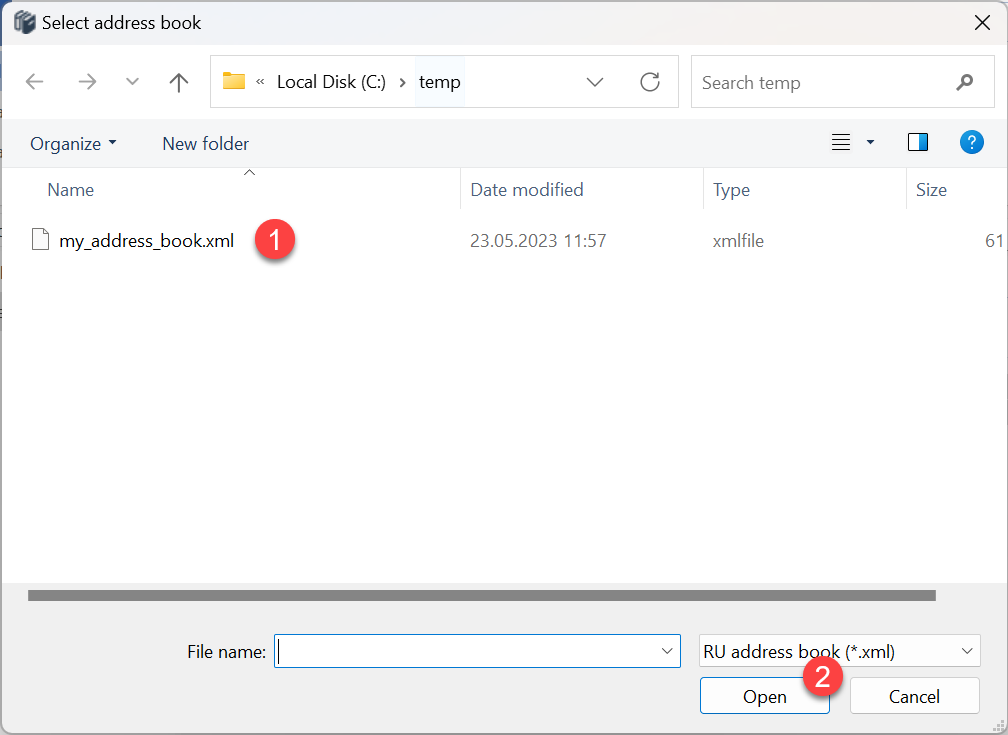
- Select Open existing address book file and click Finish:

- Select the address book and click Open.
- Click in the Name column to change the address book name to something more descriptive. When you are done, click Close.

- The new address book will open in Viewer B as a separate address book: