Connect over LAN
You can connect to a remote Host directly without using an Internet-ID server. A typical example of direct connectivity is a LAN or VPN network.
Before you start
- Make sure Viewer and Host computers are on the same subnetwork (subnet).
- On the Host computer, incoming connections to TCP port 5650 must be allowed. Host automatically creates an allow rule in Windows Firewall during installation. If you have third-party firewall software, you must manually allow inbound TCP port 5650.
- You can change the default port number in Network settings.
On the remote computer
- Download and install Host. When prompted, set the Host access password during installation.
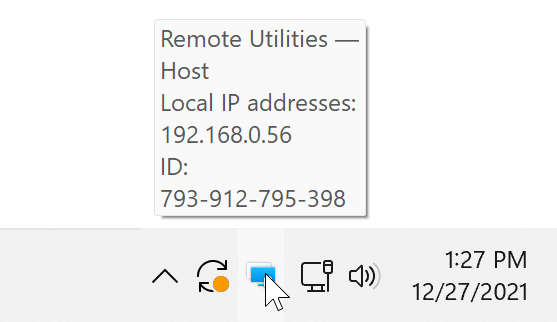
- Hover your mouse pointer over the Host icon and note down the private IP address. In the example below, the private IP address is 192.168.0.56.
If you skipped setting the access password during Host installation:
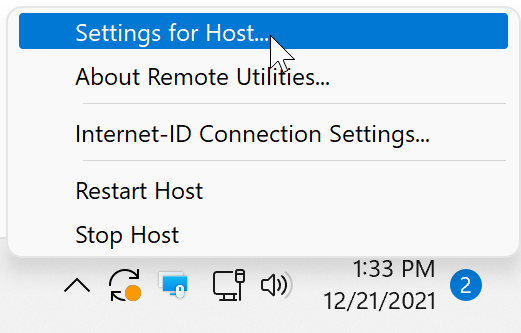
- Right-click the blue Host icon and select Settings for Host.
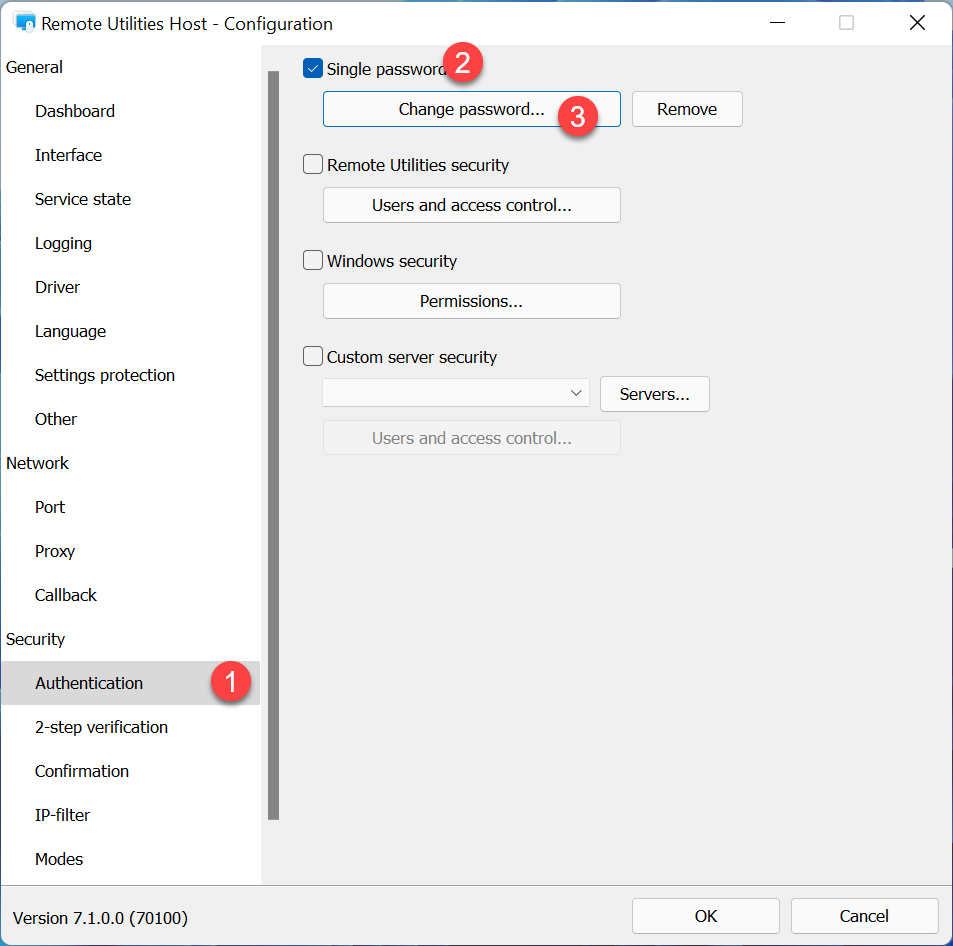
- Go to Authentication, select Single password, and click Change password.
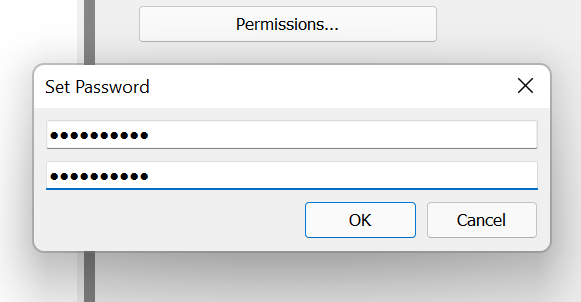
- Set the desired access password, click OK, and close the settings window.
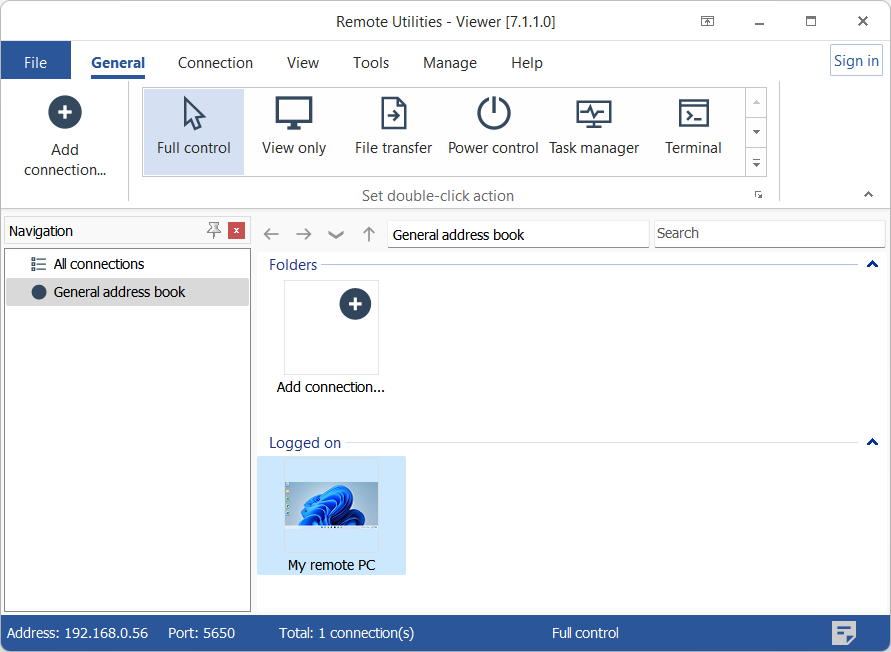
On the local computer
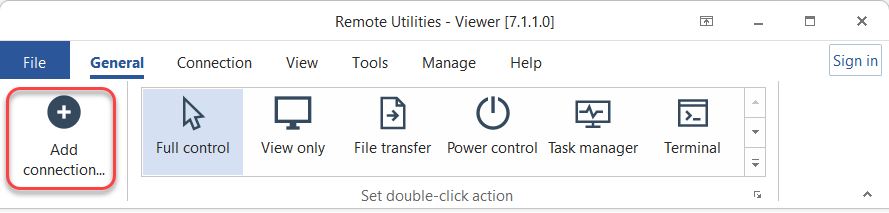
- Open Viewer and click Add Connection.
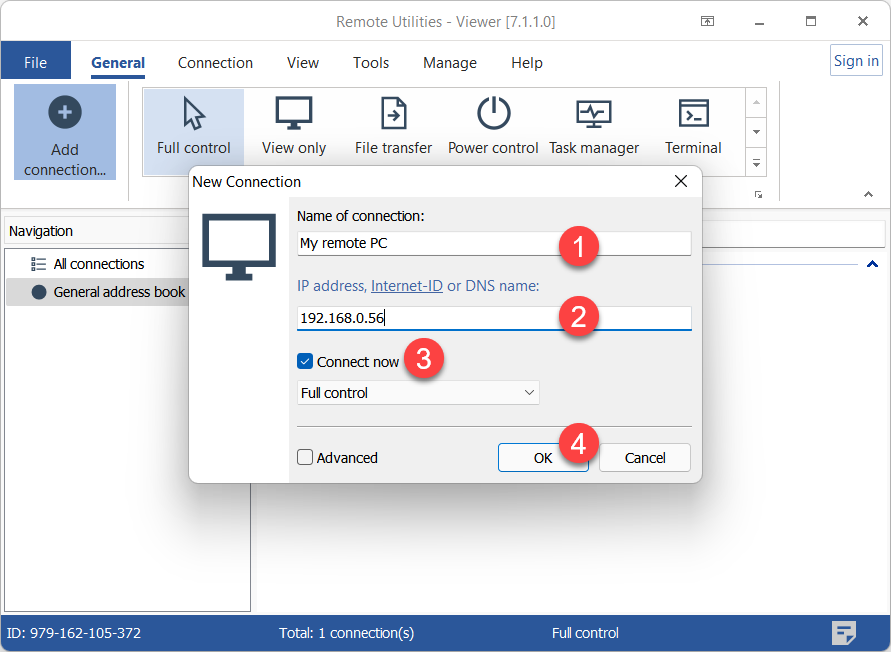
- Enter a desired connection name and the Host IP address. Select Connect now and click OK.
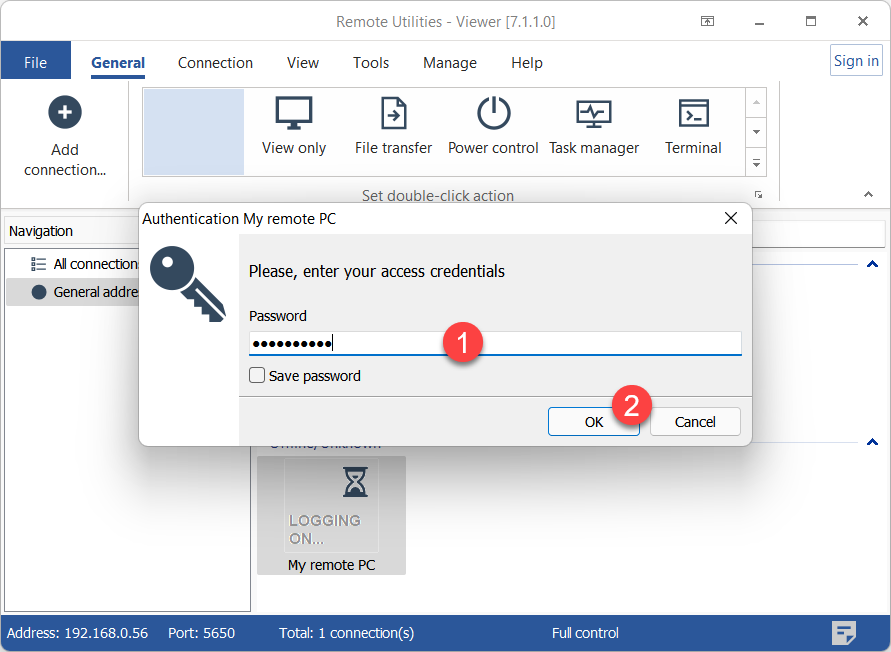
- Enter the Host access password and click OK.
- A remote session will start in the Full Control connection mode.
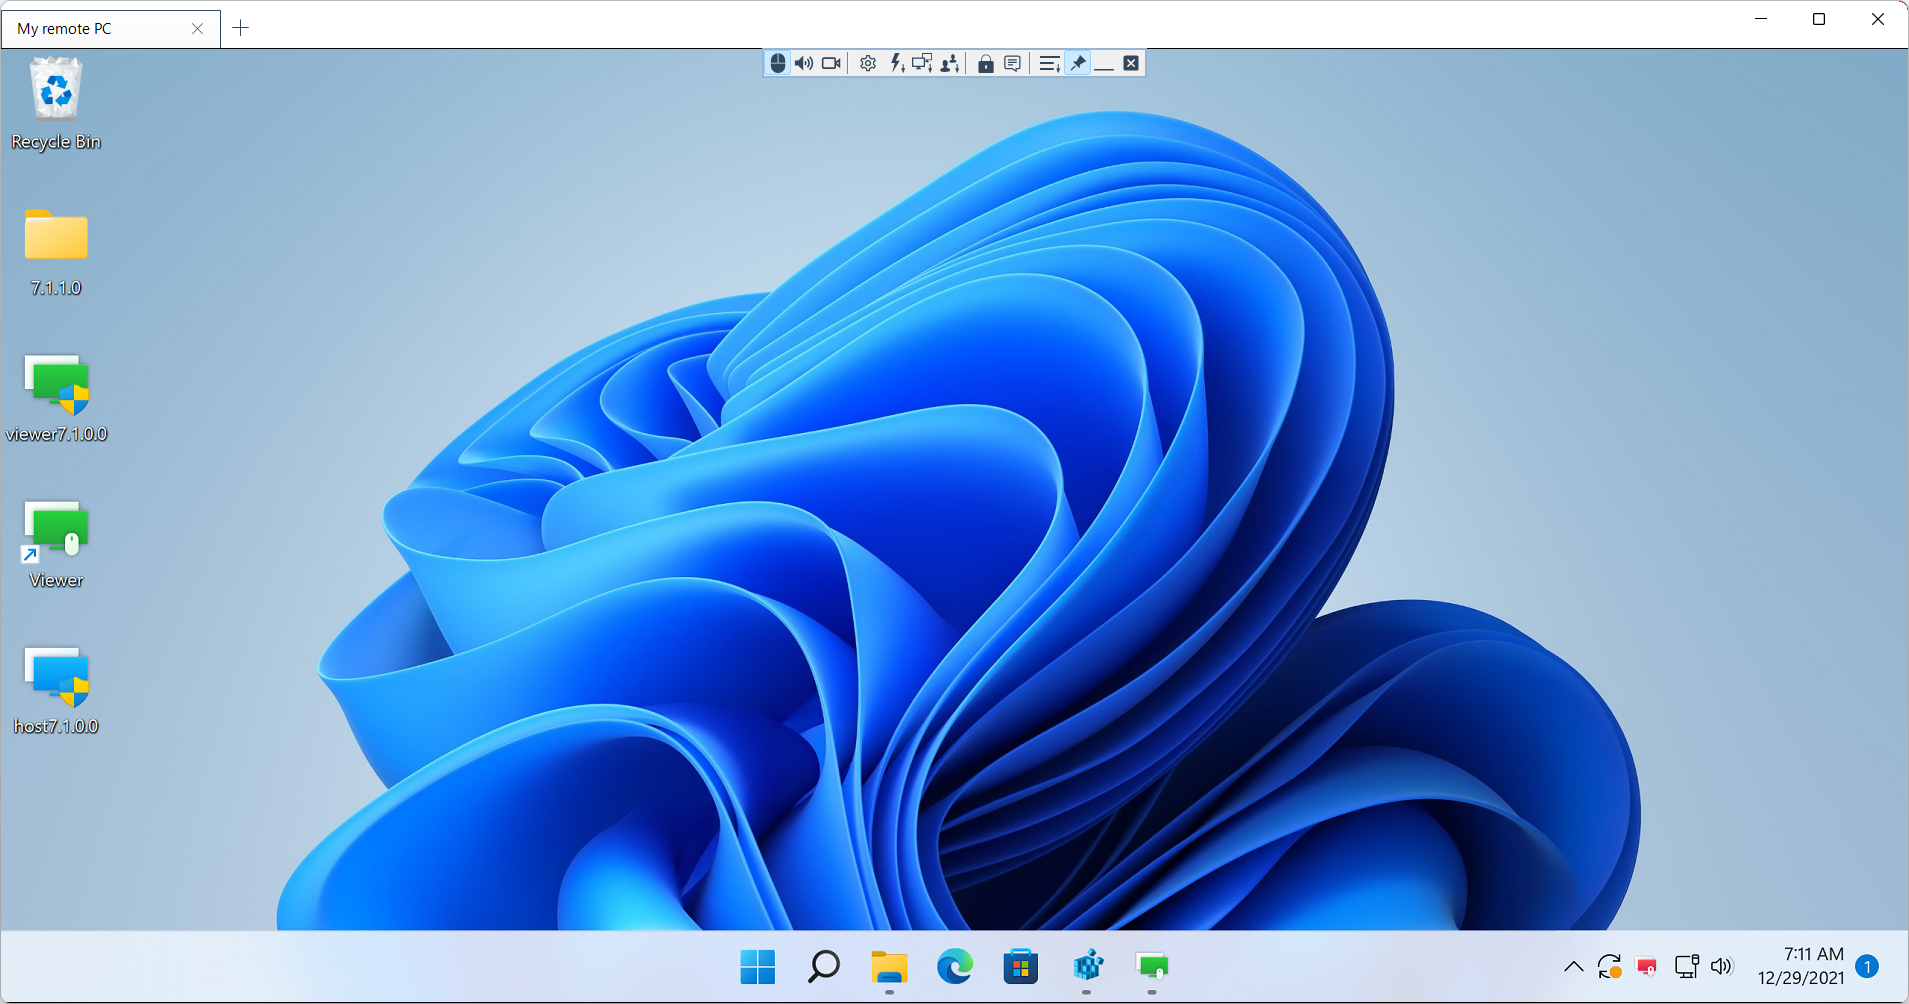
- A new connection will be saved to your address book for future use.
Tip
If you have difficulty making a direct connection work, please check this troubleshooting guide.