Address Book Manager
Overview
Address Book Manager allows you to manage the address books stored on the server, create users and groups and set permissions for them.
To open Address Book Manager, in Admin Console go to File➝Address book manager.
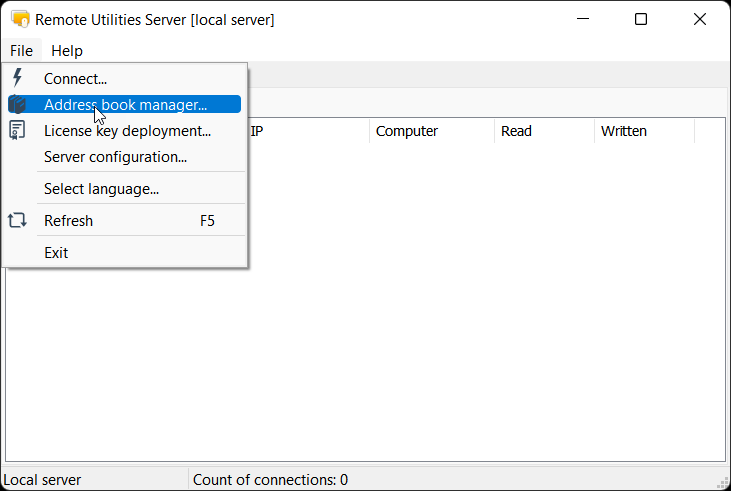
The Address Book Manager window will appear:

Whenever you make any changes—create or edit address books, users, groups and so on—do not forget to apply the changes by clicking on the green checkmark on the toolbar.
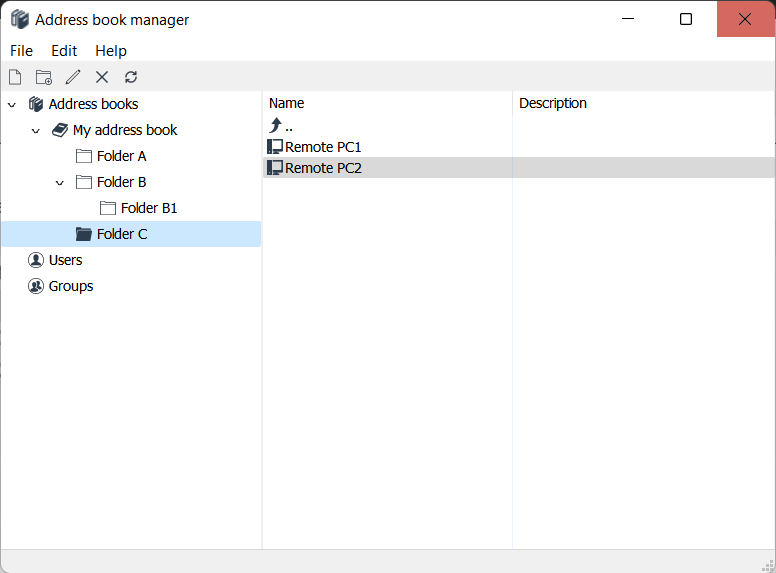
Address books
This section shows address books stored on the server. You can set up address book sync to synchronize the contents of these books with the address books of connected Viewers.
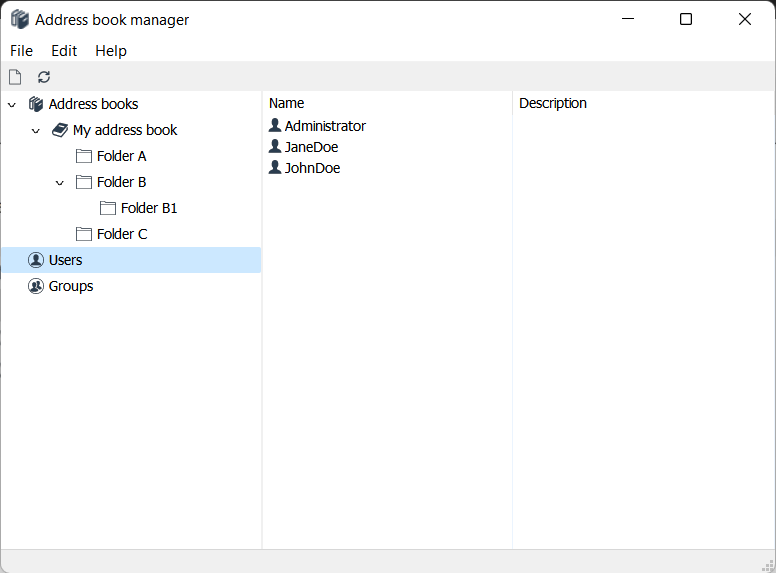
Users
This section is where you create and manage users whom you'll be granting access to different assets such as address books, folders, connections and remote Hosts. Creating users and setting access permissions is necessary when you set up address book sync and authentication server, or restrict the usage of Internet-ID server to only certain team members.
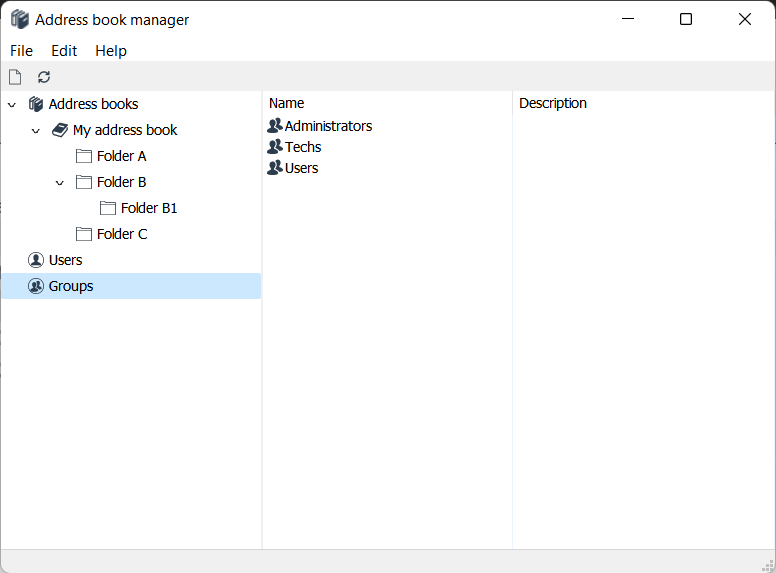
Groups
You can apply permissions not only to individual users but also to groups. This makes groups a convenient tool to manage users with similar characteristics and access rights.