Inventory Manager
Use the Inventory Manager mode to view and save detailed reports about hardware and software installed on the remote PC.
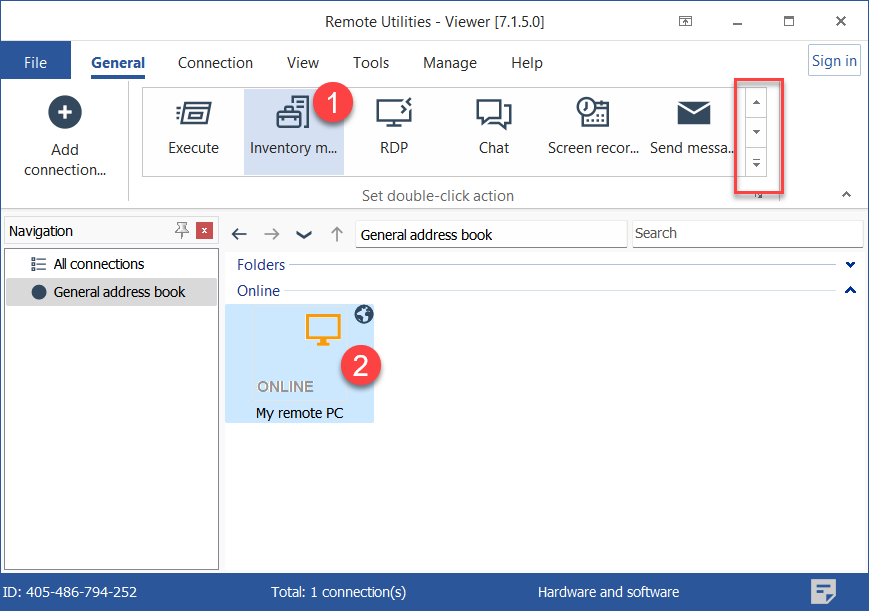
Start Inventory Manager
- On the General tab select Inventory manager and double-click on a connection in your address book:
Hint: Use the scrollbar on the right to reveal additional connection mode icons.
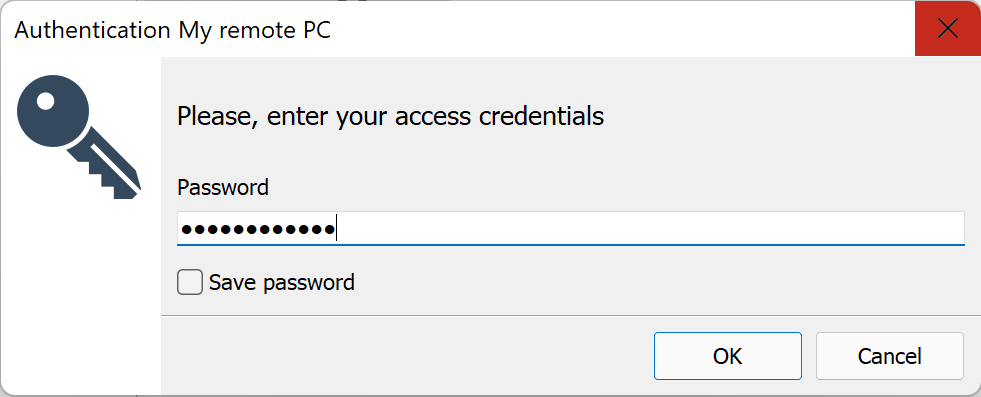
- Enter the access password and click OK:
- An Inventory manager window will open. Select the PC in the left pane and click Get information:
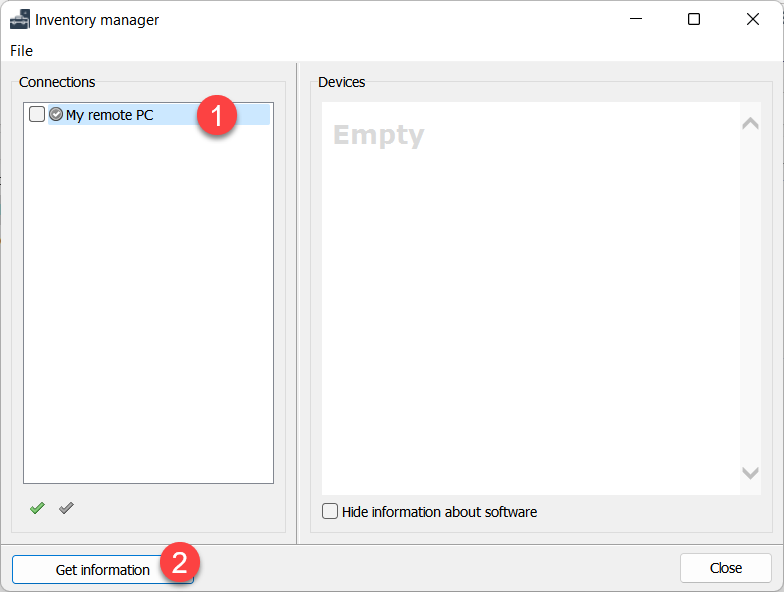
To generate reports for multiple remote PCs select the corresponding connections in the address book while holding down Ctrl or Shift key.
- Wait until the data is collected. The report will be available in the right pane:

- The
 icon means the report is in progress.
 - The
 icon means that the report is ready.
 - The
 icon means the remote PC is not accessible (you might need to log on first).
Export a report as HTML
To save a currently selected report as an HTML file:
- In the left pane of the Inventory Manager window select the PC for which you want to save a report.
- Click File➝Save as in the window menu, browse to a desired folder and click Save.
Export multiple reports
To export multiple reports as HTML or XML files:
- In the left pane of the Inventory Manager window select all the PCs for which you want to save reports.
- Select File➝Export checked as HTML.. (or "Export checked as XML..") in the window menu, browse to a desired folder and click Save.