Voice and Video Chat
Use the Voice and Video Chat mode to talk to the user sitting at the remote PC and view the image from their web camera on your screen.
Start Voice and Video chat
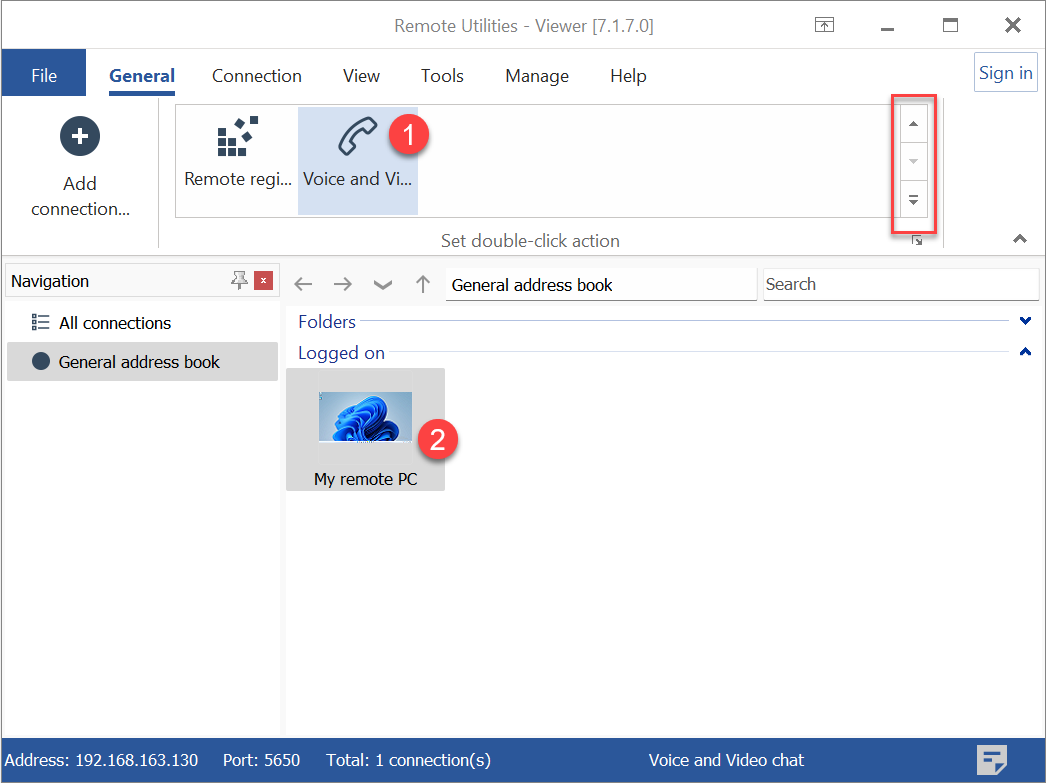
- On the General tab select Voice and video and double-click on a connection in your address book:
Hint: Use the scrollbar on the right to reveal additional connection mode icons.
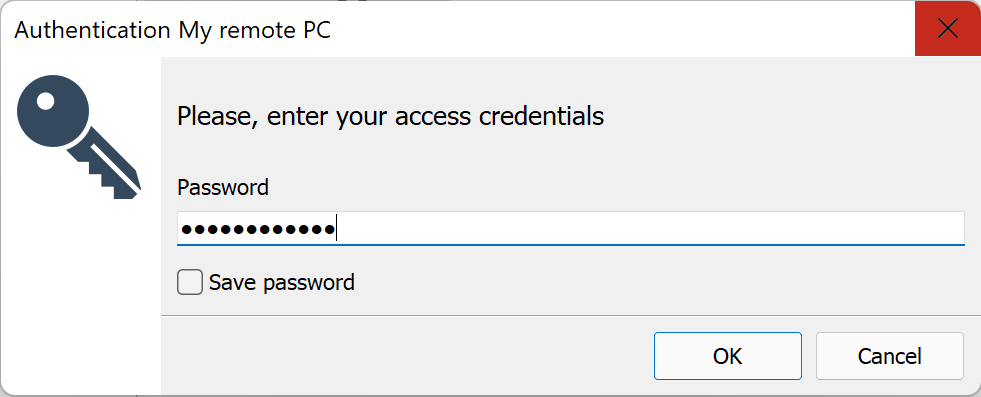
- Enter the access password and click OK:
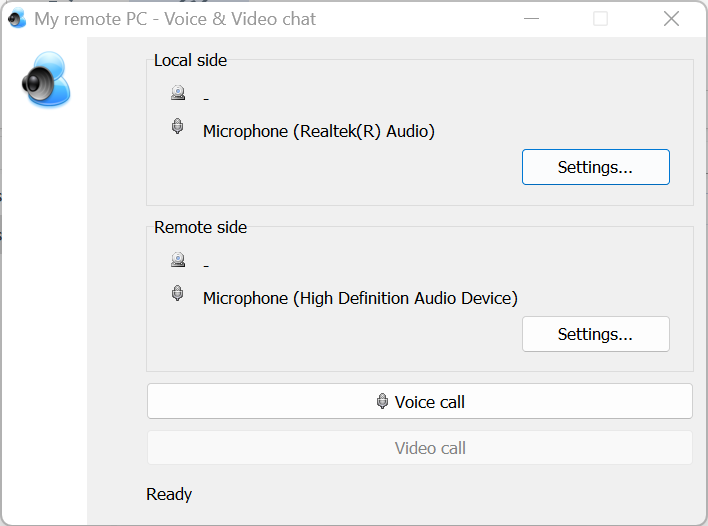
- The Voice and Video chat window will open:
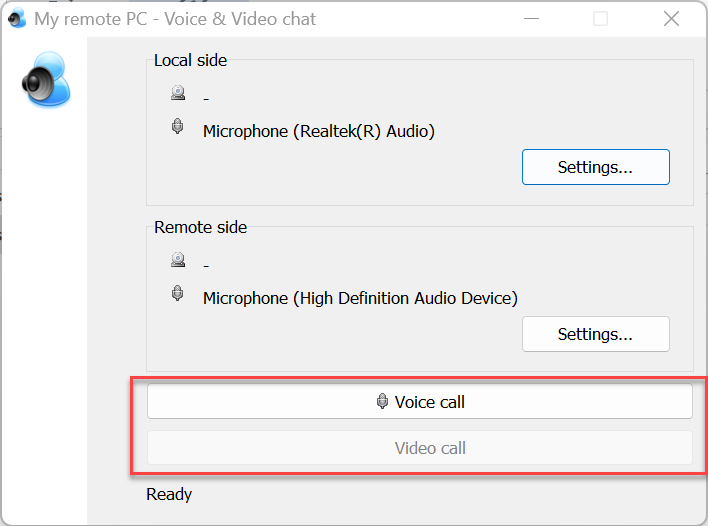
Make a call
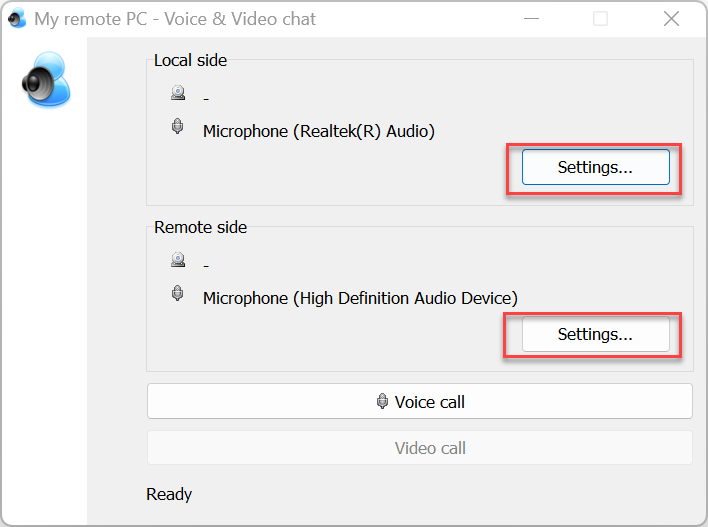
To make a voice or video call click Voice call or Video call in the chat window:
A call prompt window will open on the remote PC:

There are three answering options:
- Answer—start a voice-only call.
- Answer with video—start a video call.
- Decline—decline the call.
If the remote user selects Answer or Answer with video a chat window will open:
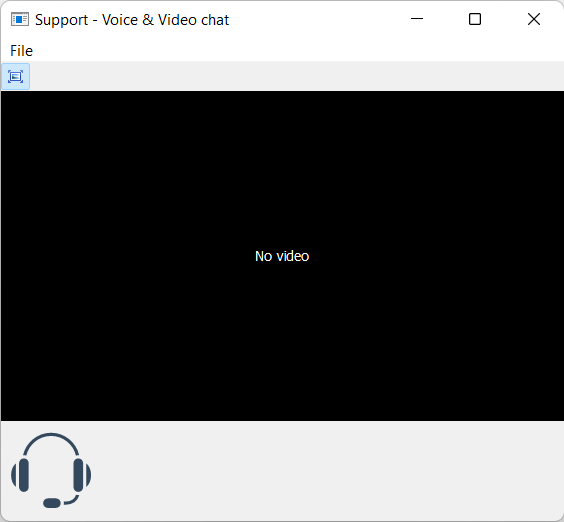
When the remote user answers with video, an image from the web camera is shown in the window.
Call settings
You can open the call settings for the local and remote user by clicking the corresponding button in the Voice and Video chat window.
In the settings window select the desired options and click OK:
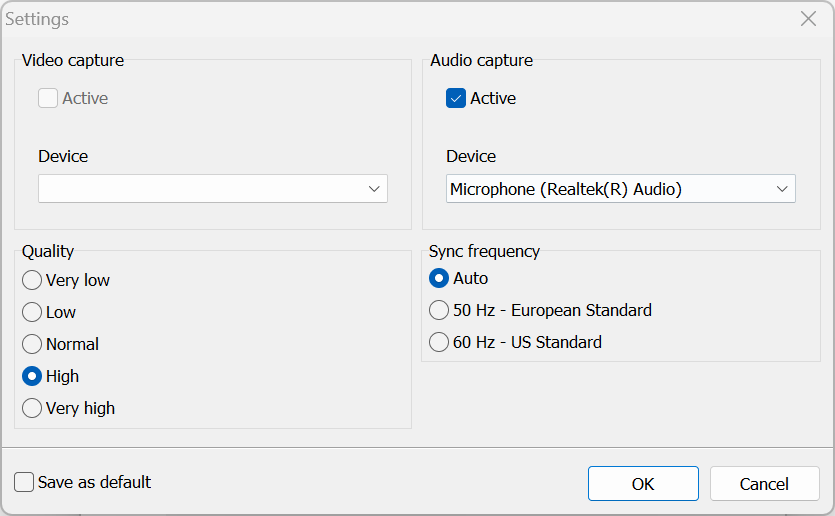
- Active—turn video/audio capture on and off.
- Device—select the video/audio input device.
- Quality—set video quality.
- Sync frequency—sync frequency. 'Auto' is recommended.
- Save as default—save the selected options as default.