Configure Internet-ID
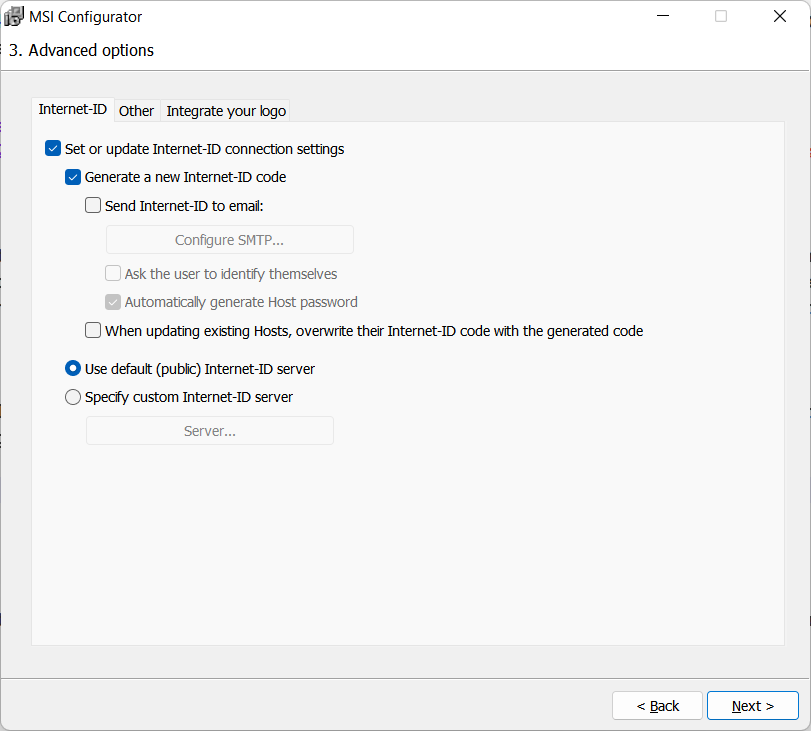
In Step 3 of the configuration process you can turn on the Internet-ID connection for your custom Host package and configure other related settings. These options are available for any type of package.
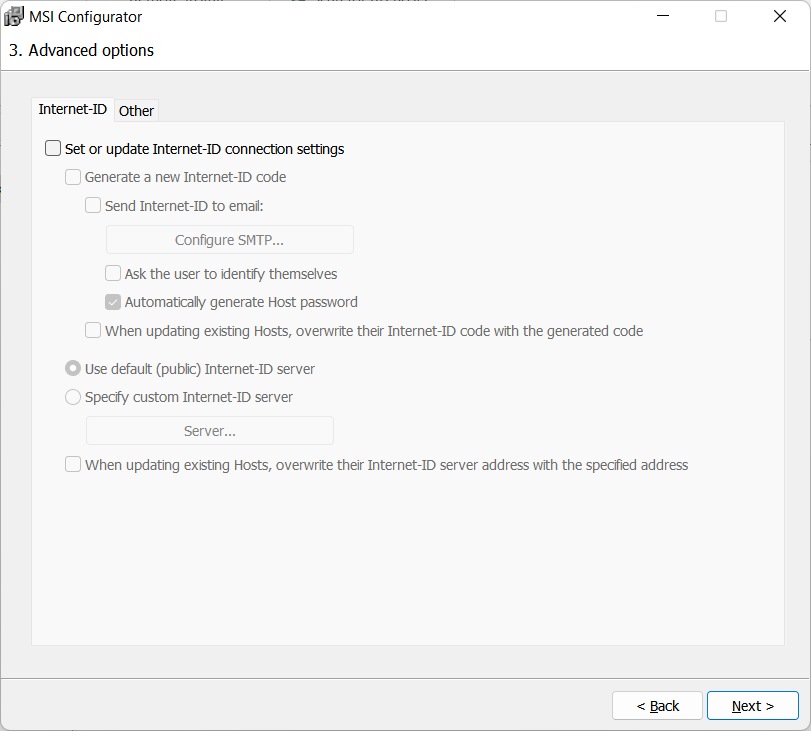
Turn on Internet-ID connection settings
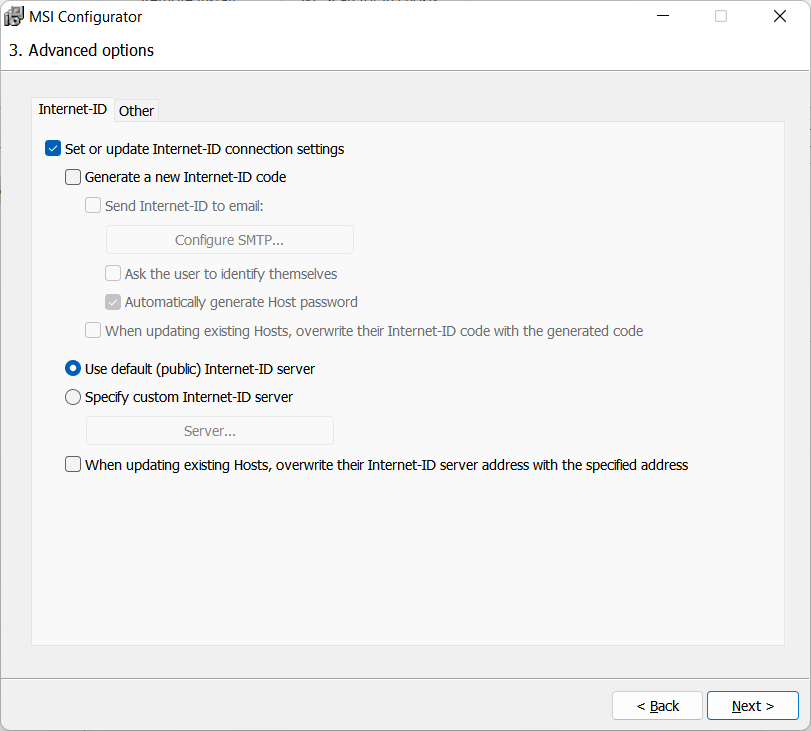
Turn on the Set or update Internet-ID connection settings option to enable the Internet-ID feature for the package and unlock the options below.
Change Internet-ID server
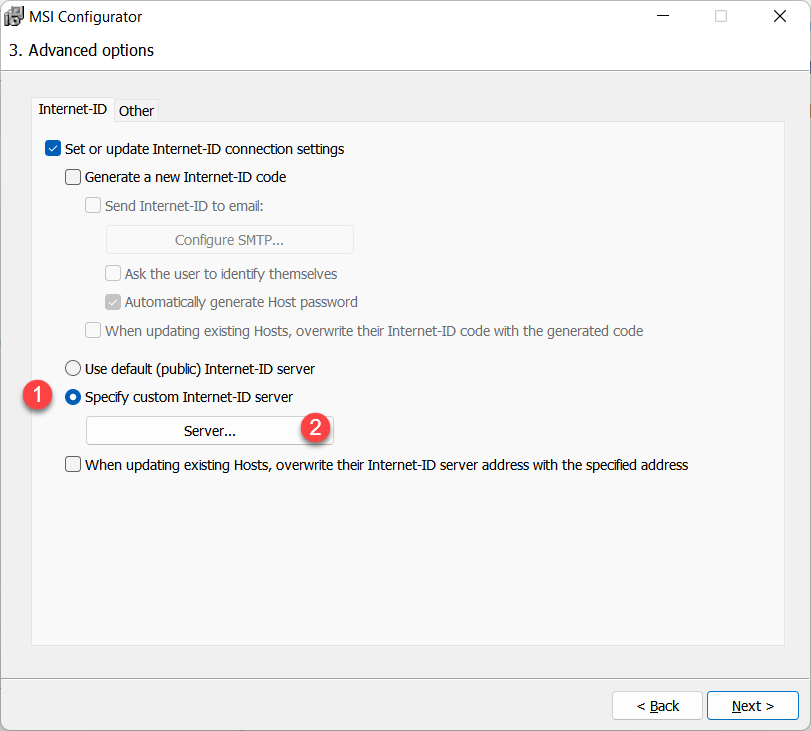
You can change the Internet-ID server from the default (public) server to your on-premises RU Server. Select Specify custom Internet-ID server and click Server.
Enter your RU server address and click OK.
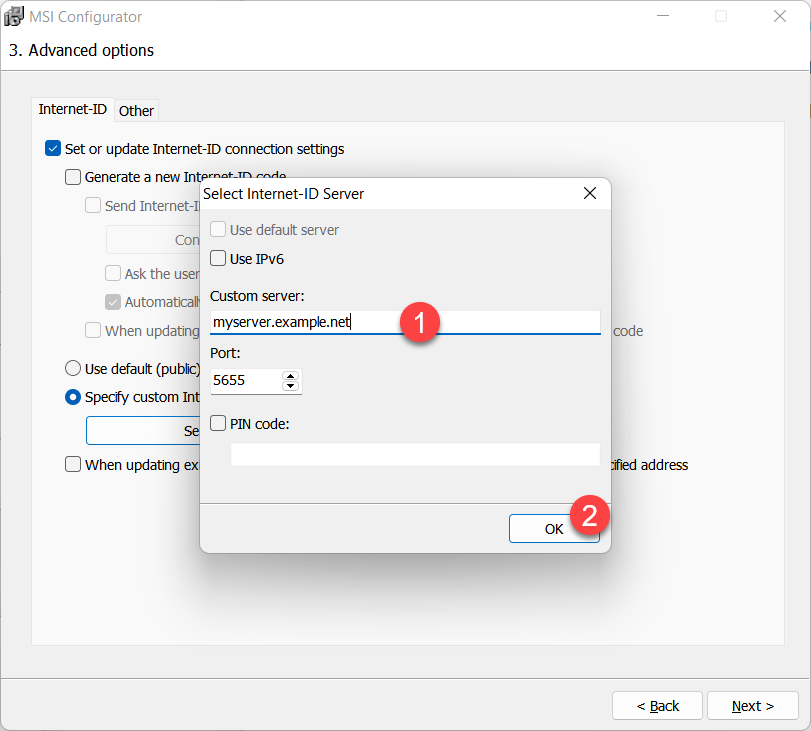
See Set up Internet-ID routing for instructions on how to use your custom RU Server for Internet-ID connection.
Generate a new Internet-ID code
The Generate a new Internet-ID code option will make the Host package generate a unique Internet-ID code for each host instance installed from that package.
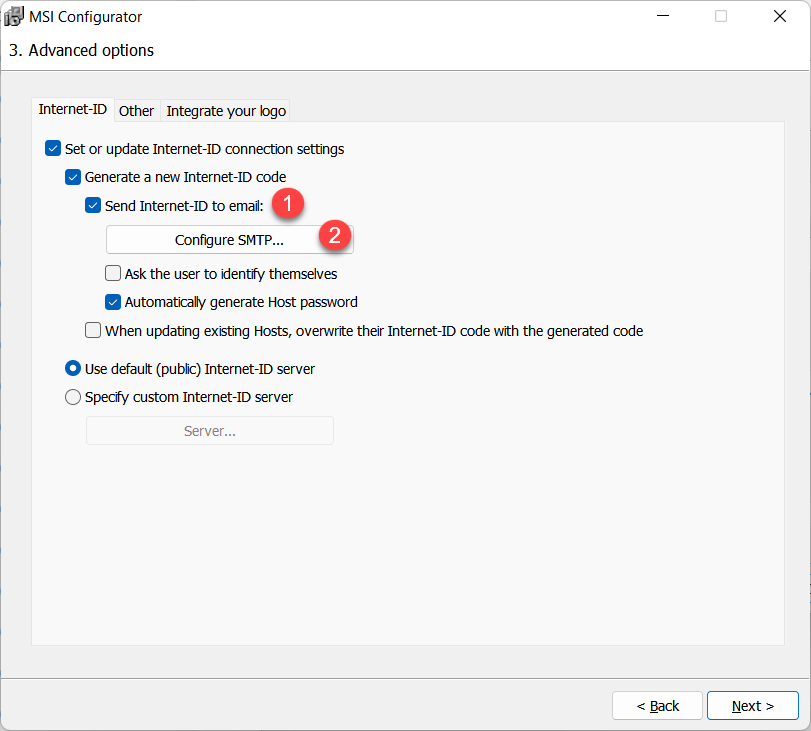
Send Internet-ID to email
You can have the Internet-ID code of a Host instance emailed to you upon installation.
Turn on Send Internet-ID to email and click Configure SMTP.
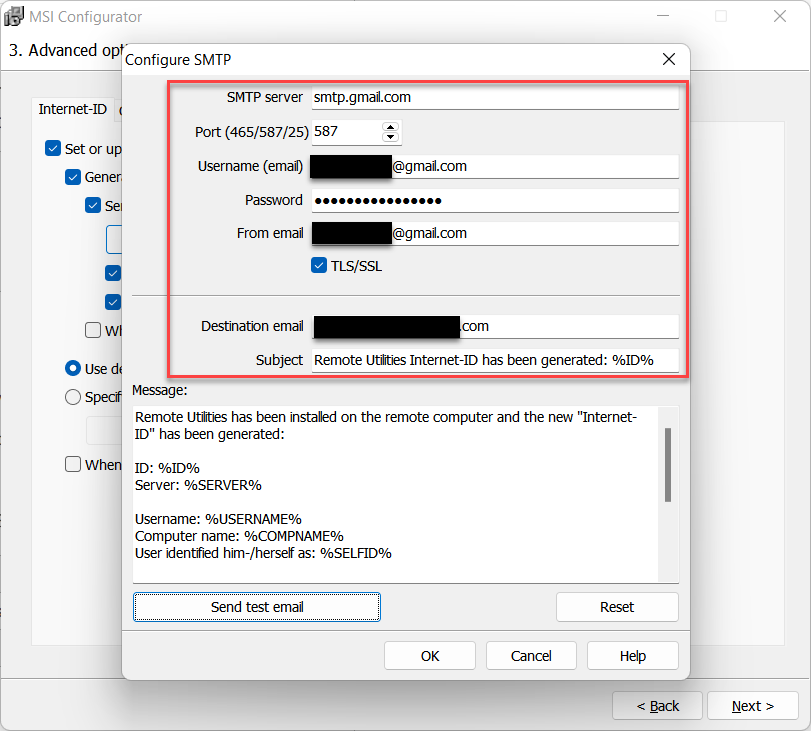
Fill in the SMTP details. Use the Send test email button to check if your SMTP credentials work. The Destination email is the email address where you will receive the email sent by the Host. The message template is editable—with variables marked with '%...%'.
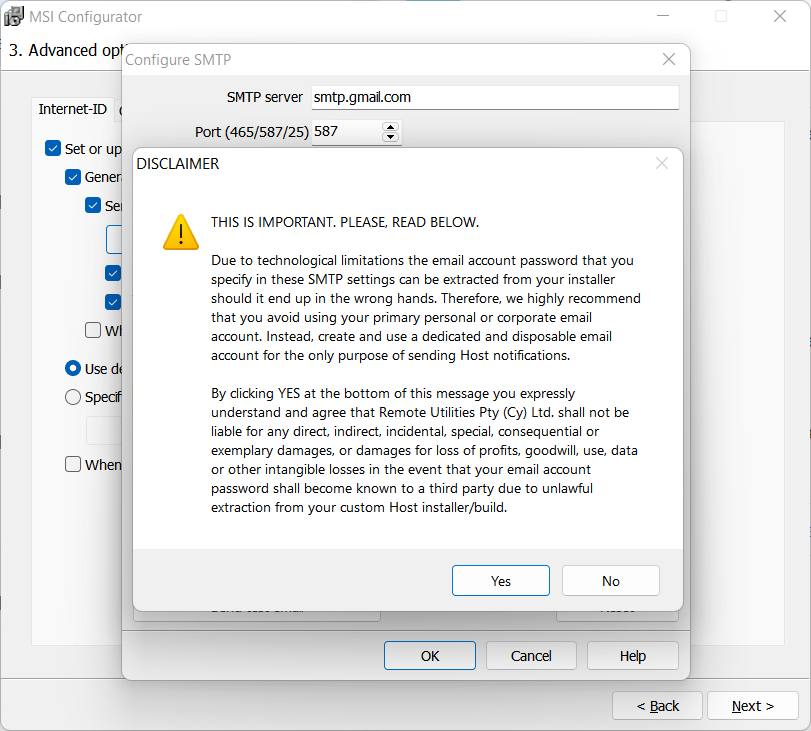
Click Yes in the disclaimer message and OK to save the SMTP details.
Ask the user to identify themselves
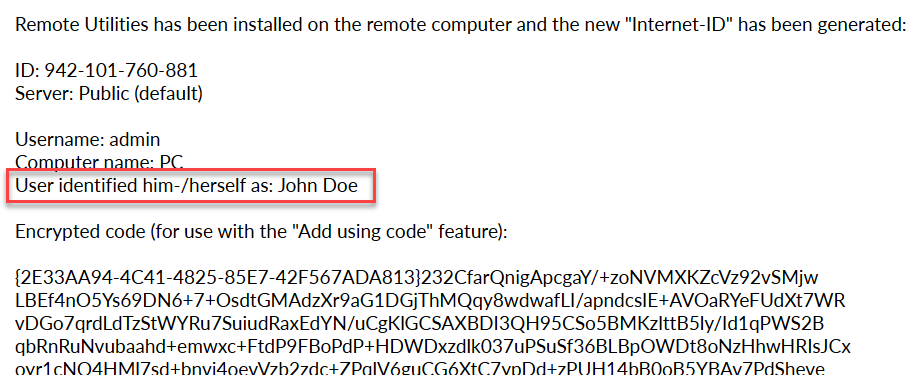
Turn on this option if you want to ask the remote user to give their name during Host installation. This is not to be confused with their username (Windows login).

When installing Host the user will see the prompt window:

The name provided by the user will be sent to you in the same email message that contains the Internet-ID code.
Automatically generate Host password
Select this option if you want the access password to be automatically generated for each Host instance.
1. If Automatically generate Host password is selected, each Host instance installed from this package will get a unique, randomly generated access password.
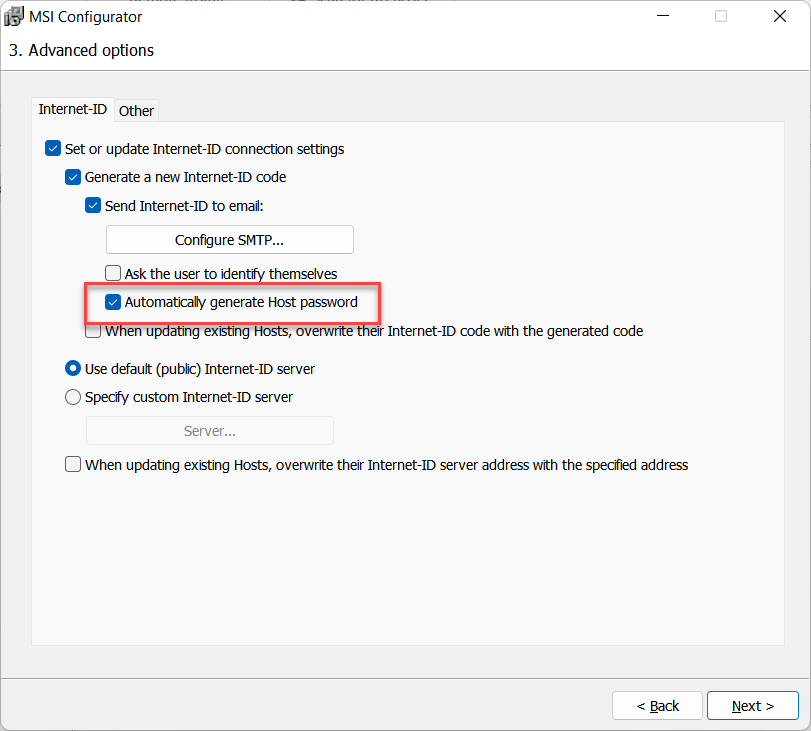
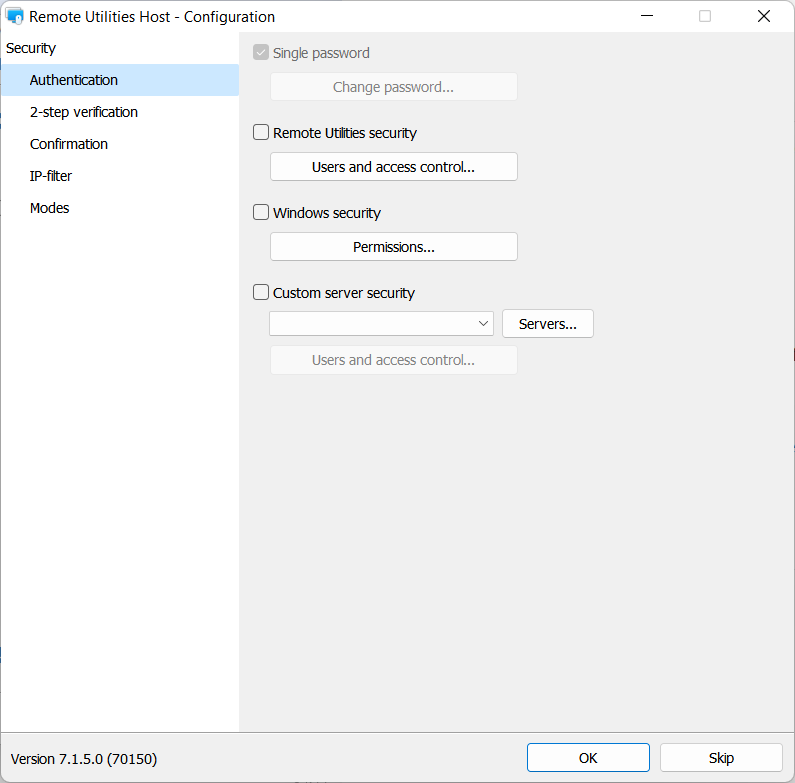
You will not be able to set single password manually in Host configuration window in the next step, because the program is supposed to generate one automatically:
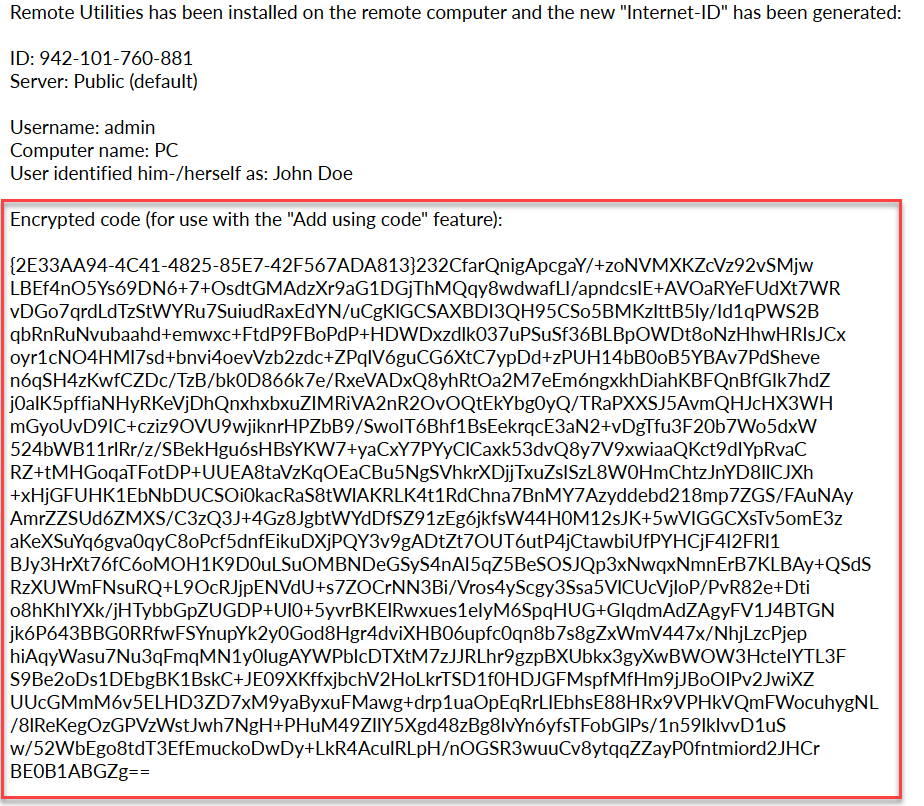
When a Host instance is installed from your custom package, you will receive a secure email with an encrypted block of text, that contains the Internet-ID code AND the access password. See how to decrypt this text and add a new Host to your address book in the "Add using code" section below.
2. If Automatically generate Host password is NOT selected, all Host instances installed from this package will share the same access credentials.
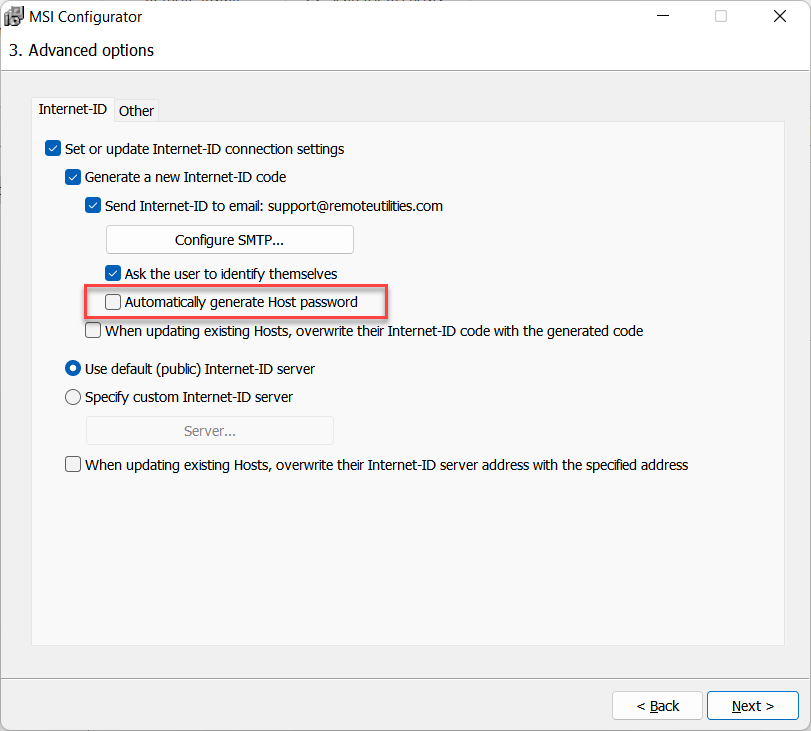
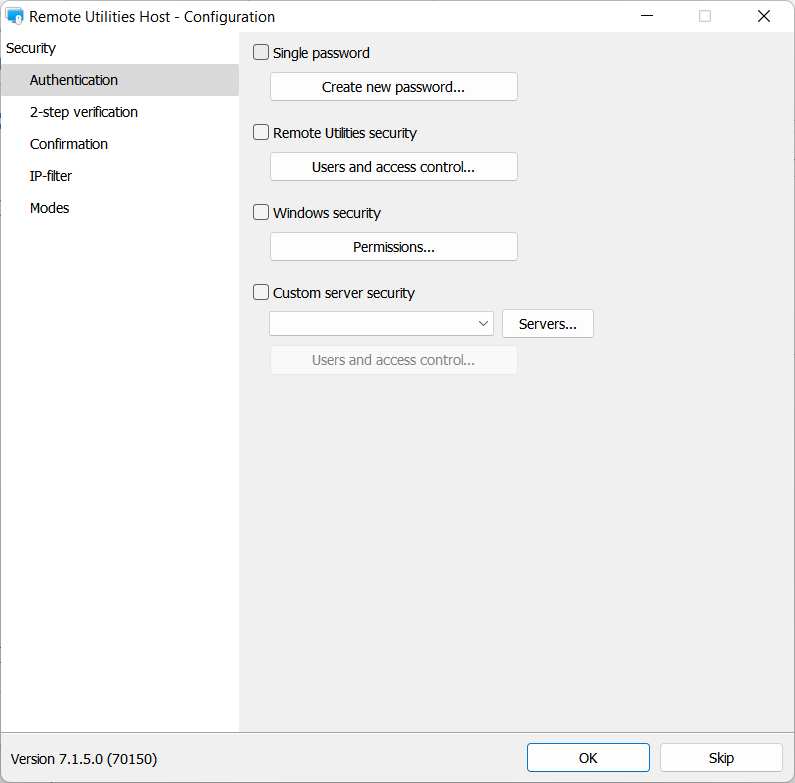
You should create access credentials in Step 4 of the configuration process, Host configuration settings→Authentication.
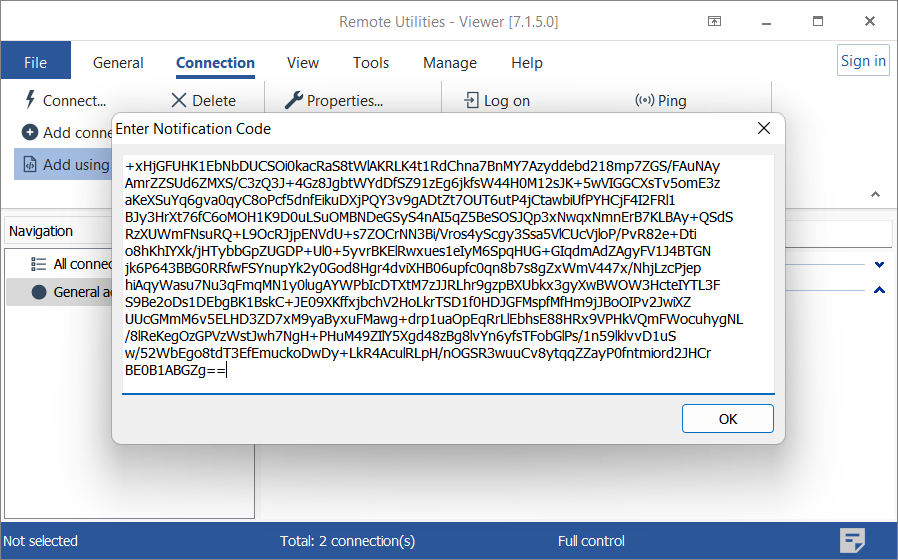
Add using code
If you chose Automatically generate Host password in Step 3 of the configuration process, both the Internet-ID code and access password are emailed to you in an encrypted block of text. Here is how to add a new Host to your address book:
- Open Viewer, go to Connection→Add using code.

- Copy the encrypted block of text from the email message and paste it in the window. Click OK.
- Note how a new connection appears in your address book with the Internet-ID and password generated by the Host instance during installation.
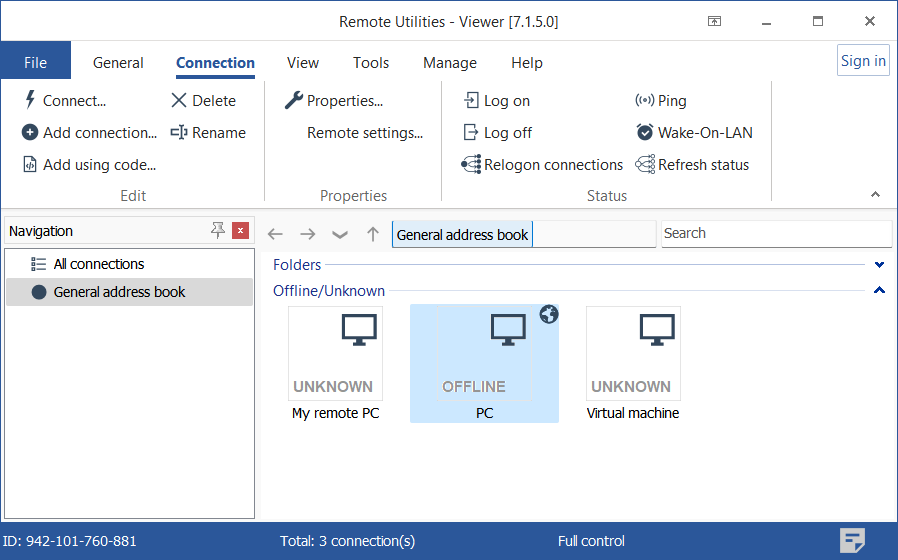
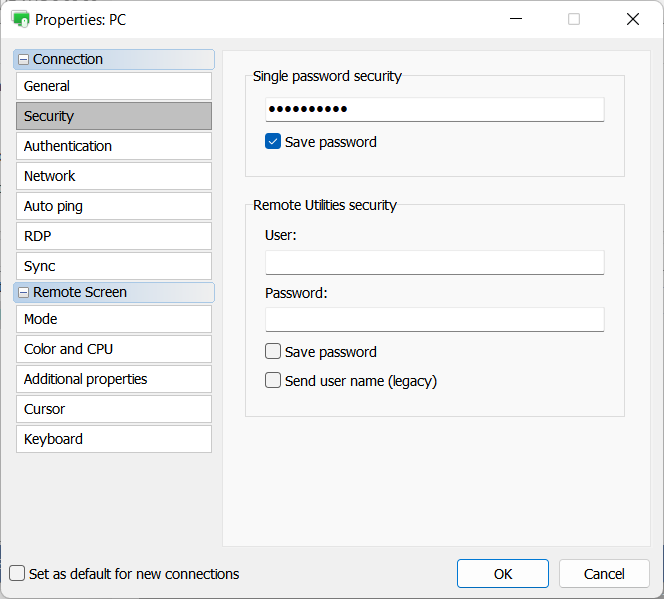
- The access password is saved in the Security section of connection properties.
If you encounter the "Code you entered is incorrect" error please refer to this knowledge base article.