Internet-ID Settings
In the Internet-ID dialog you can change the settings for an Internet-ID connection, such as the Internet-ID code and Internet-ID server.
Turn on Internet-ID
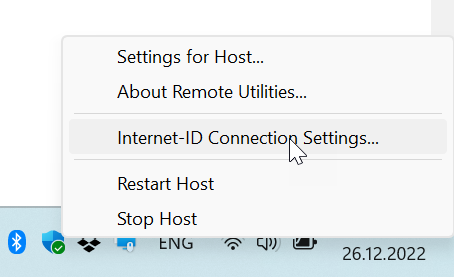
- Right-click the Host icon in the system tray and select Internet-ID connection settings:
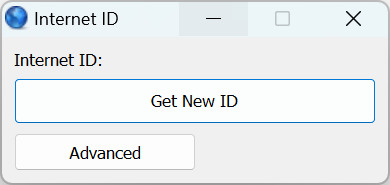
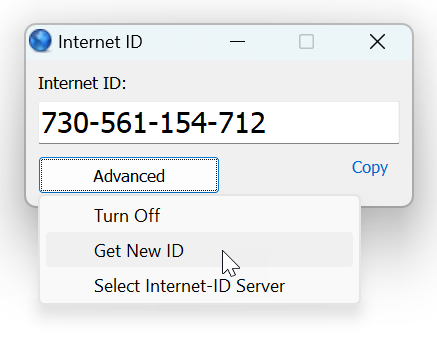
- Click Get New ID:
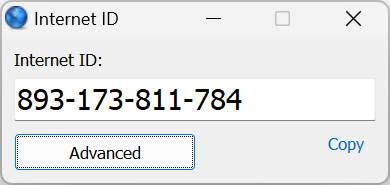
- A new Internet-ID code will be generated for this Host:
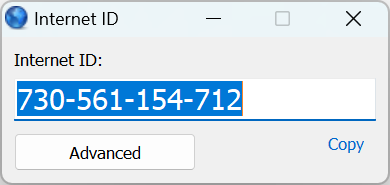
- Note down the Internet-ID code. You need this Internet-ID code when you create a new connection in Viewer. For details, please refer to this Quick Start Guide.
- Click X to close the window.
Turn off Internet-ID
- Right-click the Host icon in the system tray and select Internet-ID connection settings:
- Click Advanced→Turn off:
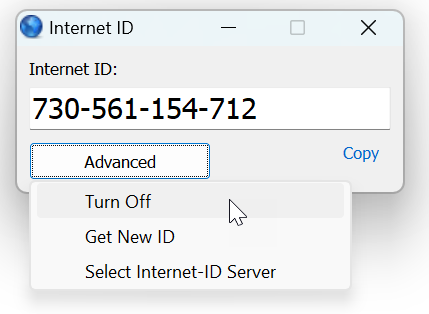
- This will disable the Internet-ID connection on this Host. To re-enable it, click Advanced→Turn on. The Internet-ID code will stay the same.
- Click X to close the window.
Change Internet-ID code
- Right-click the Host icon in the system tray and select Internet-ID connection settings:
- Click Advanced→Get new ID:
- A new Internet-ID code will get generated:
- Click X to close the window.
Change Internet-ID server
By default, Remote Utilities uses our company's hosted servers to route Internet-ID connections. You can optionally set up RU Server to route your connections through.
- Right-click the Host icon in the system tray and select Internet-ID connection settings:
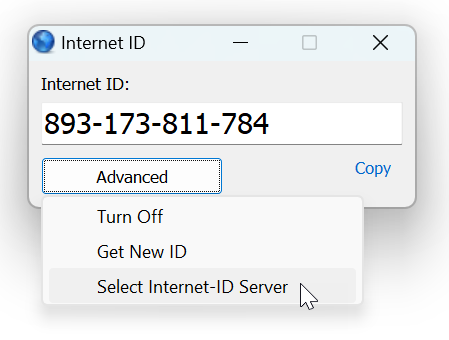
- Click Advanced→Select Internet-ID Server:
- Clear the Use default server option and enter the IP address or DNS name of your self-hosted RU Server:

- If you use a different port for your RU Server, also specify the port. See Ports used by RU Server
For more information about the PIN code option please refer to Set up Internet-ID Routing.