Install and Uninstall
Install Host
You must be logged in with an administrator account on the computer where you install Host.
- Download Host and run the downloaded EXE file.
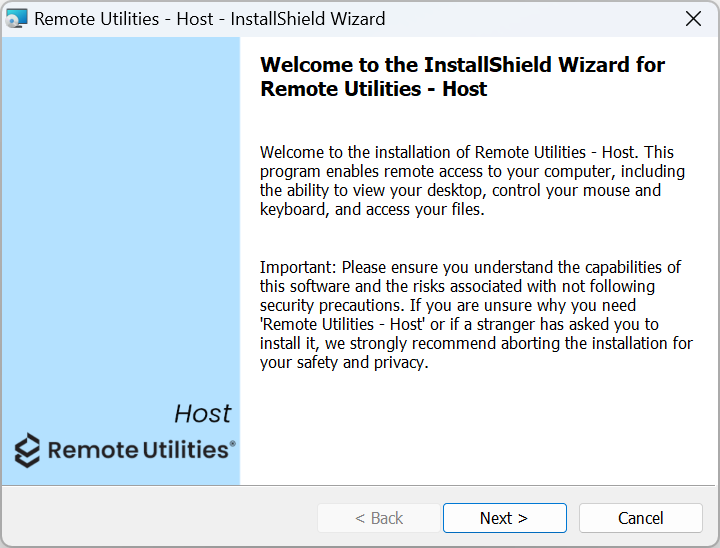
- In the installation wizard click Next.
- Read and accept the End User License Agreement and click Next.

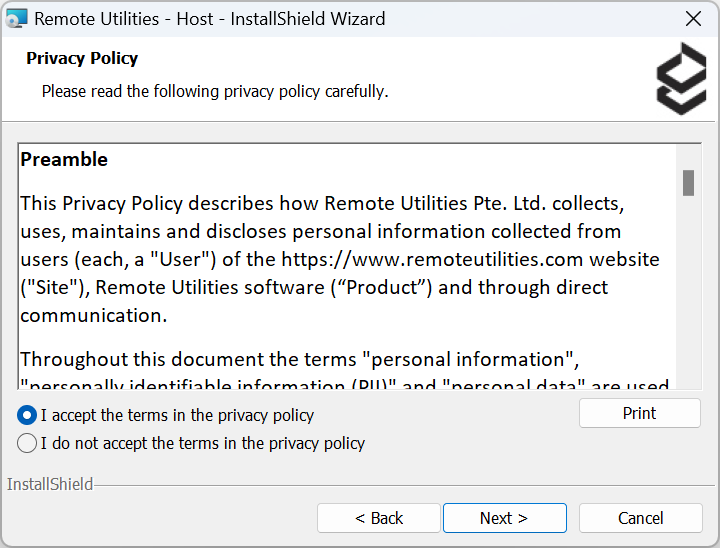
- Read and accept the Privacy Policy and click Next.
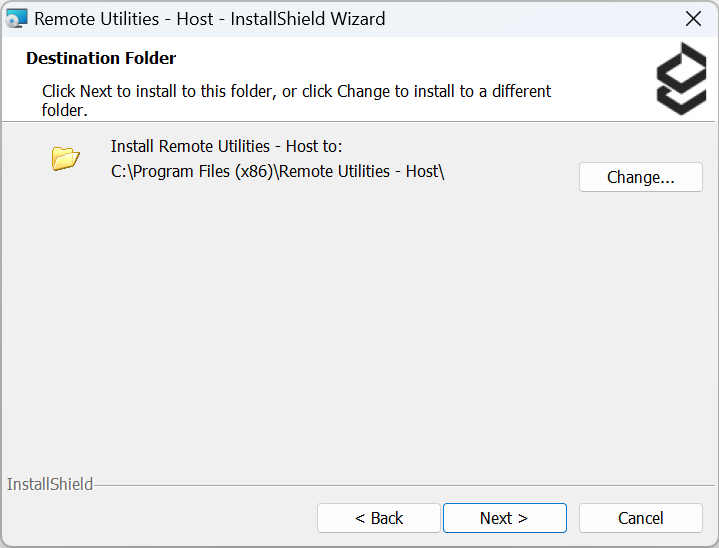
- Keep the default installation directory—or change it if necessary—and click Next.
- Choose whether you want to add a rule to the system firewall and select other options if necessary and click Next.
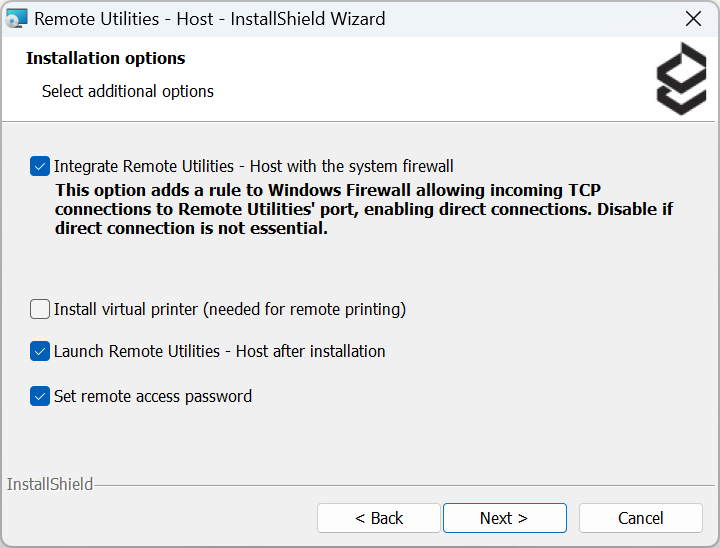
Install the virtual printer driver to enable remote printing. The virtual printer driver is not compatible with Windows XP.
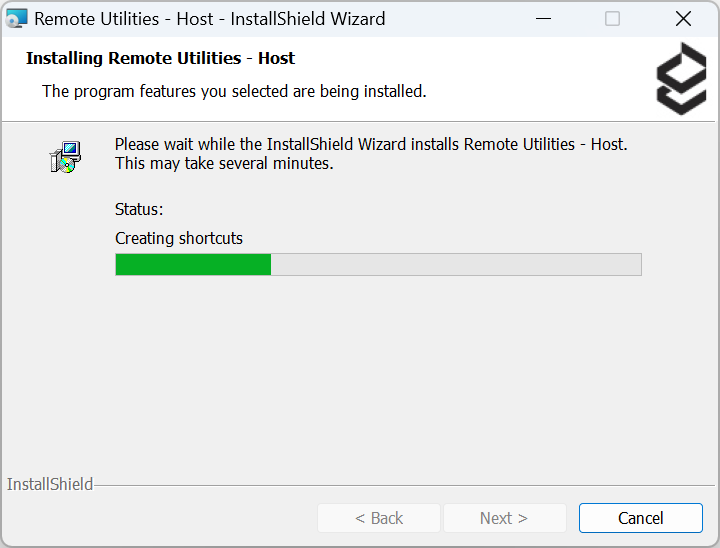
- Click Install to start installation.

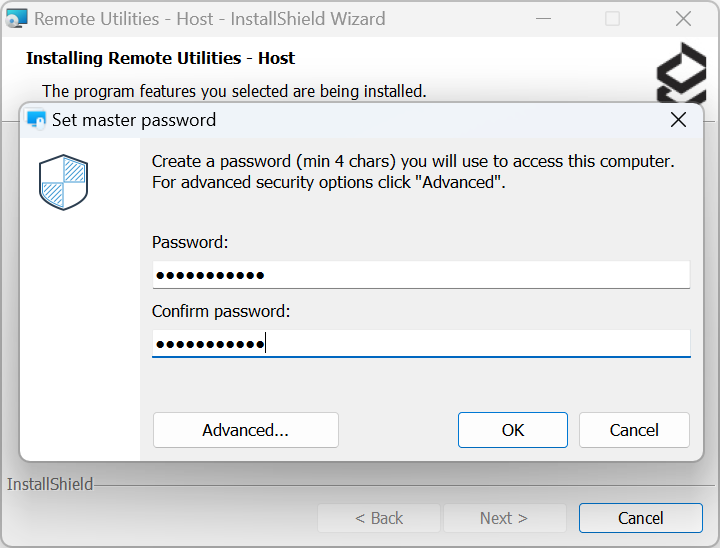
- Set the access password and click OK.
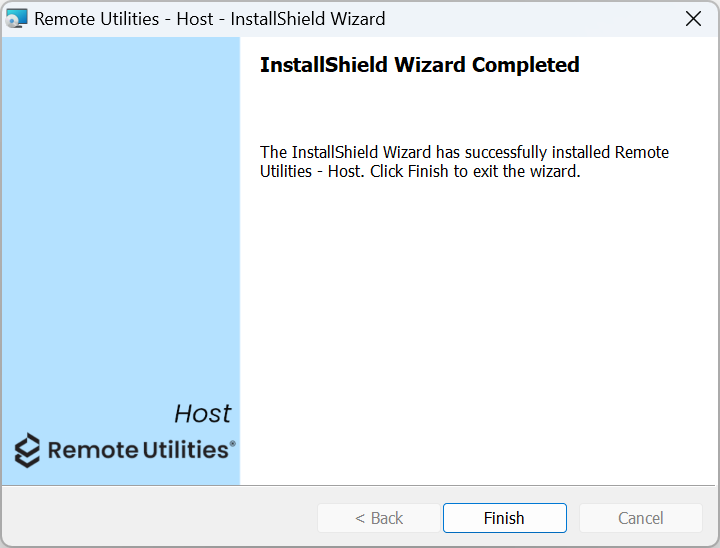
- Wait until the installation process is complete and click Finish to close the wizard.
Install Viewer
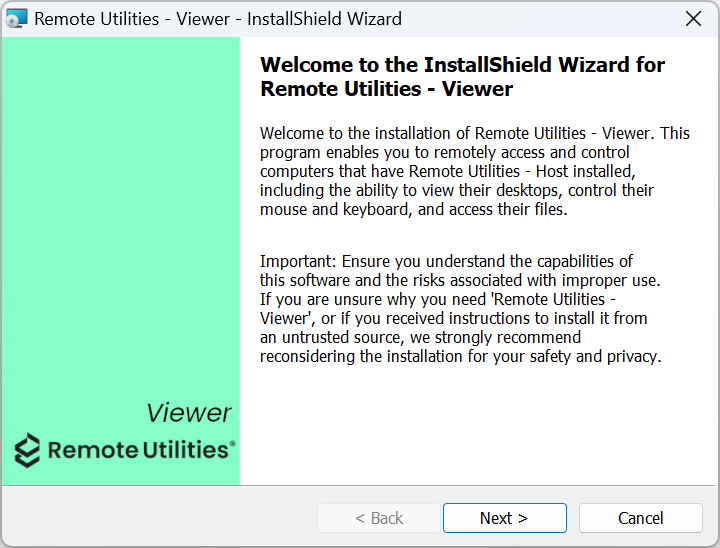
- Download Viewer and run the downloaded EXE file.
- In the installation wizard click Next.
- Read and accept the End User License Agreement and click Next.

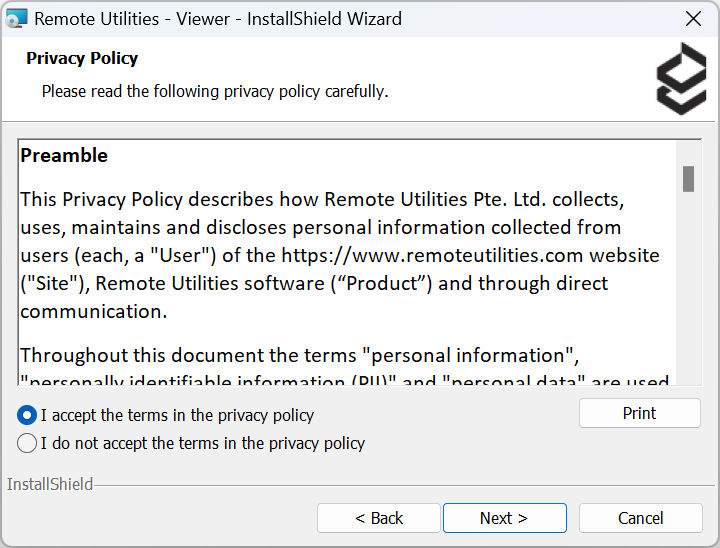
- Read and accept the Privacy Policy and click Next.
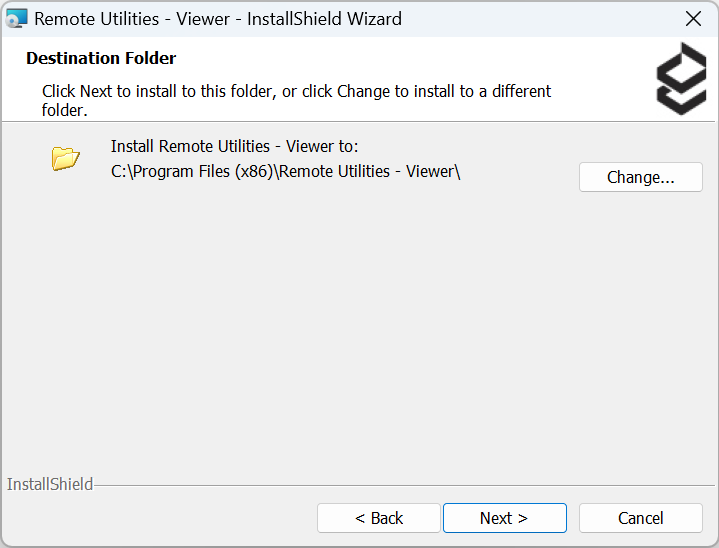
- Keep the default installation directory—or change it if necessary—and click Next.
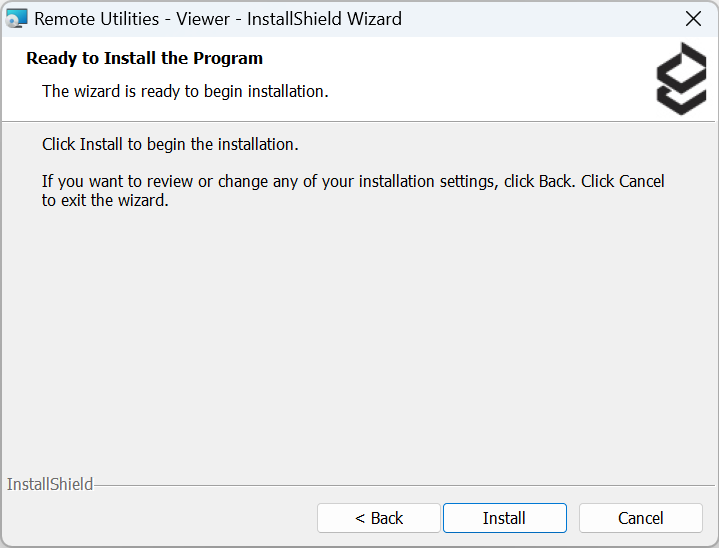
- Click Install to start the installation process.
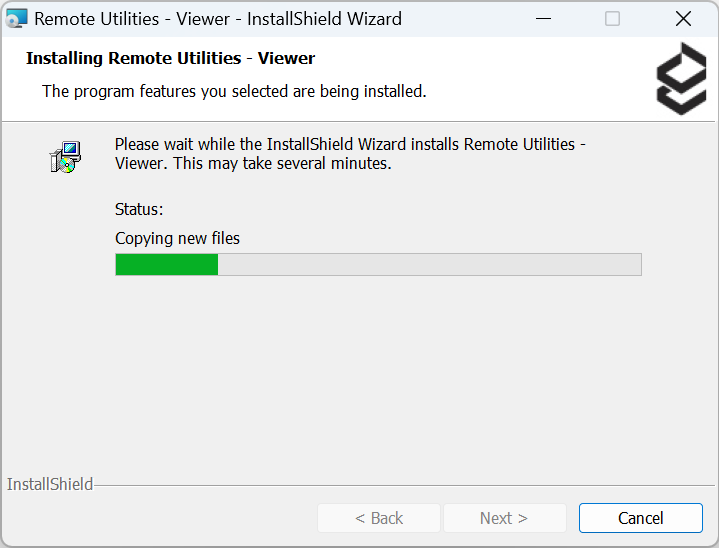
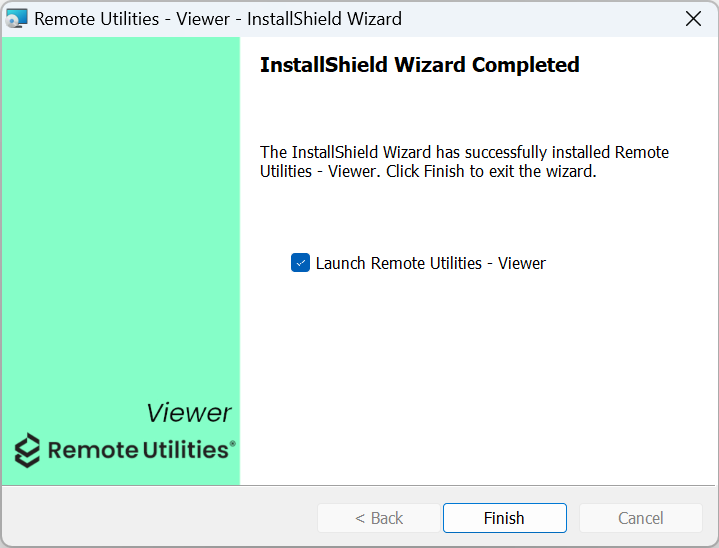
- Wait until the installation process is complete and click Finish to close the wizard.
Uninstall Host
To completely uninstall Host from your PC:
- Open Windows Settings, select Apps➝Apps and Features, and find Remote Utilities - Host in the list.
- Click the vertical ellipsis icon ( ⋮ ) and select Uninstall.
- In Windows Search type in "regedit" and press Enter to open the registry editor:
- For Host 6.3 or earlier, delete the registry key
HKEY_LOCAL_MACHINE\SYSTEM\Remote Utilities\. - For Host 6.5 or later, delete the registry key
HKEY_LOCAL_MACHINE\SOFTWARE\Usoris\Remote Utilities Host\.
- For Host 6.3 or earlier, delete the registry key
- Delete the folder
C:\Program Files\Remote Utilities - Host\(Windows 32-bit) orC:\Program Files (x86)\Remote Utilities - Host\(Windows 64-bit). - Restart your PC.
Uninstall Viewer
To completely uninstall Viewer from your PC:
- Open Windows Settings, select Apps➝Apps and Features, and find Remote Utilities - Viewer in the list.
- Click the vertical ellipsis icon ( ⋮ ) and select Uninstall.
- Delete the folder
C:\Users\YOUR_USERNAME\AppData\Roaming\Remote Utilities Files\.By default, your address books reside in this folder. Namely, the General address book (connections_4.xml). Make sure you back up this folder before you delete it, in case you need your address books in the future.
The AppData folder may be hidden—you might need to enable Show hidden files and folders in your system.
- Delete the folder
C:\Program Files\Remote Utilities - Viewer\(Windows 32-bit) orC:\Program Files (x86)\Remote Utilities - Viewer\(Windows 64-bit). - Restart your PC.
How to remove Agent
To remove all traces of Agent from your computer:
- Delete the downloaded Agent file (.exe).
- Delete the folder
C:\Users\user_name\AppData\Roaming\Remote Utilities Agent\. - In Windows Search type in "regedit" and press Enter to open the registry editor:
- Delete the registry key
Computer\HKEY_CURRENT_USER\Software\Usoris\Remote Utilities.
- Delete the registry key