Edit Connections
Each connection in the address book has individual properties. These properties determine how you connect to a specific remote PC, including the color depth, connection type, and more. You can consider address book connections as saved sessions, each with its distinct parameters (connection properties).
To access the connection properties, follow these steps:
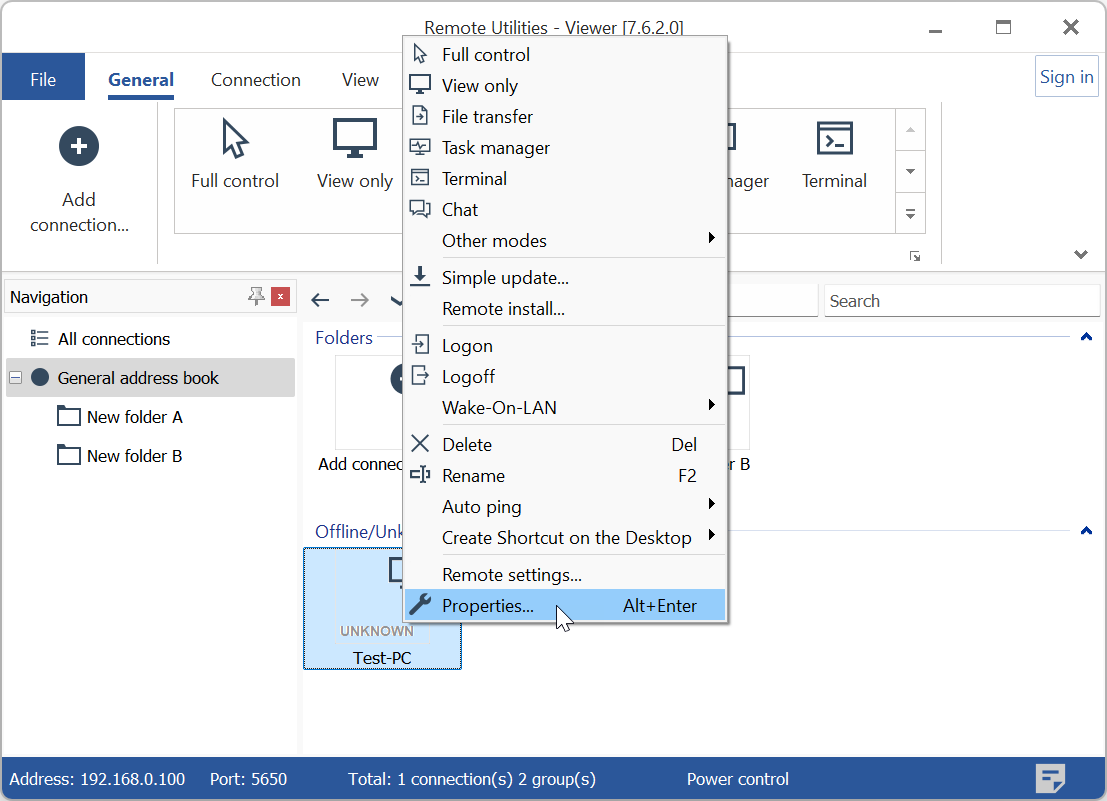
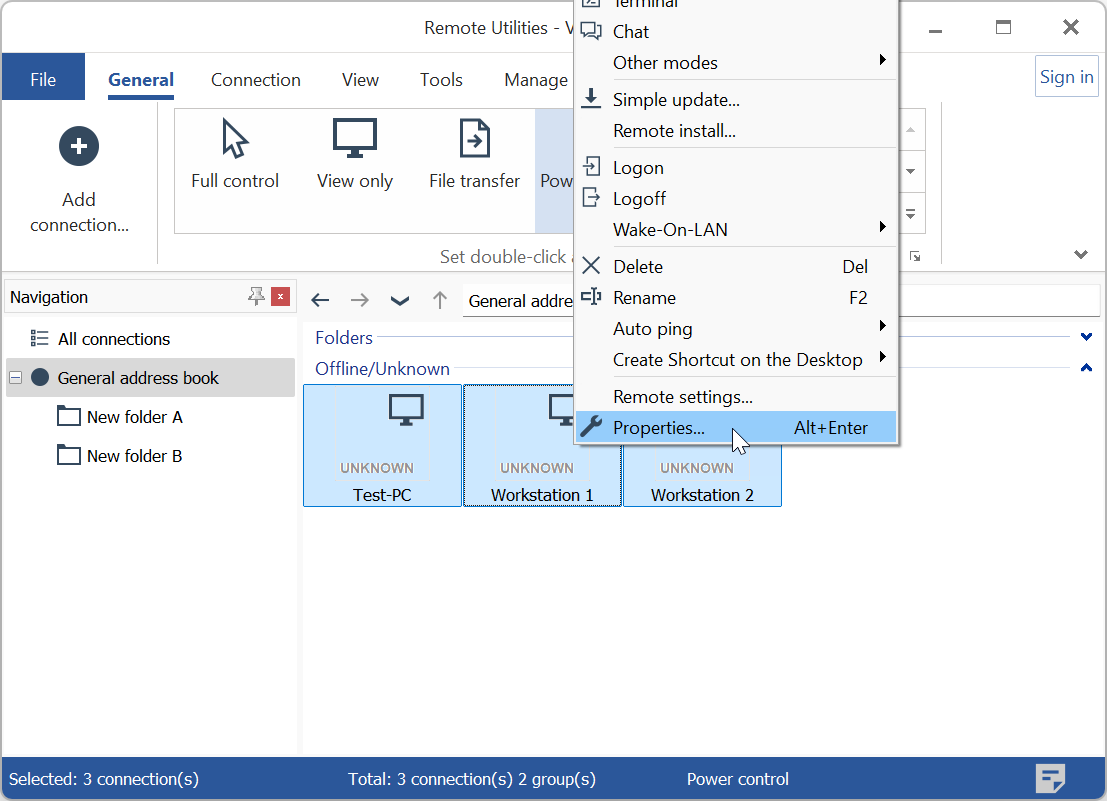
- Right-click on the desired connection in the address book and select Properties:
- The connection properties window will then appear.
General
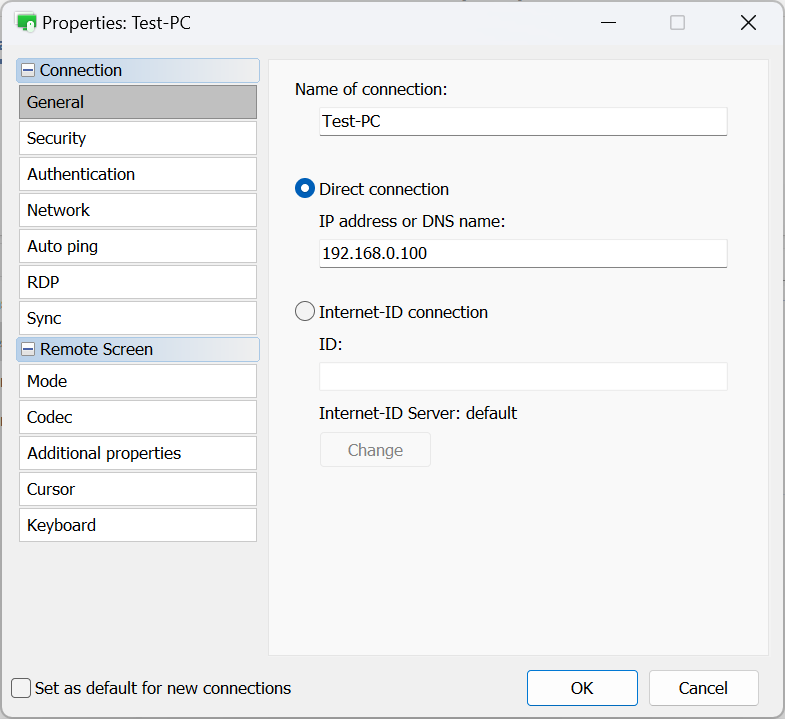
- Name of connection—this represents the descriptive name of the connection displayed in the address book.
- Direct connection—select this option for a point-to-point connection (i.e., without an intermediary server).
- IP address or DNS name—enter the IP address or DNS name of the remote host here.
- Internet-ID connection—choose this option if you wish to connect to a remote host using an Internet-ID.
- ID—enter the Internet-ID code of the remote host.
- Internet-ID Server—specify which Internet-ID server to use.
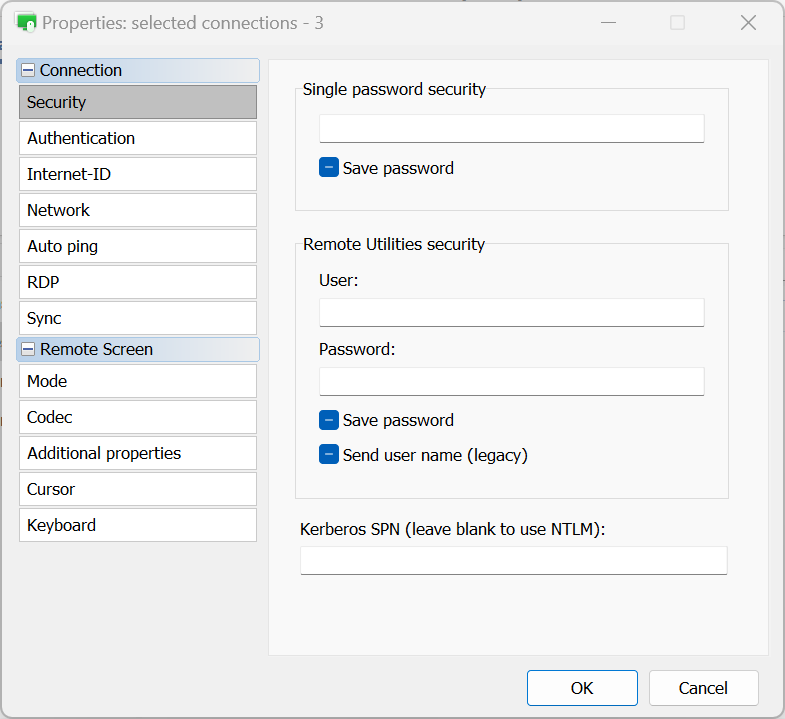
Security
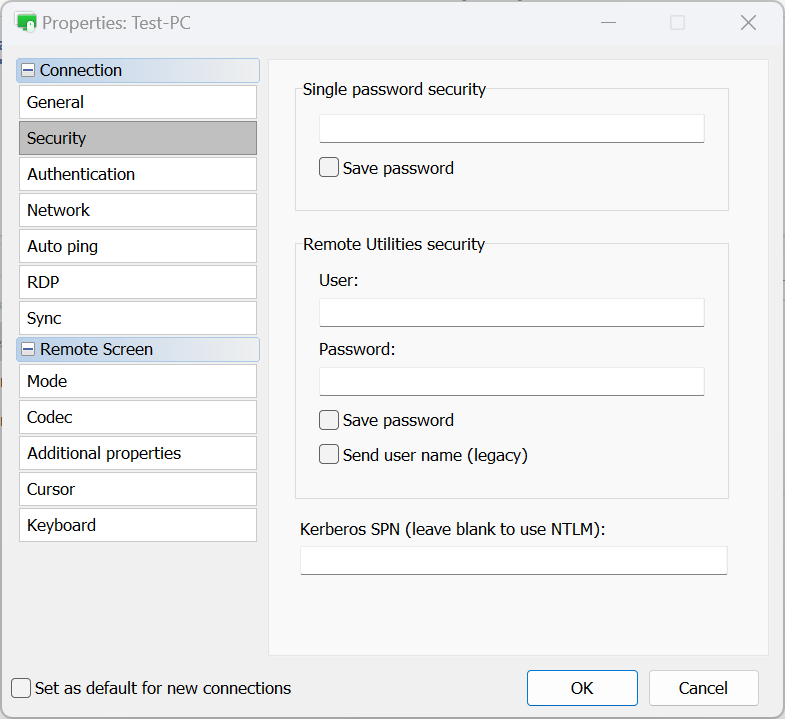
- Single password security
- Input the Host access password for single password authentication and enable the Save password checkbox to store the password in your address book.
- Remote Utilities security
- User—enter the username for Remote Utilities Security authentication.
- Password—input the password for Remote Utilities Security authentication.
- Save password—enable this to store the password for Remote Utilities security authentication in your address book.
- Send user name (legacy)—this option supports backward compatibility with previous versions.
- Kerberos SPN—if Kerberos is used, enter Kerberos SPN.
Authentication
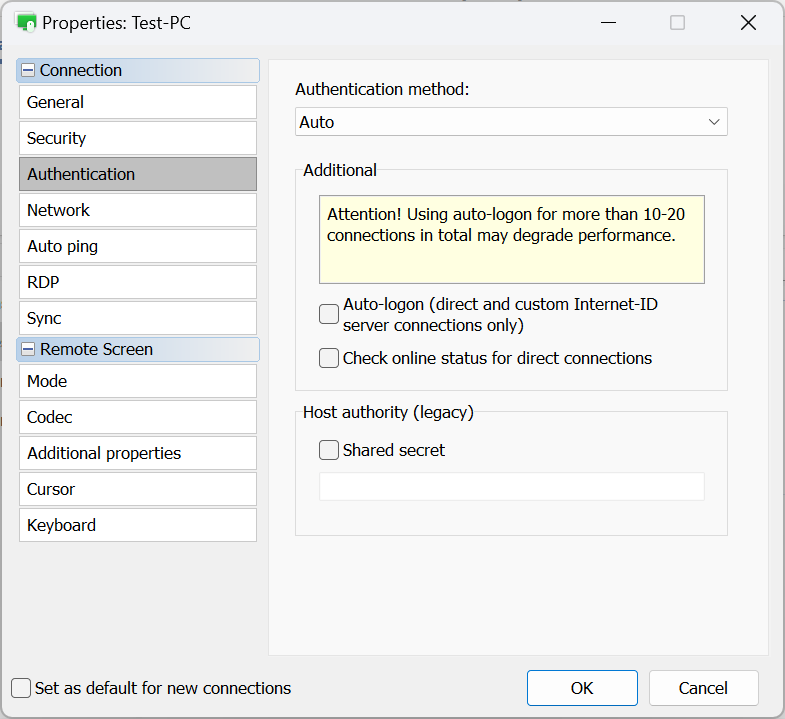
- Authentication method—choose the authentication method you wish to employ.
- Auto—the Viewer will automatically select the authentication method. This is the recommended setting.
- Single password—opt for single password authentication.
- Remote Utilities Security—use Remote Utilities Security for authentication.
- Windows security—use Windows Security for authentication.
- Custom server security—use Custom Server Security for authentication.
- Auto-logon—enable automatic logon.
- Check online status for direct connections — enable online status checks for direct connections.
- Shared secret—specify the shared secret, if used. This is a legacy option left for compatibility. Starting from version 6.9 a certificate-based system replaced the older host identity check mechanism. See "Host identity" on this page.
With Auto selected in the Authentication method dropdown, the Viewer prioritizes authentication methods as follows:
- Custom Server Security (CSS)
- Windows Security
- Remote Utilities Security
- Single password
For example, if both "Remote Utilities Security" and "Single Password" are enabled in the remote Host authentication settings, the Viewer will default to "Remote Utilities Security" (because it is prioritized higher). To use "Single Password", specifically select it in the dropdown, overriding the automatic preference.
Network
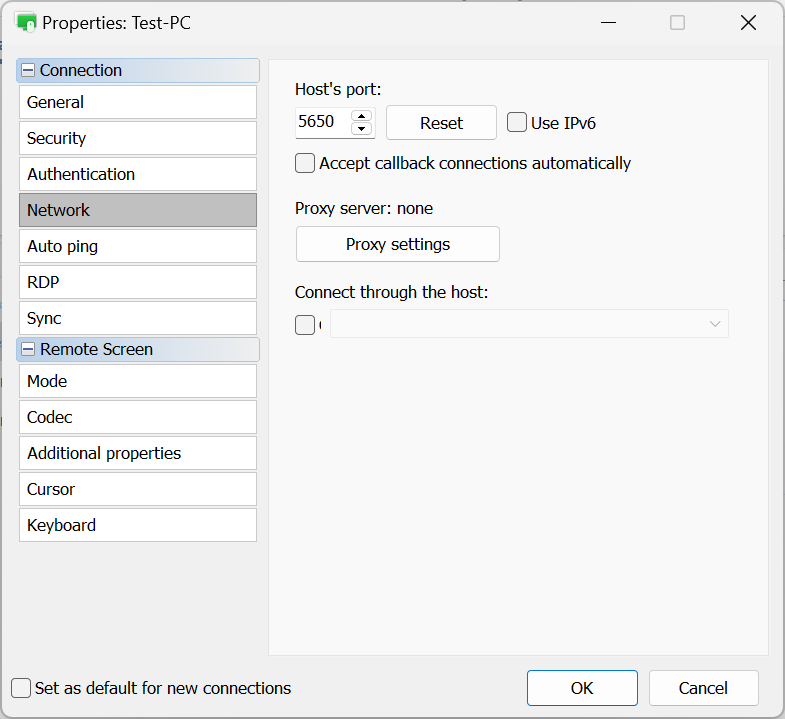
- Host's port—port used by the Host for direct connection.
- Use IPv6—enable IPv6 support.
- Accept callback connections automatically—if you use callback connection, select this check box to automatically accept incoming callback connections.
- Proxy settings—specify proxy settings to connect via a proxy server.
- Connect through the Host—use cascade connection.
Auto-ping
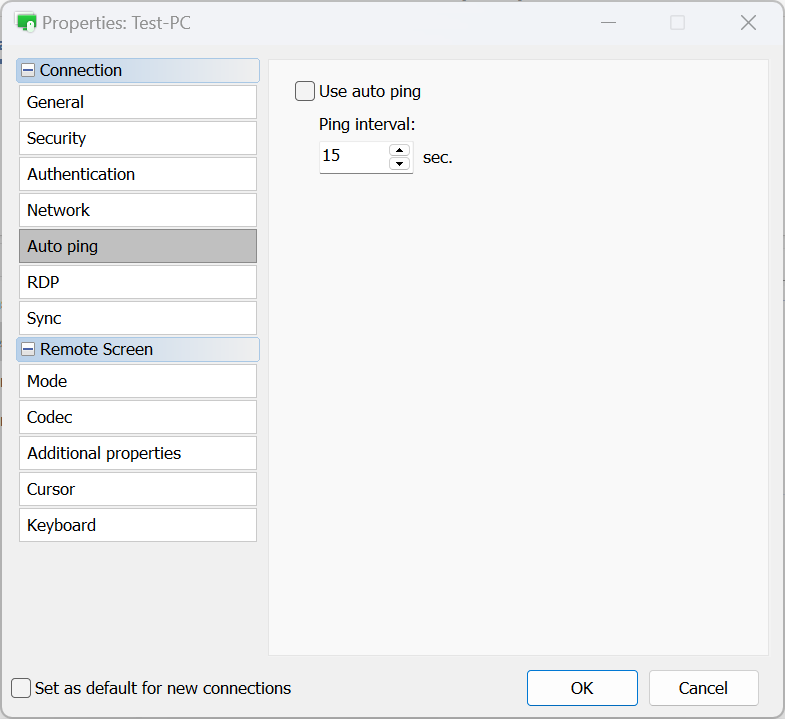
- Use auto-ping—turn on Auto-ping. See Check online status.
- Ping interval—set the auto-ping interval.
RDP
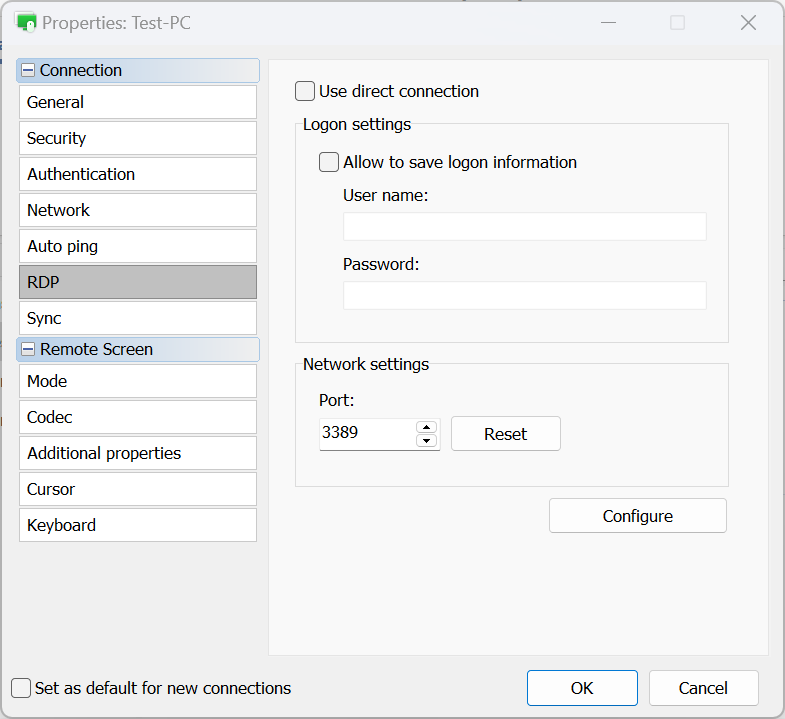
- Use direct connection—for RDP only use direct connection and disable the RDP-over-ID feature.
- Allow to save logon information—turn on this option this to save your RDP credentials (login and password) to the disk.
- Port—port used by the RDP mode. Click Reset to reset to the default value.
- Configure—open the native RDP settings window.
Sync
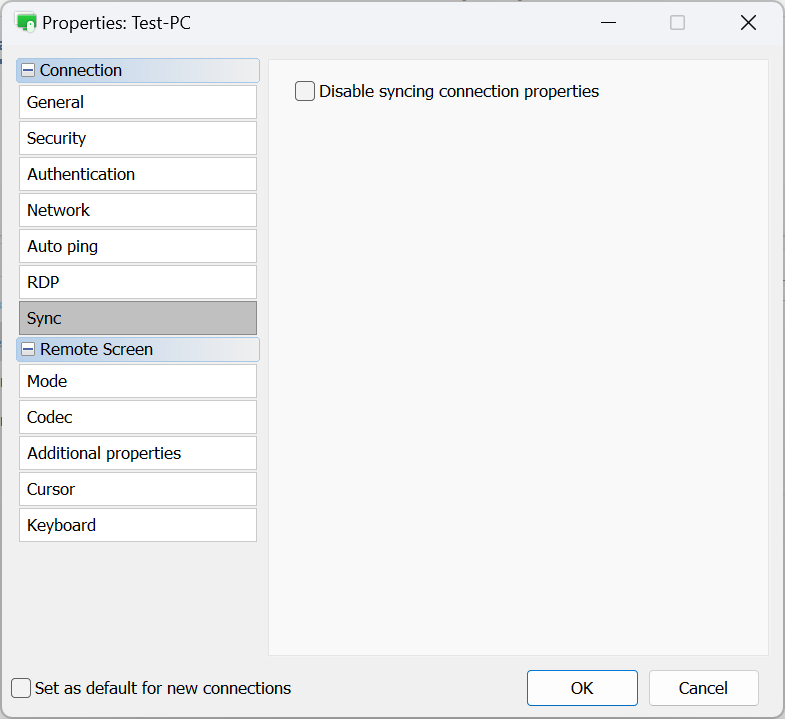
- Disable syncing connection properties—do not sync connection properties when syncing address book via RU Server.
Mode
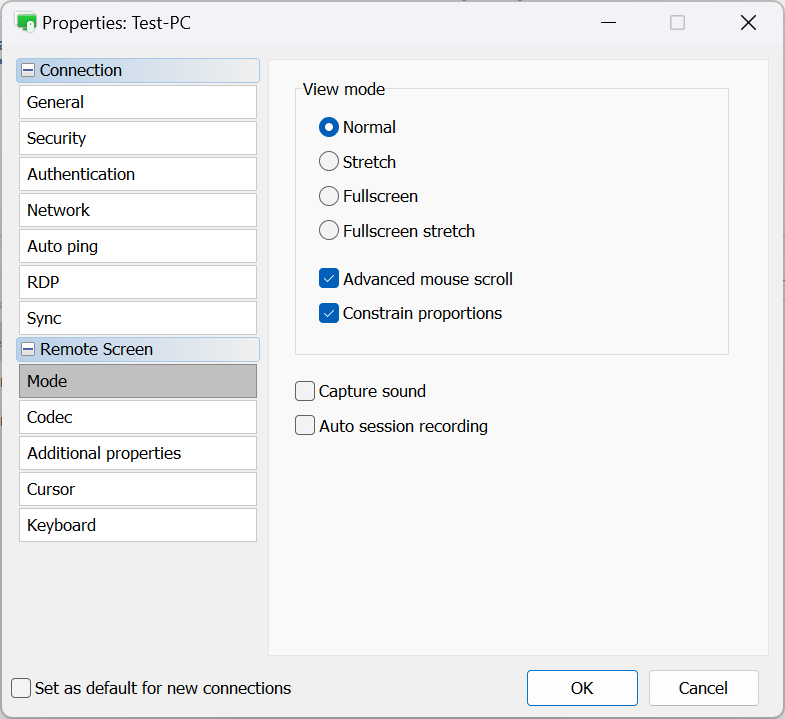
- Normal—show the actual pixels (1:1). If the remote screen resolution is bigger than the local resolution/window, scrollbars will appear.
- Stretch—stretch or shrink the remote screen image to fit into the Full Control and View window.
- Fullscreen—remove the Full Control and View window borders to use all screen real estate available.
- Fullscreen stretch—stretch the remote screen image on the local PC without borders.
- Advanced mouse scroll—enable this option if you want scrolling to occur when you move the mouse cursor toward the screen edges.
- Constrain proportions—keep aspect ratio when resizing the remote screen.
- Capture sound—capture the sound being played on the remote PC and transmit the sound to the local PC.
- Auto session recording—automatically enable session video recording for this connection.
Codec
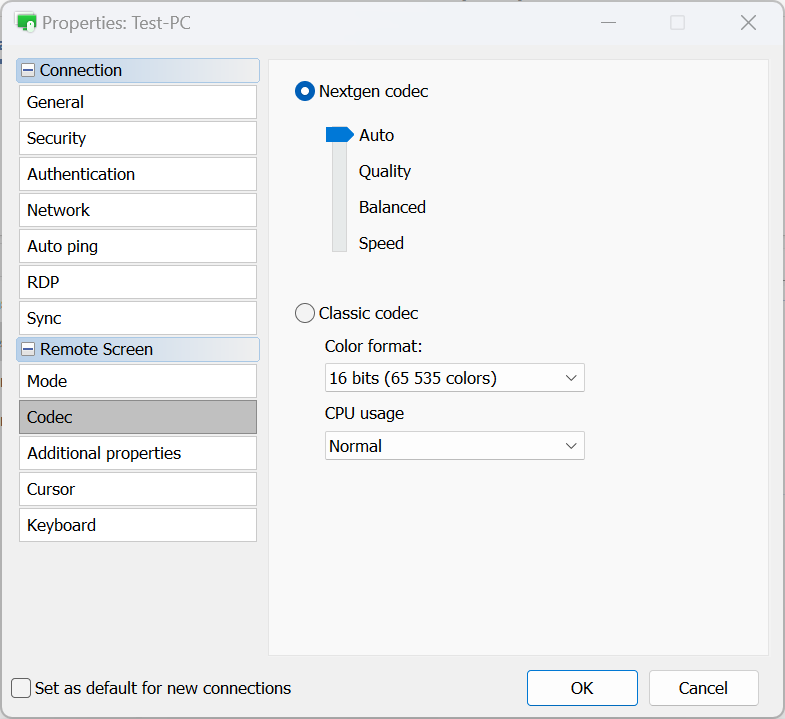
- Nextgen codec—uses the most advanced codec for remote screen transfer.
- Auto—automatically chooses the best codec mode (recommended).
- Quality—prioritizes quality over speed.
- Balanced—balances between quality and speed.
- Speed—prioritizes speed over quality.
- Classic codec—a legacy option that allows direct selection of Color Format and CPU usage. Use this option only if the Nextgen codec is not applicable.
Additional properties
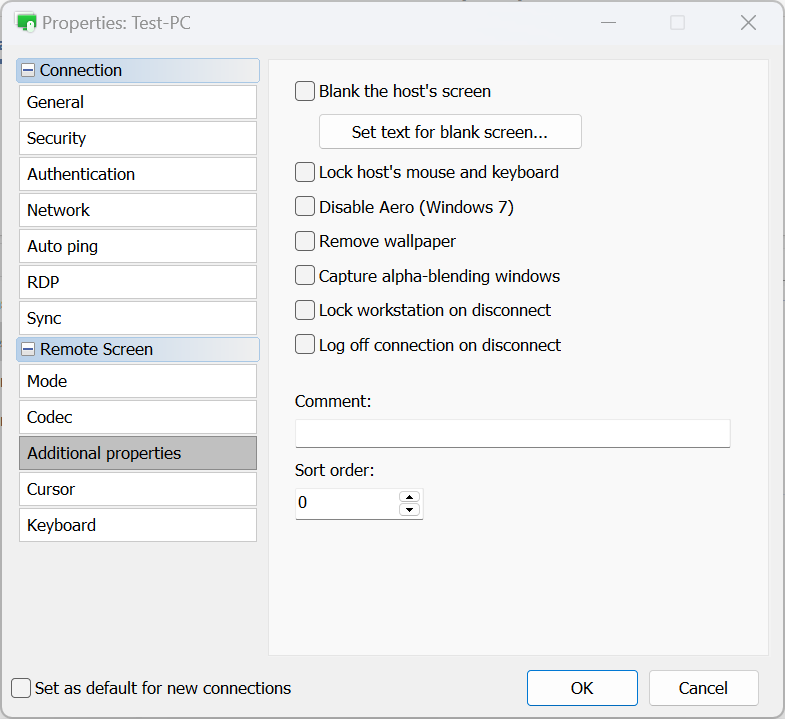
- Blank the host's screen—blank/turn off the remote screen. See Blank Remote Screen.
- Lock host's mouse and keyboard—lock input from remote mouse and keyboard.
- Disable Aero—disable the Windows Aero mode.
- Remove wallpaper—disable the wallpaper on remote screen.
- Capture alpha-blending windows—show semi-transparent windows and menus.
- Lock workstation on disconnect—lock remote workstation automatically when the remote session is over.
- Log off connection on disconnect—log off a connection when you close Full Control and View mode or when the session is terminated by other means.
- Comment—add a short text note to the connection. These notes can be viewed in the Details view.
- Sort order—set custom values for connections to sort them afterwards in the Details view.
Cursor
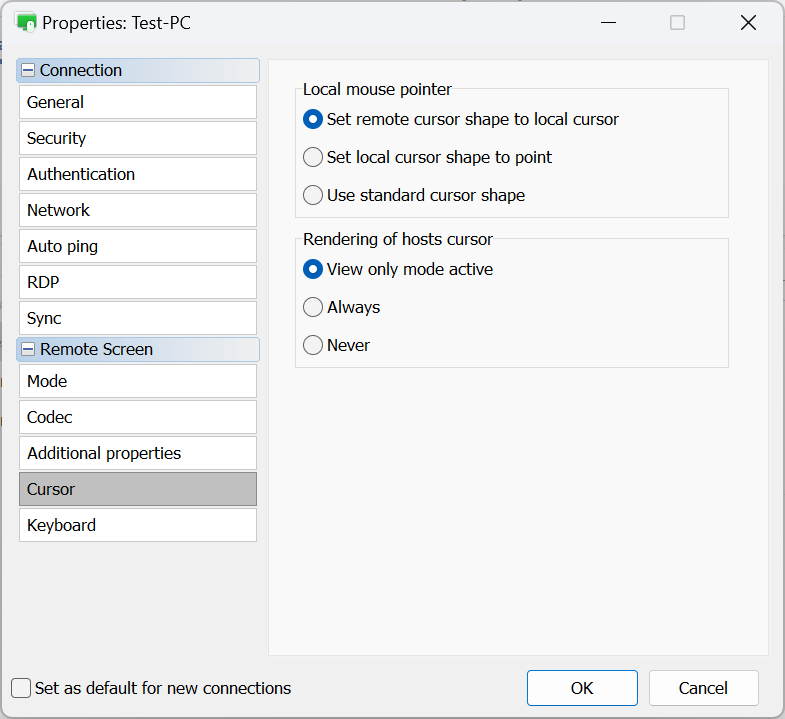
- Local mouse pointer—in this section you specify how the local (i.e. Viewer) mouse cursor should look during a remote session:
- Set remote cursor shape to local cursor—replace the local cursor shapes (loading, resize arrows etc.) with remote cursor shapes.
- Set local cursor shape to point—show the remote cursor as normal and the local cursor as a black dot.
- Use standard cursor shape—the local cursor will not reflect remote cursor changes and change its shape.
- Rendering of Host's cursor—in this section you specify whether the remote Host's cursor should be displayed alongside the local cursor:
- View only mode active—show remote cursor in the View only mode.
- Always—always show the remote cursor along with the local cursor.
- Never—never show the remote cursor.
Keyboard
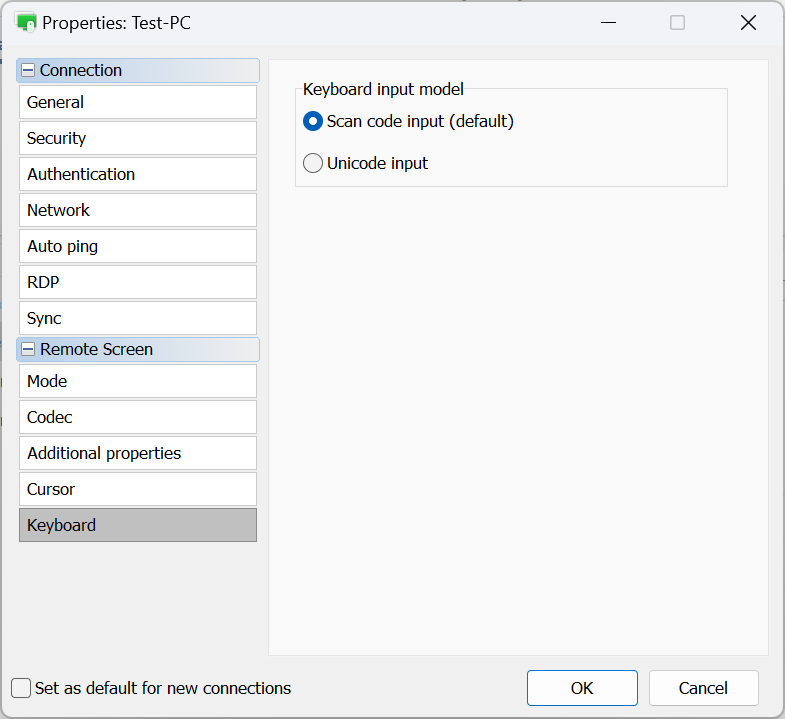
- Scan code input (default)—this method enables the Viewer to send keypresses as scan codes, which are directly translated into key scan codes on the remote Host. This is the default method and is suitable for most situations.
- Unicode input—the Viewer sends actual Unicode characters instead of key hardware codes with this method. This is recommended if you're using a non-standard keyboard, or when the Viewer's keyboard language/layout doesn't exist on the remote Host.
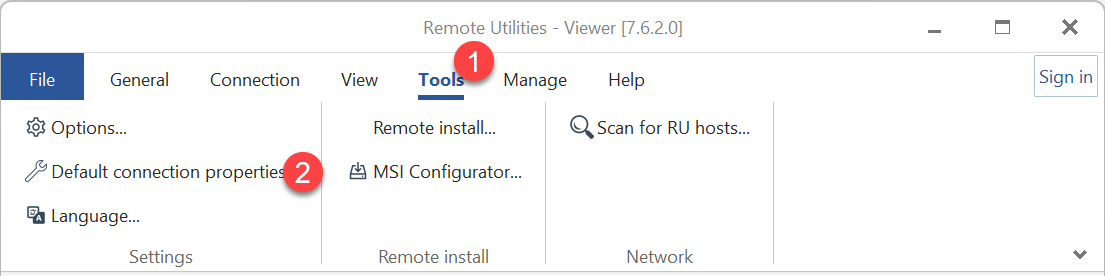
Default connection properties
You can set default connection properties that will apply to all newly created connections. Follow these steps to set the default connection properties:
- Open the Viewer, go to the Tools tab and click Default Connection Properties:
- Browse through the available sections and adjust the properties as desired. Please note, the Default Connection Properties window only contains properties that can be used for multiple connections (i.e., those that do not require unique values)

Important!
Please note, default connection properties will not affect existing connections in your address book. If you wish to bulk-edit multiple existing connections, follow the instructions provided below.
Bulk-editing connections
- Select the desired connections from your list. This can be done by dragging the mouse pointer over them or using Shift/Ctrl + click:
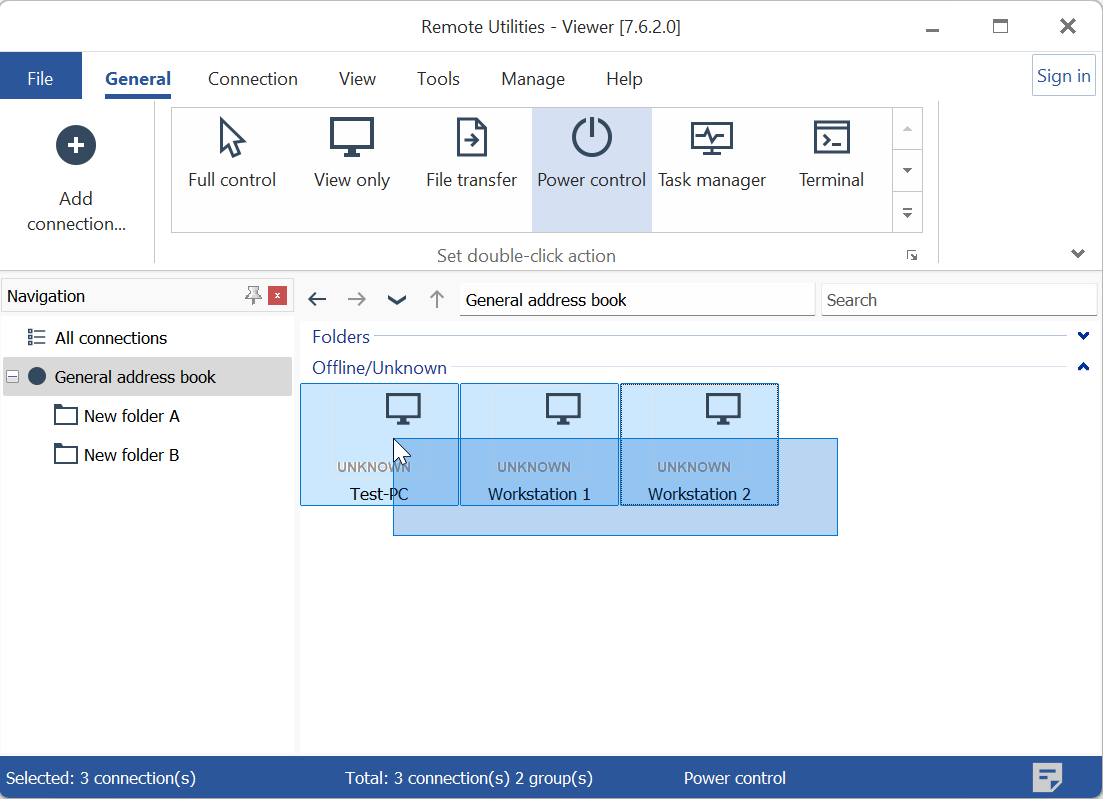
- Right-click on the selected connections and click on Properties:
- The Connection Properties window will open, displaying only the properties that can be altered for multiple connections. Adjust the settings as needed and click OK to apply your changes.