Video Recording
Remote Utilities allows you to record a video of the remote session in the WebM file format.
Turn on video recording
- During a live remote session in Full Control mode click on the video recording icon on the toolbar:

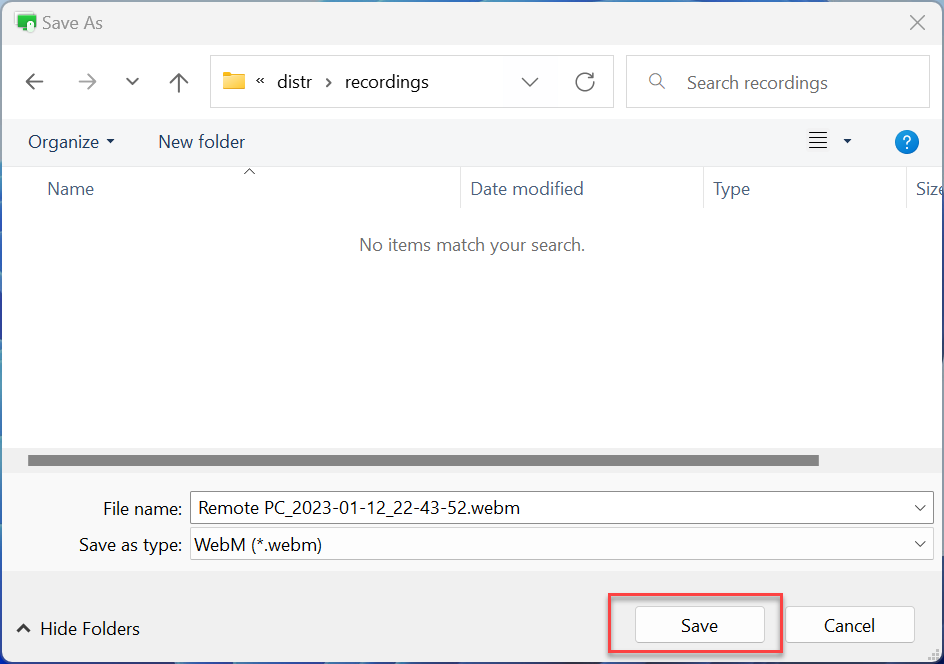
- Select where you'd like to save the video file and click Save:
- Video recording will start for the current session.
To have Viewer automatically turn on video recording when a session starts:
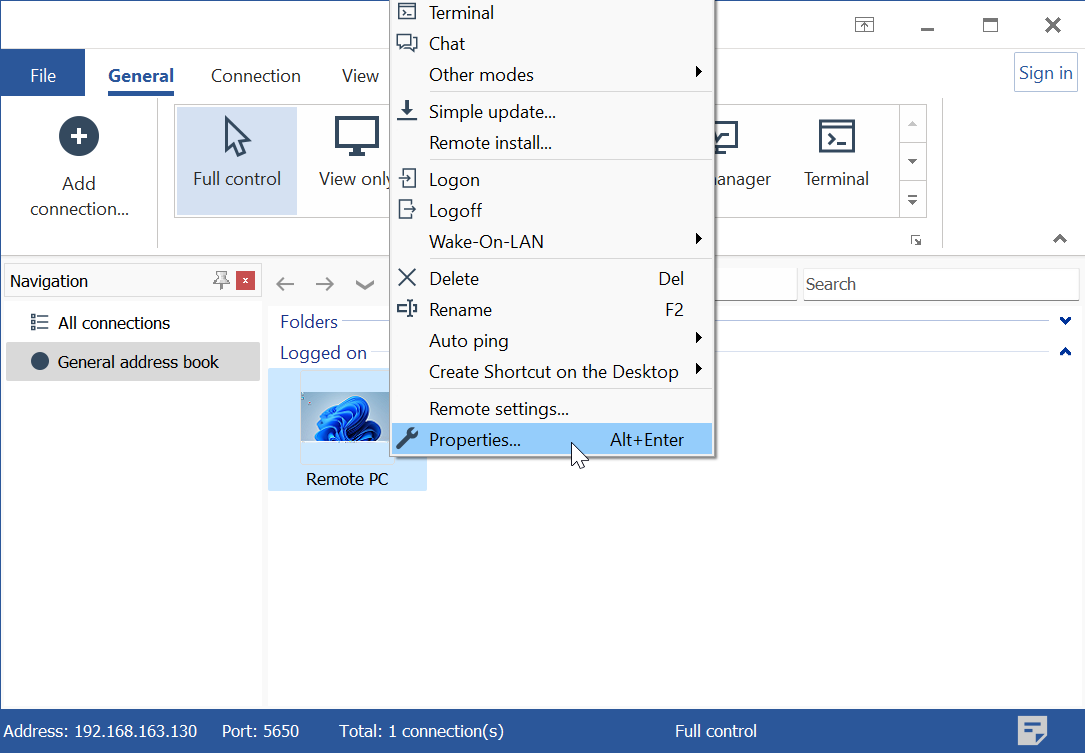
- Right click on the target connection and select Properties:
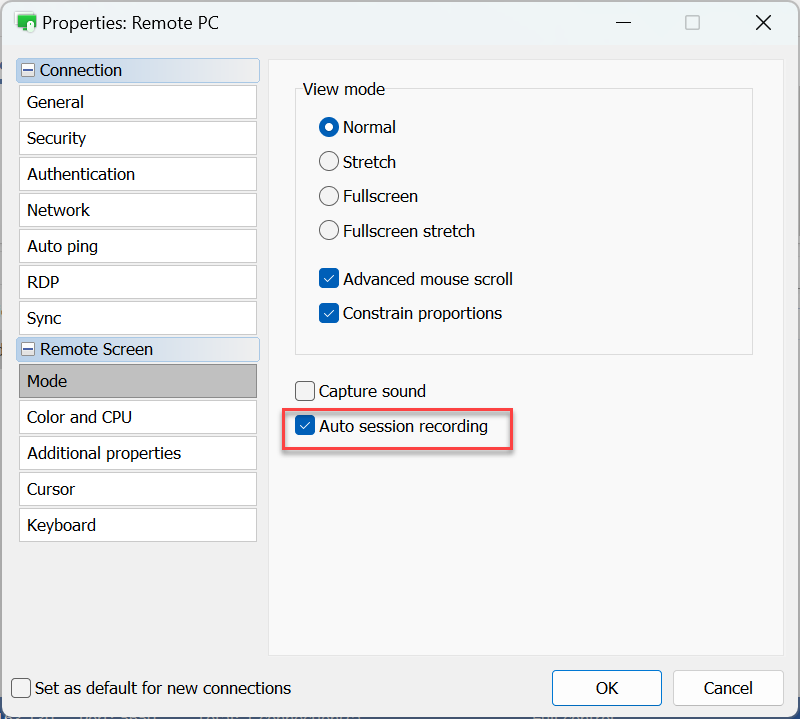
- Go to Mode, select Auto session recording and click OK:
- Each session will be recorded to its own file. To set the default destination for video files see "Recording options" below.
Recording options
The options below apply globally, for all connections in the address book.
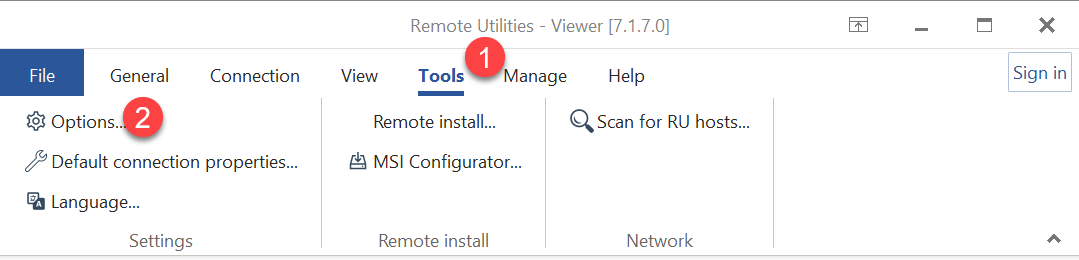
- In Viewer go to Tools and click Options:
- Go to the Remote screen tab:
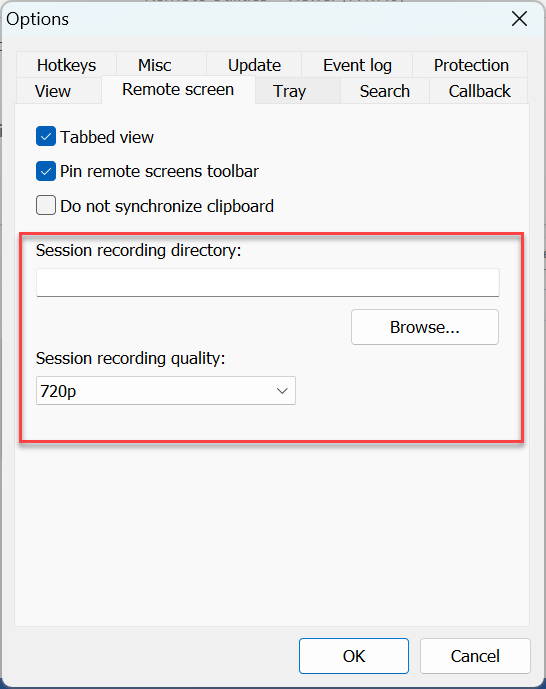
- Session recording directory—specify where to save the video files.
- Session recording quality—set video quality. Available options are 1024x768, 720p and 1080p.
The default destination for video recordings is
C:\Users\your_user_name\Documents\ - Set recording directory and quality for recording files and click OK.