Back up Address Books
Address books are crucial as they store connections (saved sessions) that allow you to access all your remote computers. It is essential to maintain up-to-date backups of your address books at all times.
Automatic backup
By default, the Viewer enables automatic daily backups upon installation. These backups include:
- The general (default) address book;
- Any custom address books loaded in the Viewer, including those synchronized with a self-hosted server;
- The
keys.datfile used for the Add using code feature.
The default location for backups is:
- Windows 7 and higher:
C:\Users\user_name\AppData\Roaming\Remote Utilities Files\backups\ - Windows XP:
C:\Documents and Settings\user_name\Application Data\Remote Utilities Files\backups\
You have the option to disable automatic backups (not recommended) or change the default backup directory in the Viewer options:
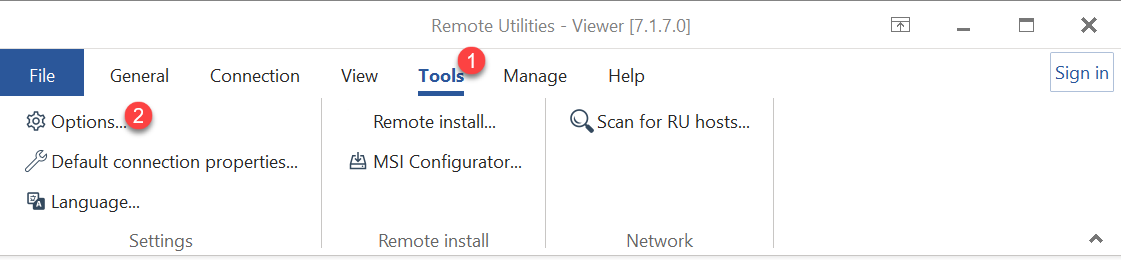
- Open the Viewer, select the Tools tab, and click Options.
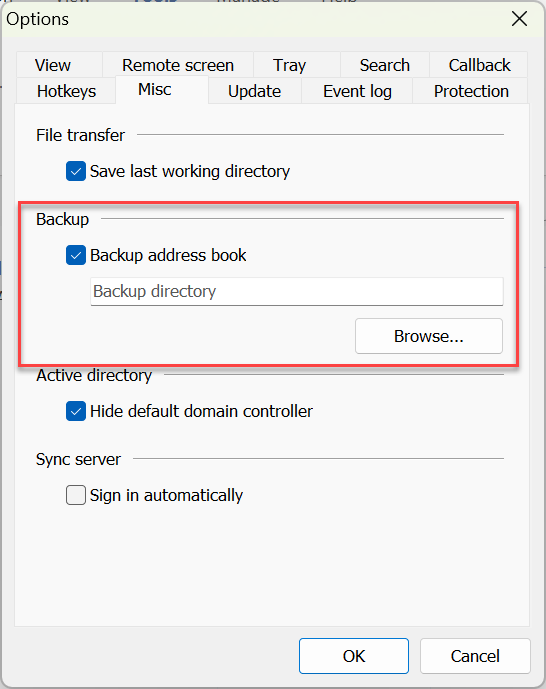
- Select the Misc tab. To disable backups, uncheck Backup address book. To change the directory, click Browse and select a new destination folder.
Manual backup
You can manually create a backup of an address book using either of the following methods:
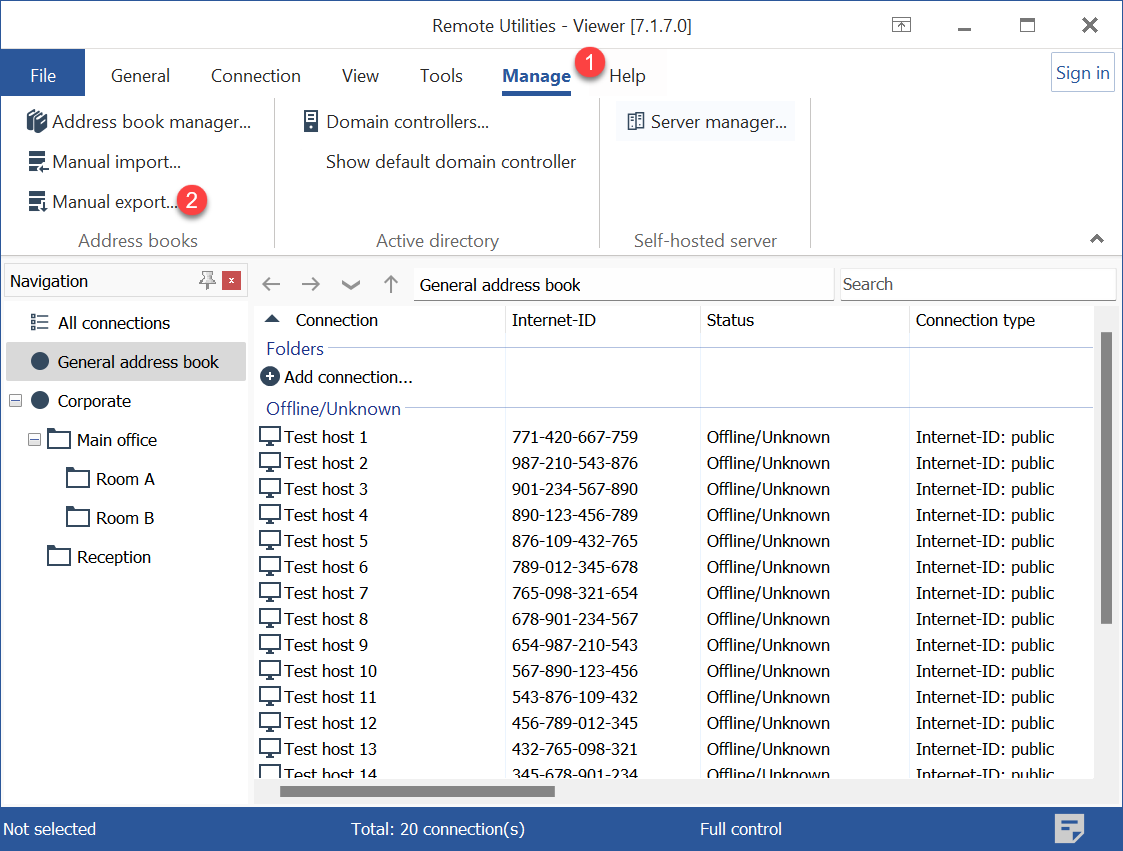
- Select the address book in the left pane, click Manage➝Manual export, and save the address book as an .xml file to a desired location.
- Copy the XML file itself to a different location. For example, the corresponding XML file for the General address book (on Windows 7 and higher) is
C:\Users\user-name\AppData\Roaming\Remote Utilities Files\connections_4.xml. To manually back up this address book, copy the fileconnections_4.xmlto a different location.
Restore from a backup
To restore your General address book from a backup, follow these steps. The same process can be used to restore any other address book for which you have a valid address book XML file.
- Navigate to the backups folder (
\%AppData%\Roaming\Remote Utilities Files\backups\) and select the backup copy you want to restore. Backup files are stored in the ZIP format and use the maskYYYY-MM-DD_connections_4_general.zip. - Unzip the file to a location on your computer where it will be safe from accidental deletion.
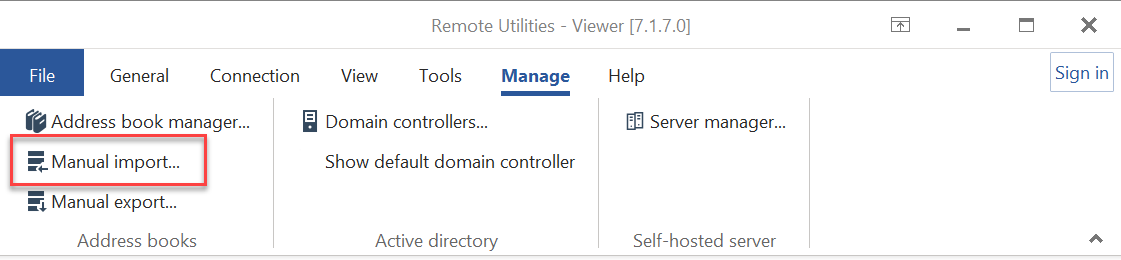
- Open the Viewer, go to the Tools tab, and click Manual import:
- Select General address book from the dropdown list and click OK.
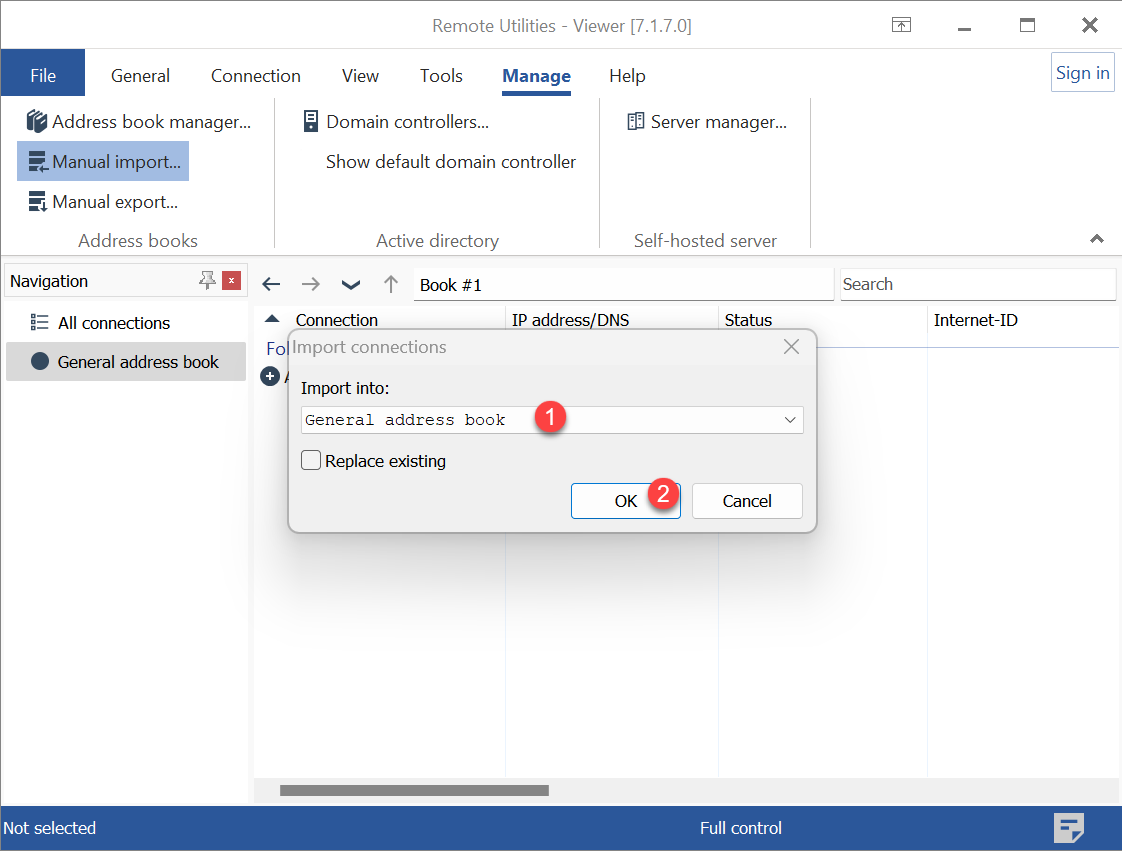
- (Optional) Select the Replace existing option if you want to add your imported address book data to the existing data in the address book.
- Navigate to the backup XML file that you unzipped in step 2 and click Open. Your "General address book" will be populated with records from the backup file.
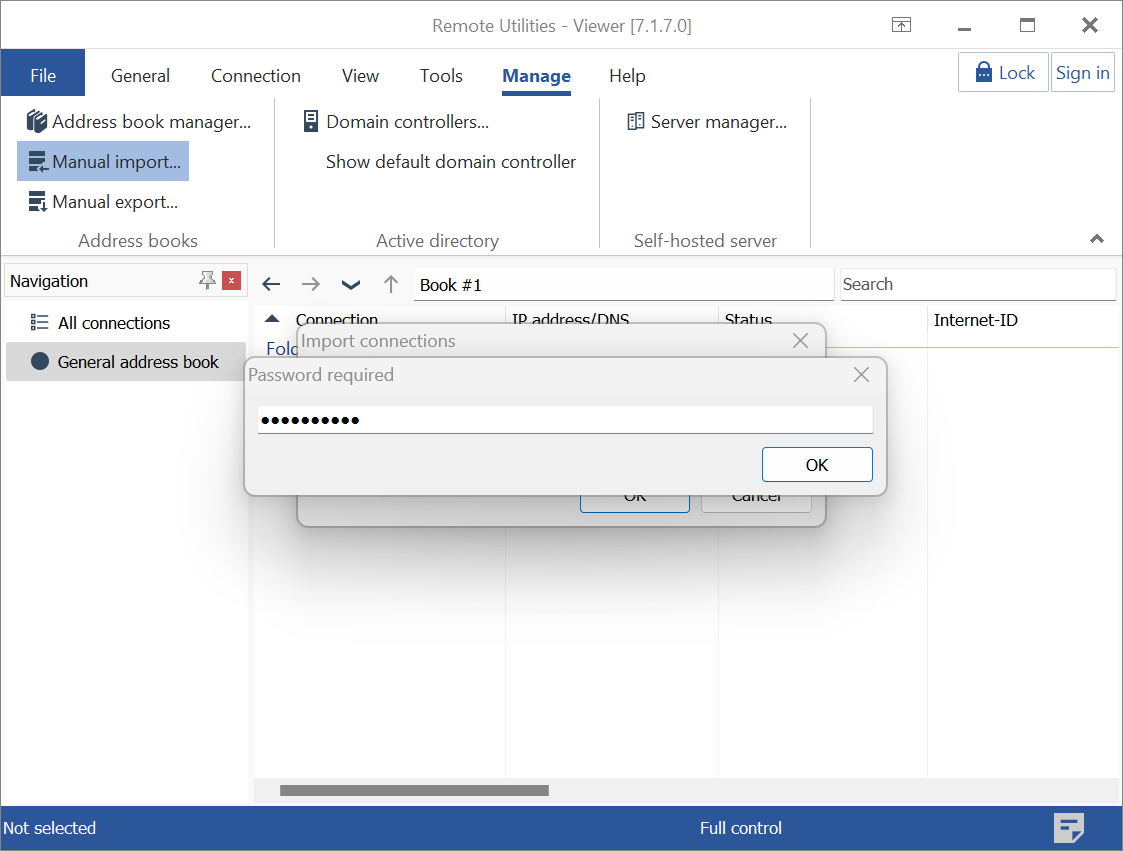
Restore an encrypted address book
Encrypted address books are backed up in the same way as regular address books. You can restore an encrypted address book (with the .encrypted extension) by following the same procedure as described above. The only difference is that the program will prompt you to enter your encryption password before importing the contents of the source address book into the target address book:
Important!
During the import operation, the encryption password of the source address book is not transferred to the target address book. The import only affects the records in the address book and does not change its encryption status. If you want to protect your address book after importing it, make sure to enable encryption in your Viewer options, unless you have already done so.