Set up Address Book Sync
Overview
You can use RU Server to synchronize your address book between team members. Each team member will be able to view and edit the synced address book in their Viewer once they sign in on RU Server.
For simplicity, this tutorial will show how to set up address book sync with one address book and one user with full (read and write) access. But this is only part of what you can do. With this feature you can:
- Add multiple users and groups and set permissions for them, including read-only access.
- Grant different users and groups access to different folders of the same address book.
- Specify inheritance rules for objects (address books and folders).
- Sync multiple address books.
Create user accounts
- Install RU Server and make sure it is directly accessible to Viewers and Hosts.
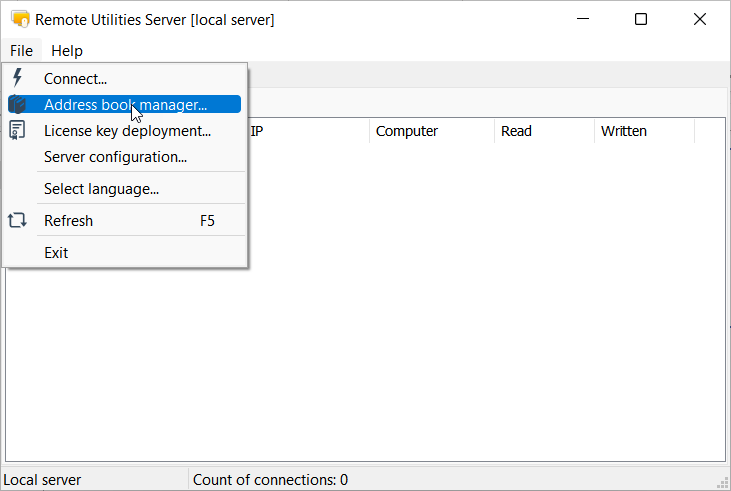
- Open Admin Console and go to File→Address book manager.
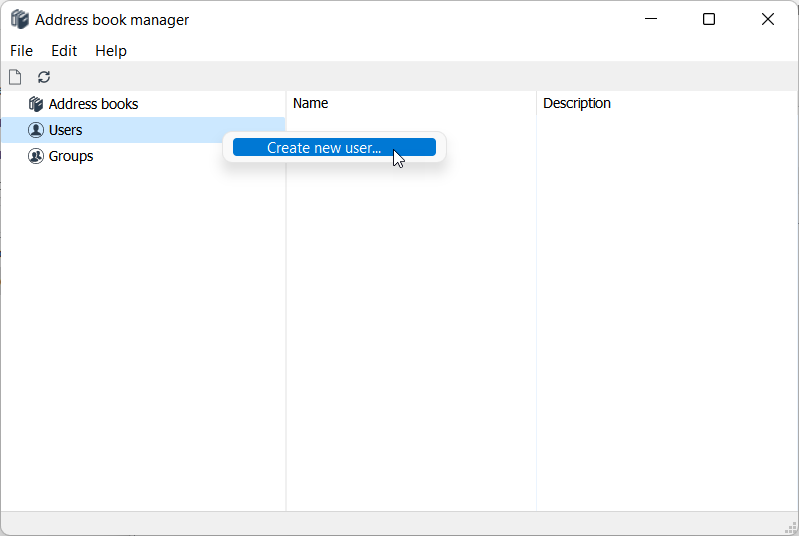
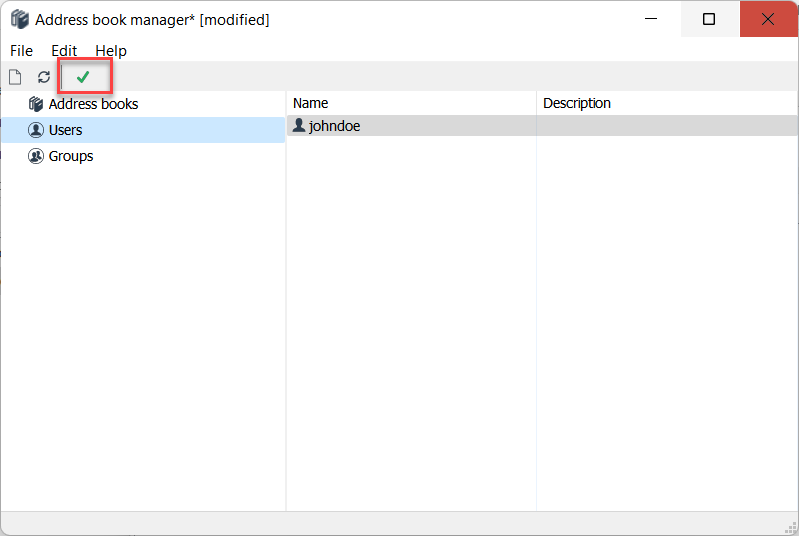
- Right-click Users and select Create new user.
- Enter username and click Change password.
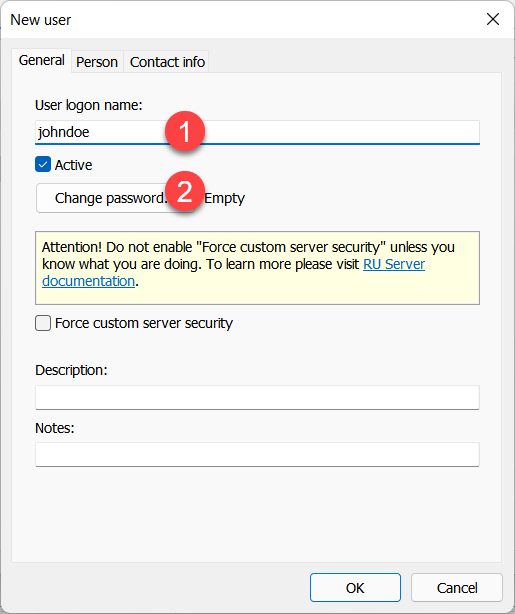
- Set and confirm a new password, click OK, OK.
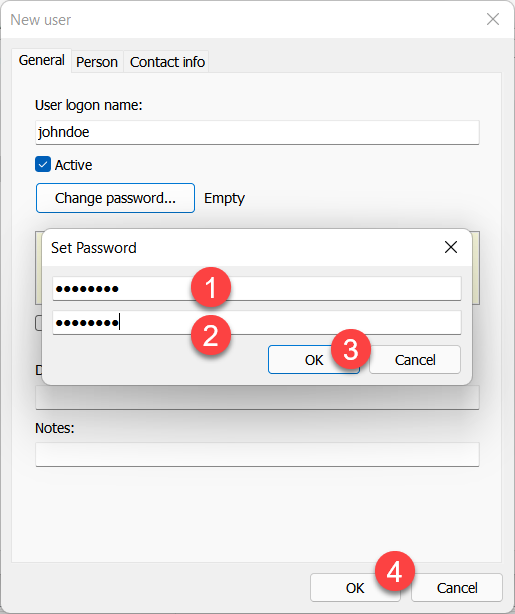
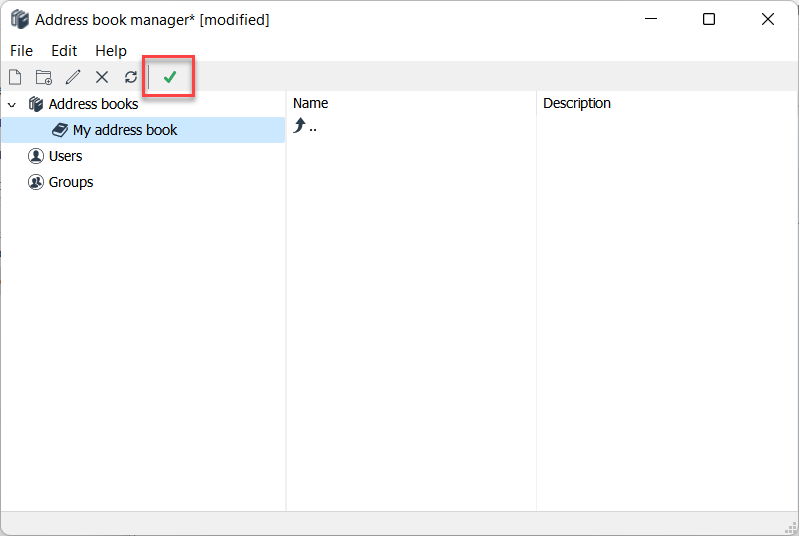
- Click the green checkmark to apply the changes.
Create address book and set permissions
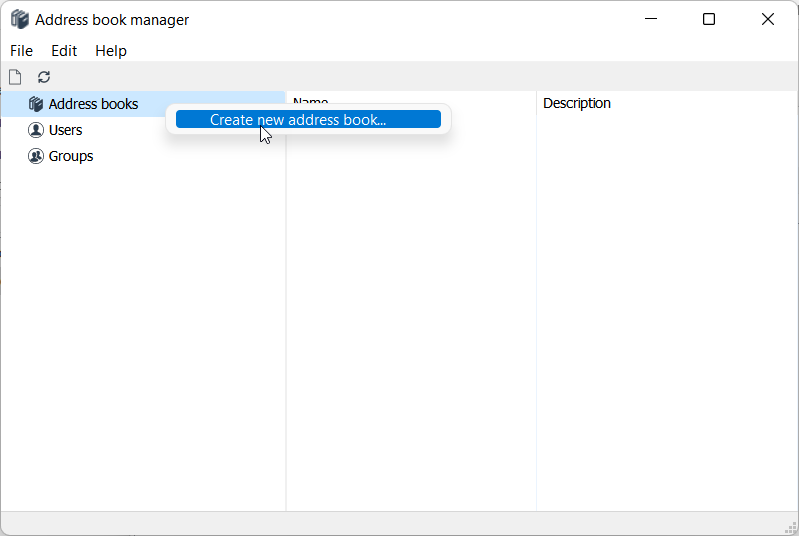
- Right-click Address books and select Create new address book.
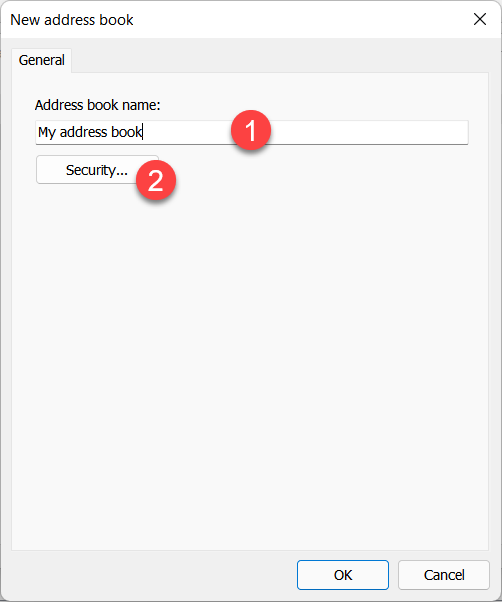
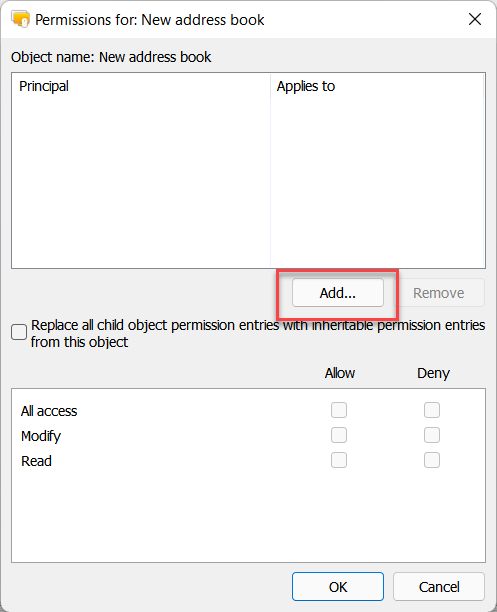
- Enter address book name and click Security.
- Click Add.
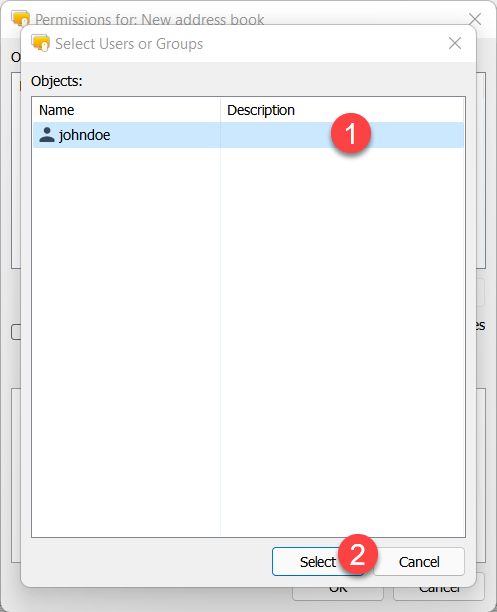
- Select the user or group for whom you are setting permissions and click Select.
- Make sure the necessary permissions are set for the user.
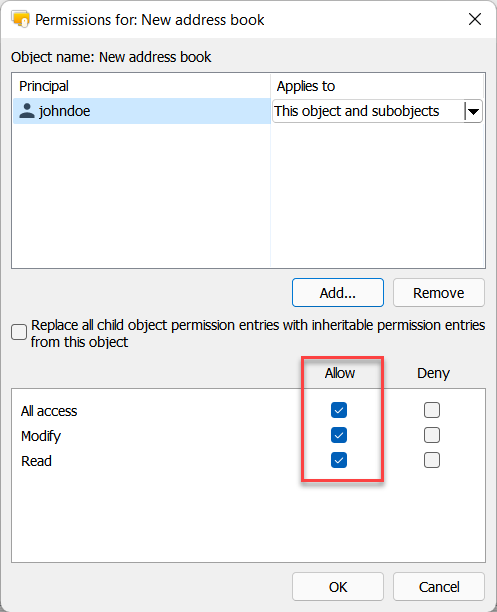
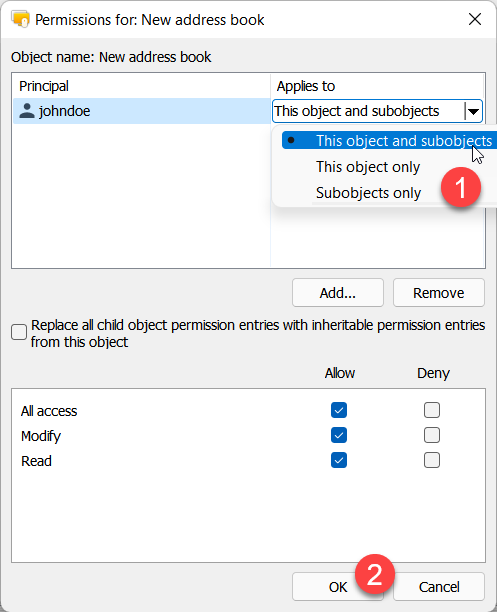
- Specify to which objects the permissions should apply (i.e. inheritance). In this case select This object and subobjects—this will apply the permissions to the root folder and all subfolders. Click OK to close the permissions dialog.
- Click the green checkmark to apply the changes.
Now you have an address book created on RU Server and a user with permissions to read and write to this address book. The next step is to set up sync on the Viewer side.
Configure Viewer
To start syncing your address book you must sign in on RU Server using the account created in the previous step.
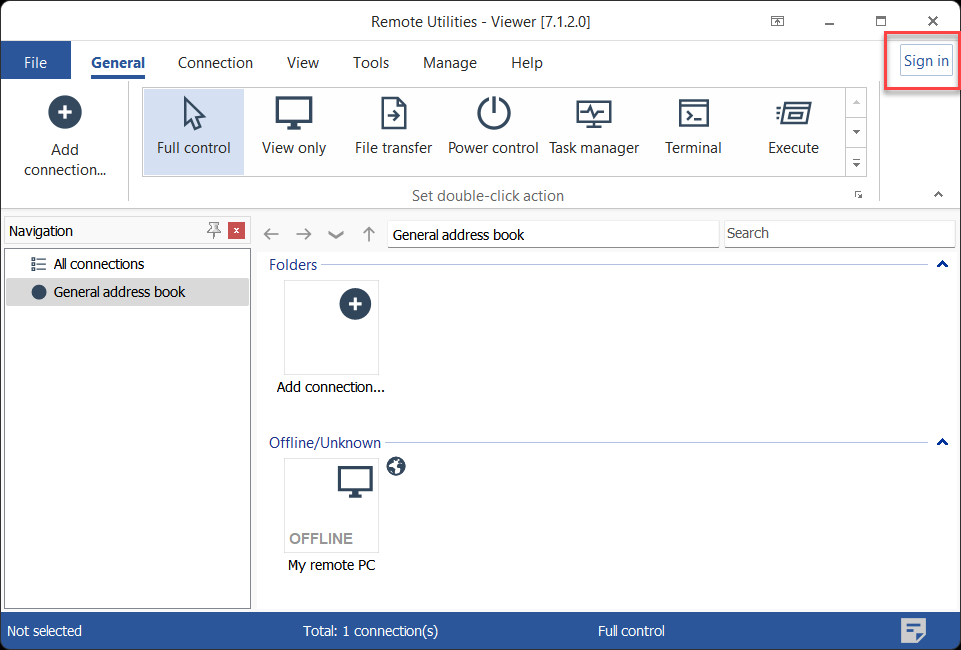
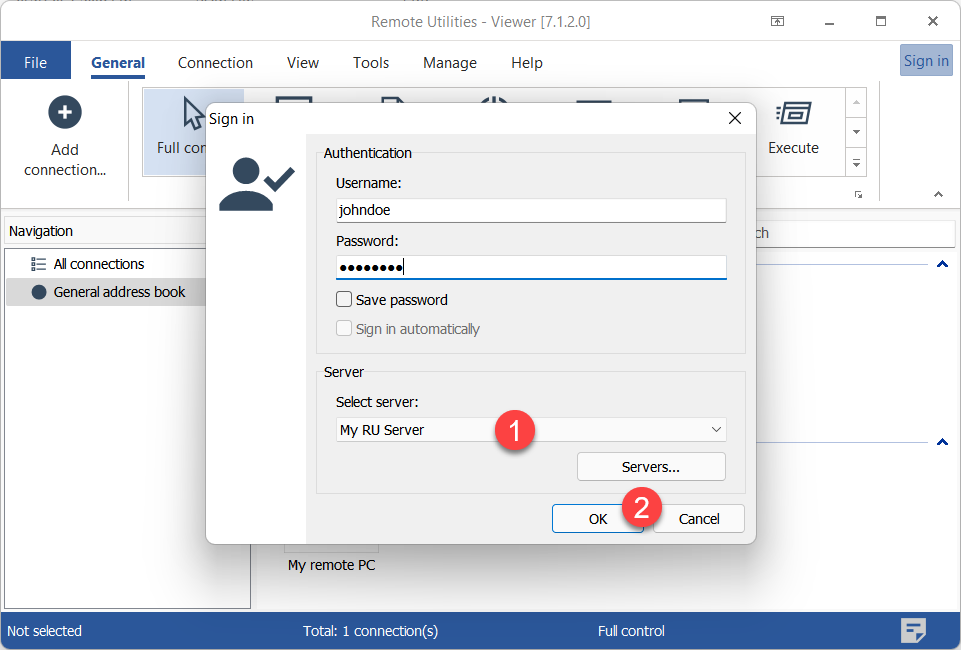
- In Viewer click Sign in at the top right corner of the window.
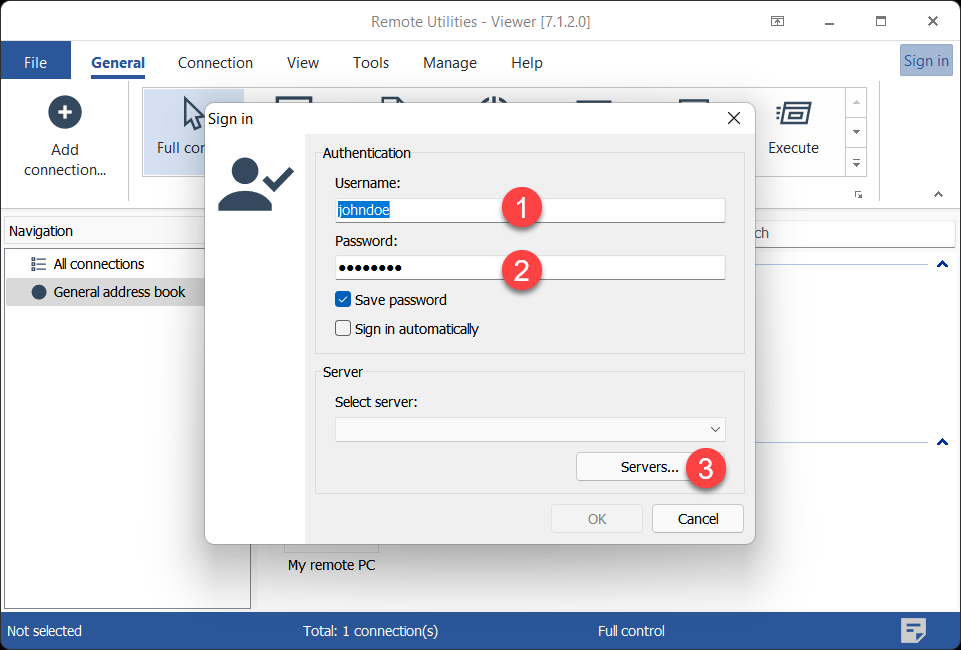
- Enter the account login and password created in the previous step and click Servers.
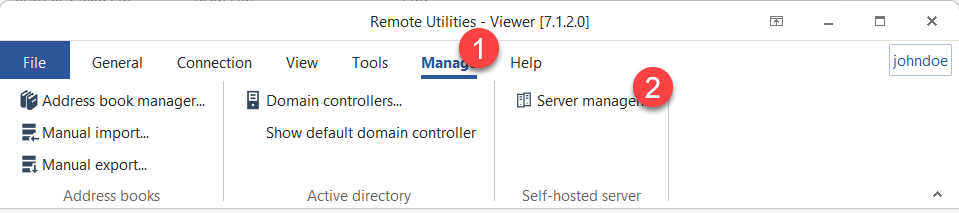
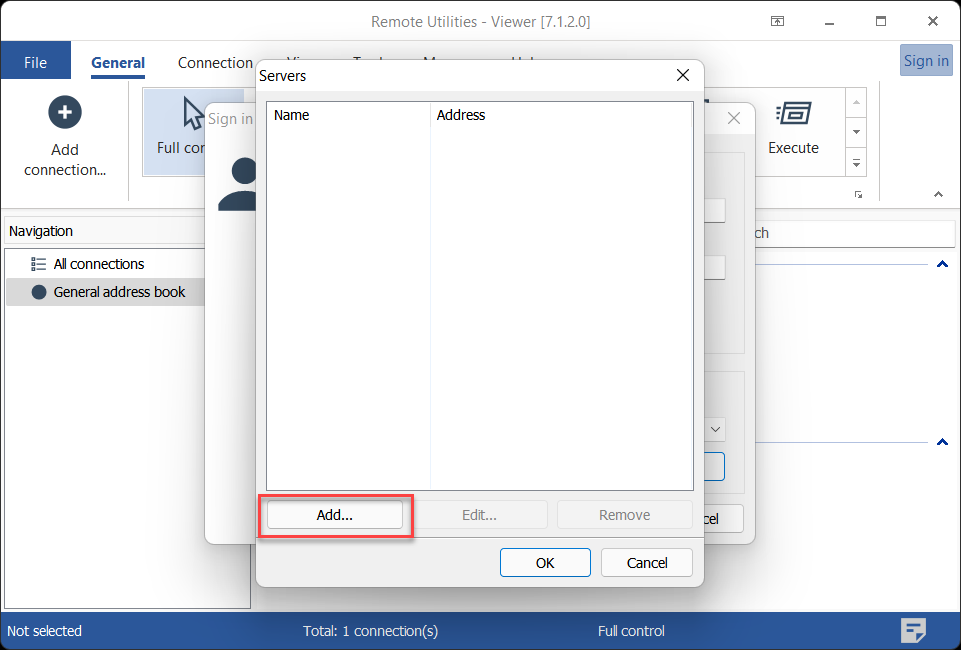
Alternatively, you can open the server list if you go to the Manage tab and click Server manager.
- Click Add.
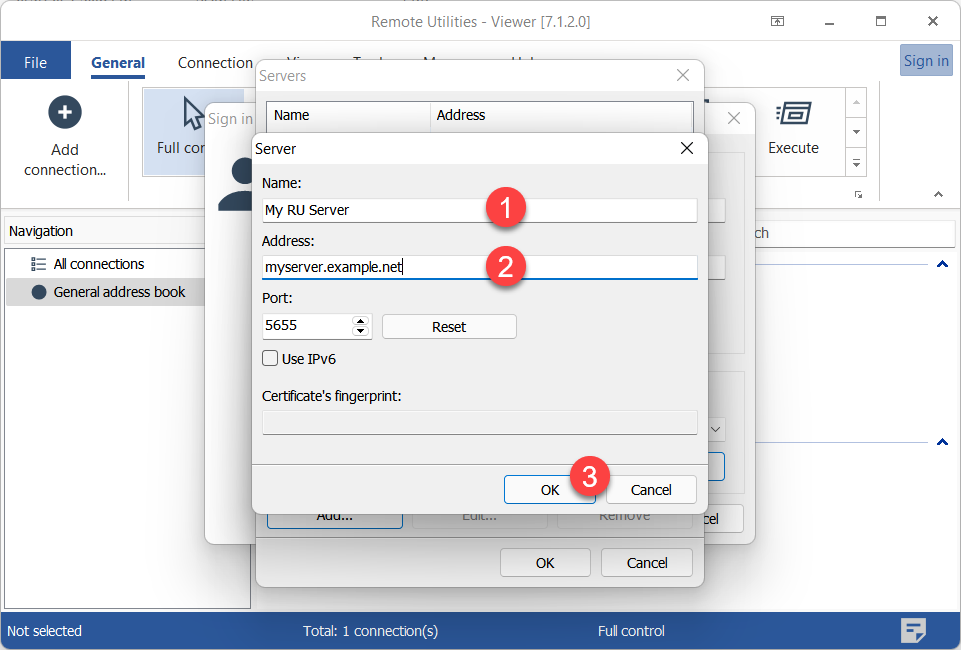
- Enter a descriptive name for your server and the server IP address or DNS name. Click OK.
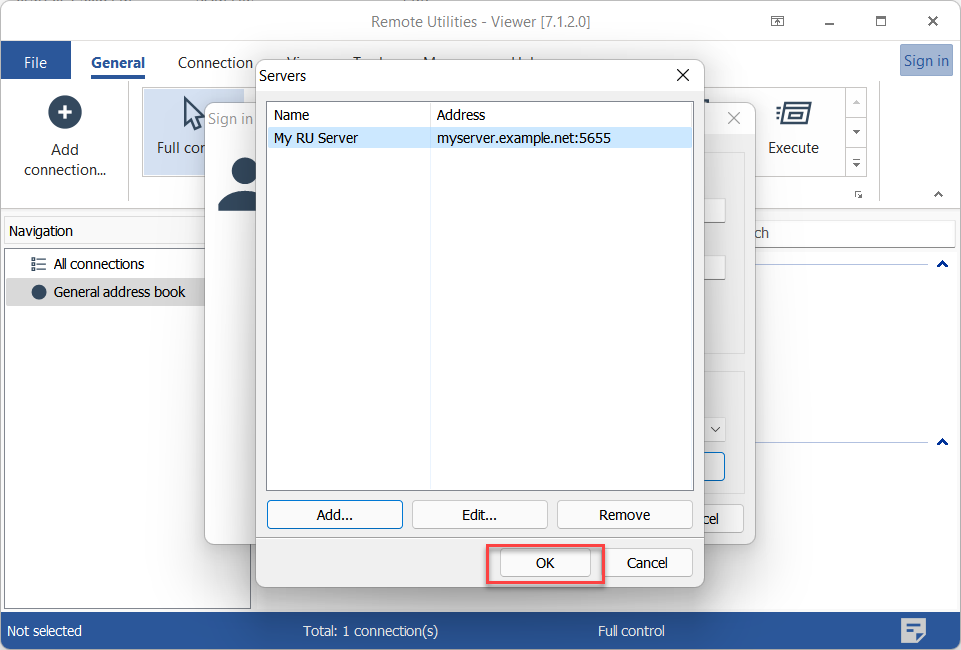
- The server will appear in the list. Select it and click OK.
- Make sure the server is selected in the dropdown list and click OK to sign in.
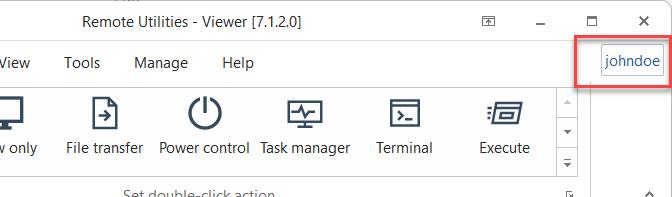
- You will know that you have signed in on the server if your username is shown at the top right.
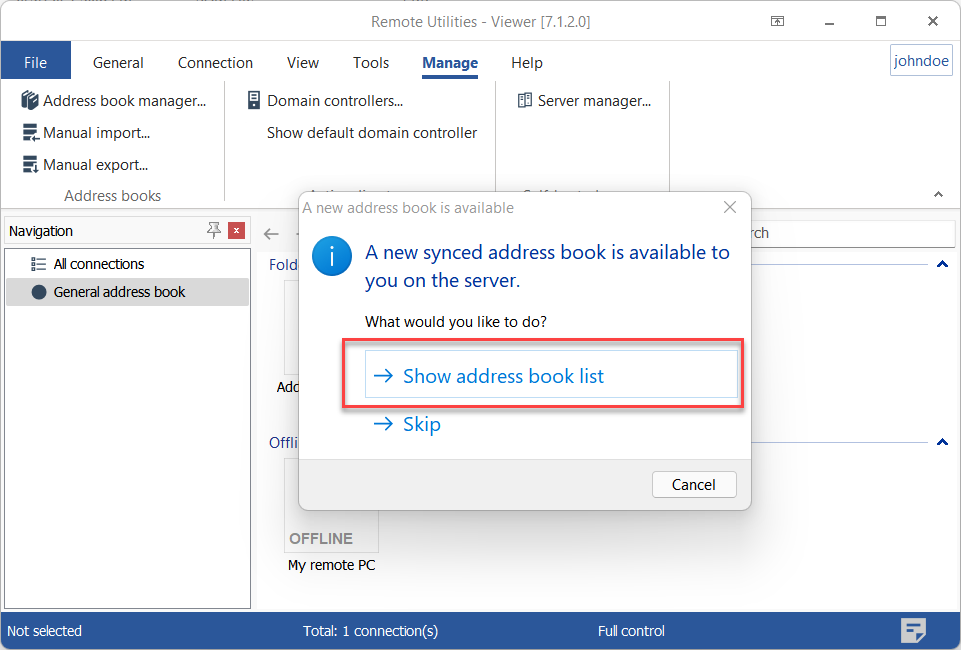
- Viewer will prompt you with a message asking if you want to connect to the server address book. Click Show address book list.
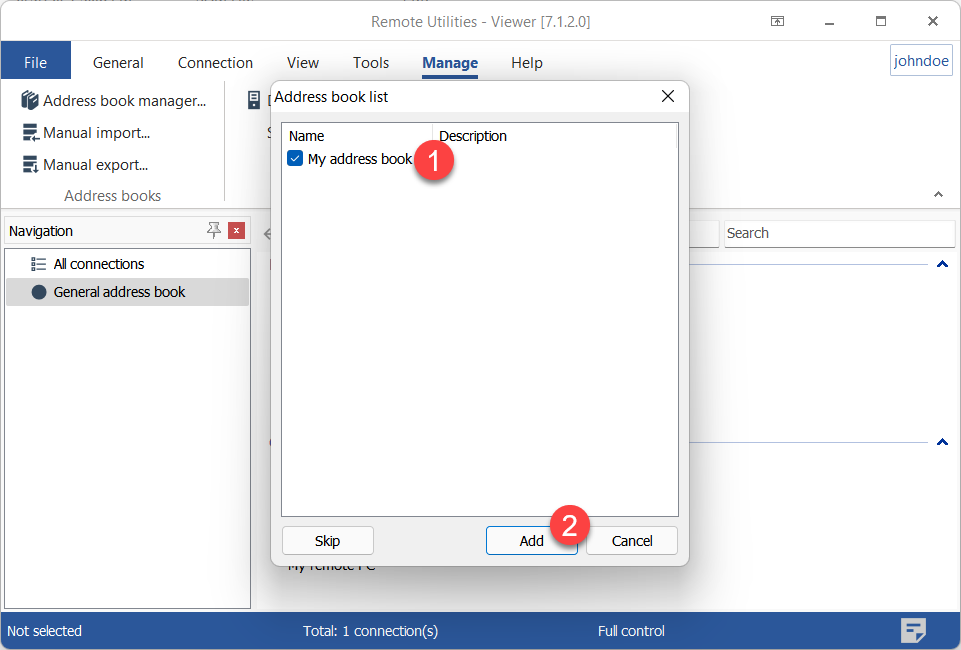
- Select the server address book that you want to sync and click Add.
Important!
If you skip adding a synced book now you can always add it later. Make sure you are signed in on the server, go to the Manage tab, click Address book manager→Add→Remote (synchronised) and select the address book from the list.
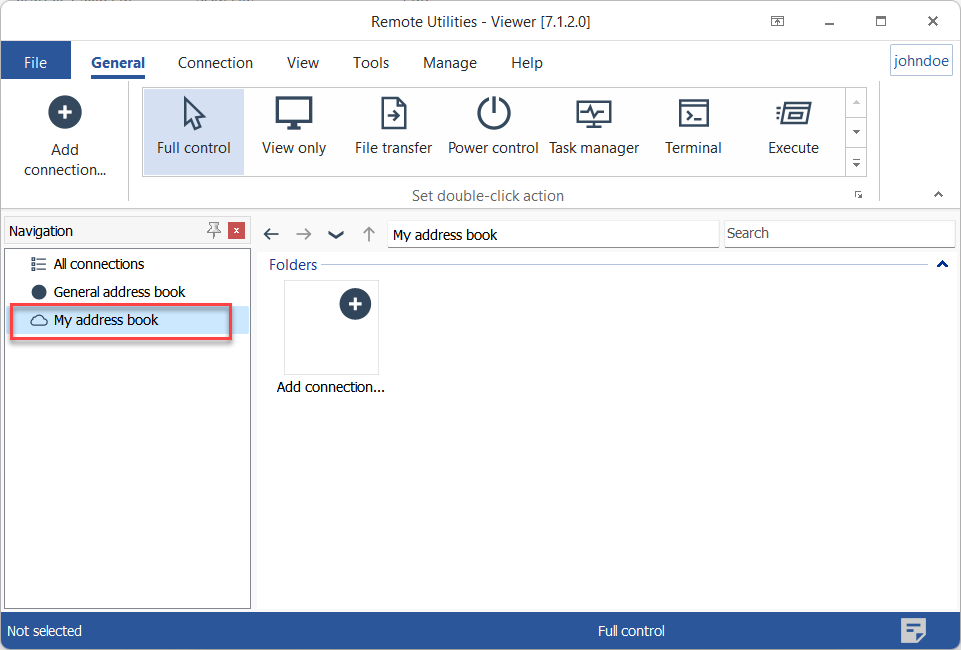
- The address book will appear in your Viewer. The cloud icon means that this is a synced address book.
Work with a synced address book
Depending on your account permissions set on RU Server, you can view, add, edit or delete folders and connections in the synced address book.
Any changes made to the synced address book by one of the team members will be immediately reflected in the server address book and propagated to the Viewers of other team members once they sign in on the server.
Set up automatic import
If your RU Server also acts as a routing server for your Internet-ID connections, you can configure it to automatically add Hosts to a synced address book when they connect to your RU Server.
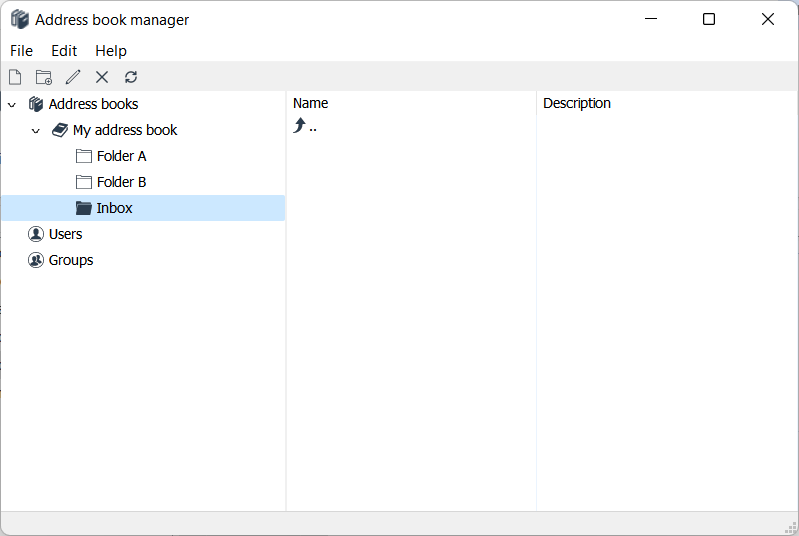
- Open the Admin Console and go to File → Address book manager.
- Create a folder in your synced address book. You can call it “Inbox”. This will serve as a catch-all folder for any Hosts that do not have explicit identification settings.
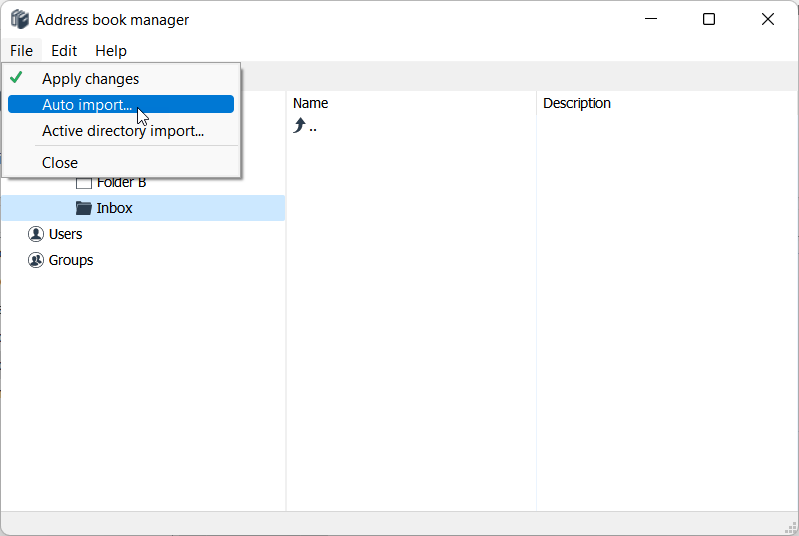
- Go to File → Auto-import.
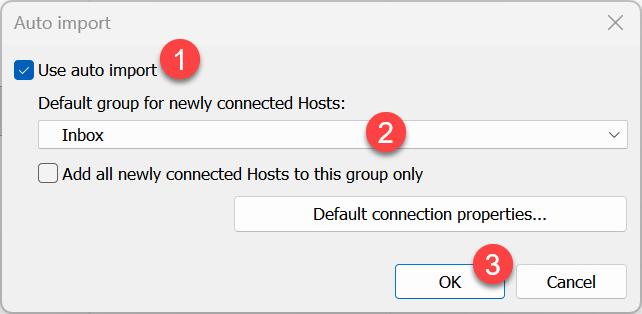
- Enable Use auto-import, select the “Inbox” folder from the list, and click OK. To override individual package identification settings (see explanation below), enable Add all newly connected Hosts to this group only.
Host identification settings
When configuring Host settings using the MSI Configurator, you can specify which address book and folder the Host installed from that package should be added to. This lets you create per-package auto-import rules.
For example, you may have separate folders or address books for different company departments. By building a dedicated Host package for each department, Hosts are automatically imported into the corresponding folder when installed from that package.
Automatic import setup is complete. The next time a new Host connects to your RU Server, it will be added as a new entry in your server address book.
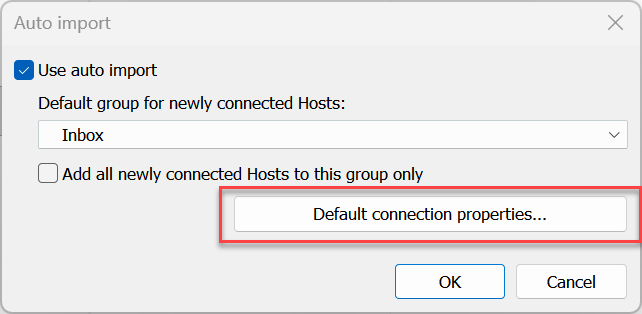
Default connection properties
When RU Sever automatically imports a Host as a new connection to your address book, it only knows the Host's Internet-ID code. Other connection properties are added with their default values. You can change the defaults using the Default connection properties dialog.
- Go to File→Auto-import.
- Click Default connection properties.
General tab
By default, RU Server uses the Host computer name as the name of connection. Use the General tab if you need to add a prefix to the connection name.
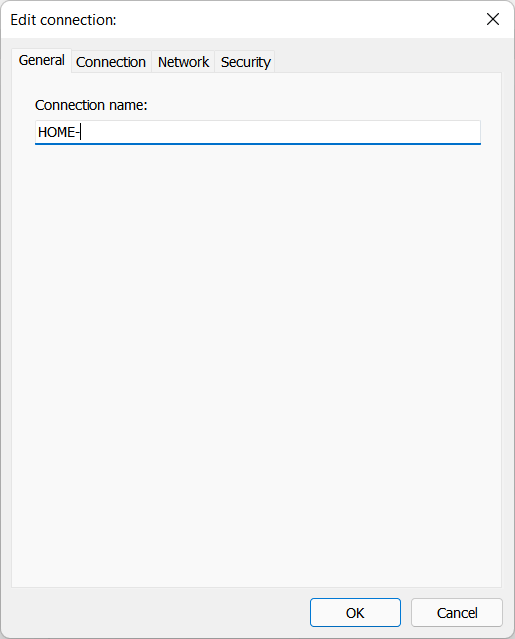
For example, the Host computer name is "DESKTOP-PC". If you added "HOME-" as the prefix, the Host will get imported to your address book with the connection name "HOME-DESKTOP-PC".
Connection tab
In the Connection tab you can specify what Internet-ID server to use for this connection. If you use RU Server as your Internet-ID routing server, you can specify it here.
- Select Internet-ID and click Change.
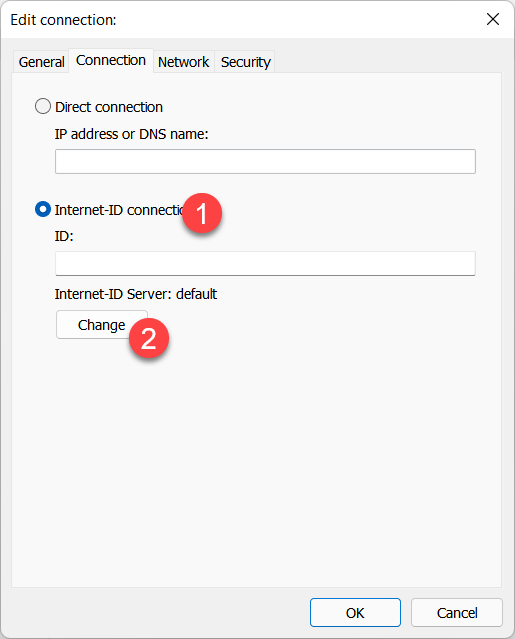
- Specify your server details and click OK.
- The currently used ID server will be shown in the tab.


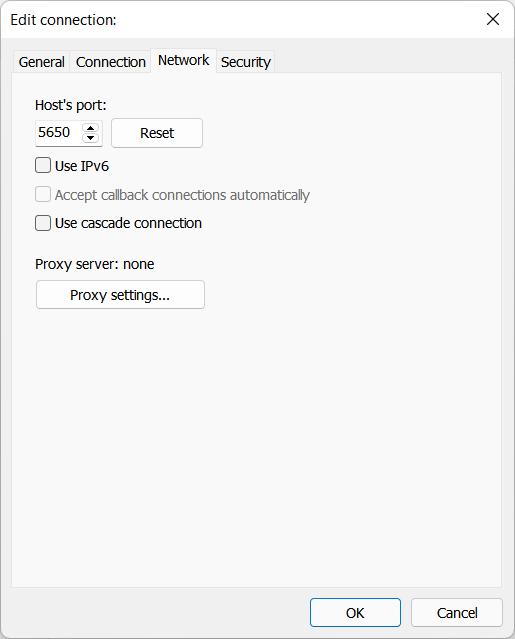
Network tab
This tab corresponds with the Network tab in connection properties.
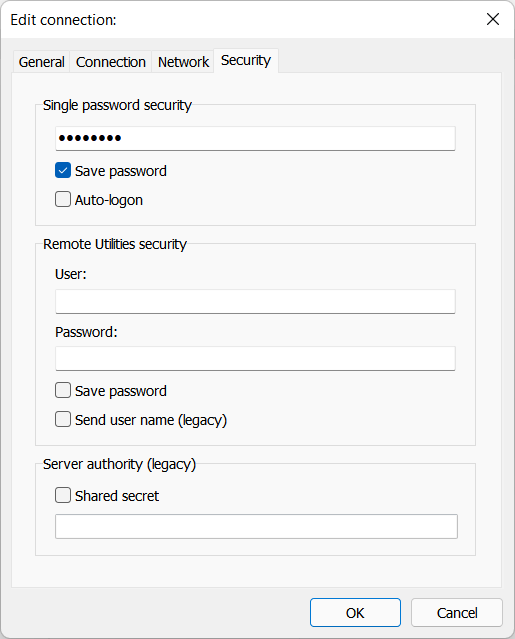
Security tab
If you use the same access password for all your Hosts that get imported into the address book, you can specify it here. The password (in a hashed form) will be saved in the address book.