Set up Authentication Server
Overview
You can use RU Server for authenticating on remote Hosts. In the Host security settings the related authentication method is called Custom Server Security.
Using RU Server as the authentication hub allows you to centrally manage Host access permissions. You can quickly revoke or modify access for a certain user without the need to change settings on remote Hosts.
Configure RU Server
First, you need to create users and groups to whom you want to grant access to your Hosts. While you can assign permissions directly to users, assigning them to groups that the users are members of would be a better strategy.
Create a user
- Install RU Server and make sure it is directly accessible to Viewers and Hosts.
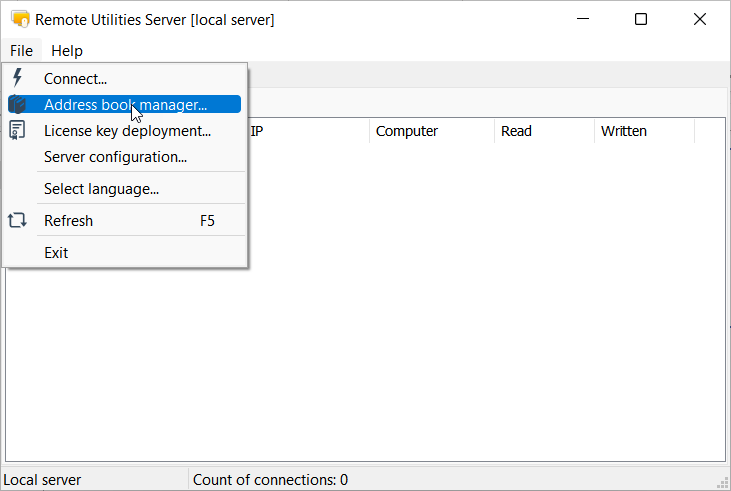
- Open Admin Console and go to File→Address book manager.
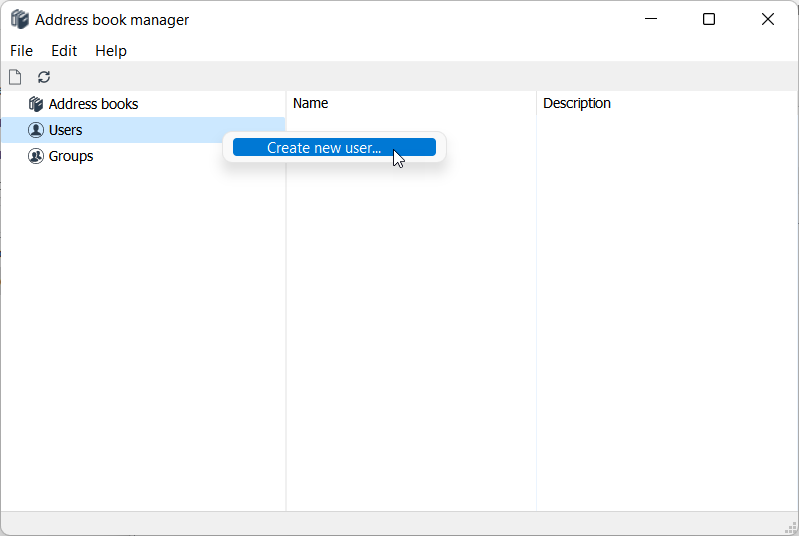
- Right-click Users and select Create new user.
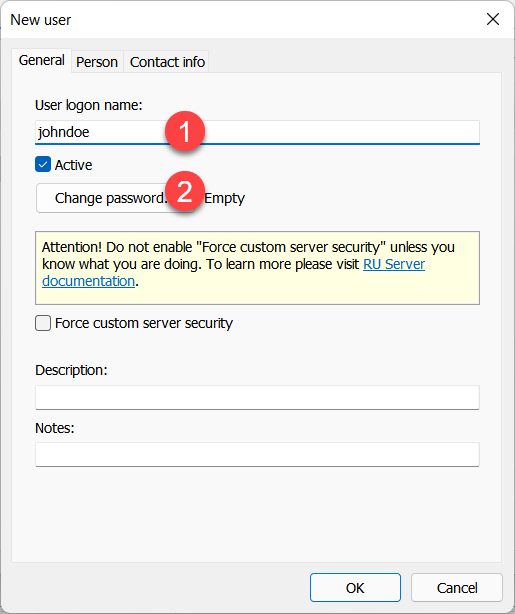
- Enter username and click Change password.
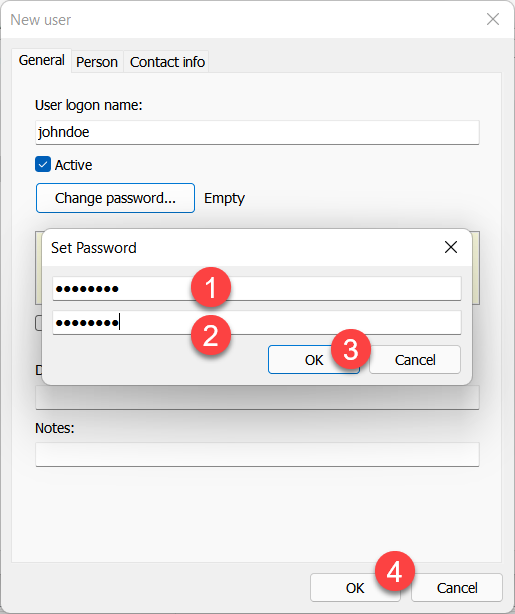
- Set and confirm a new password and click OK.
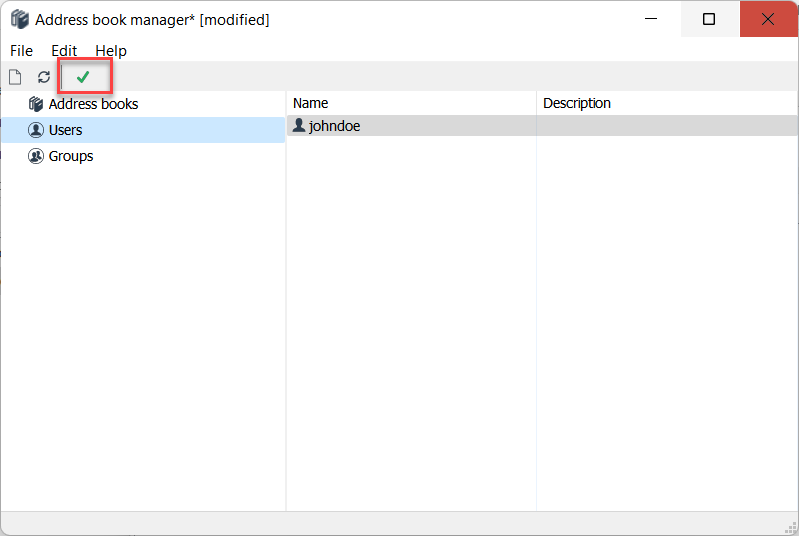
- Click the green checkmark to apply the changes.
Create a group
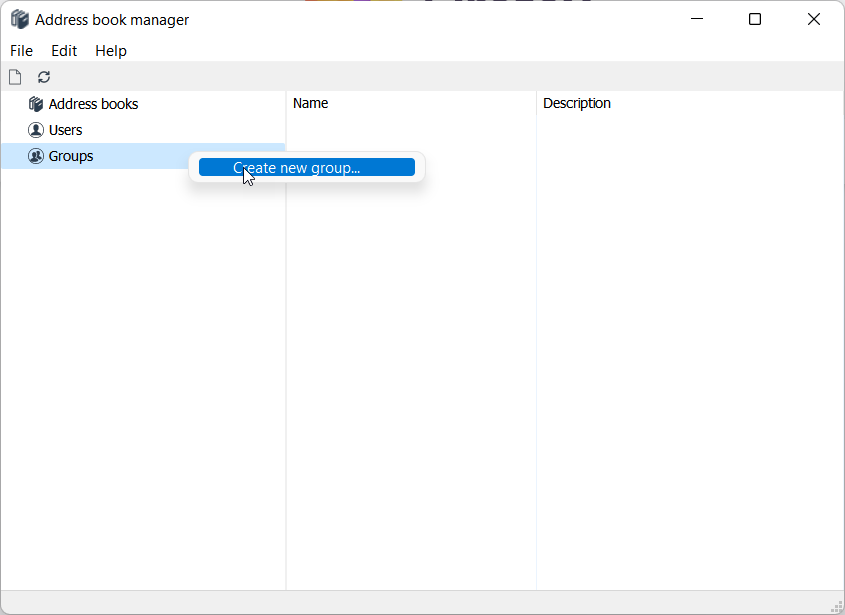
- Right-click Groups and select Create new group.
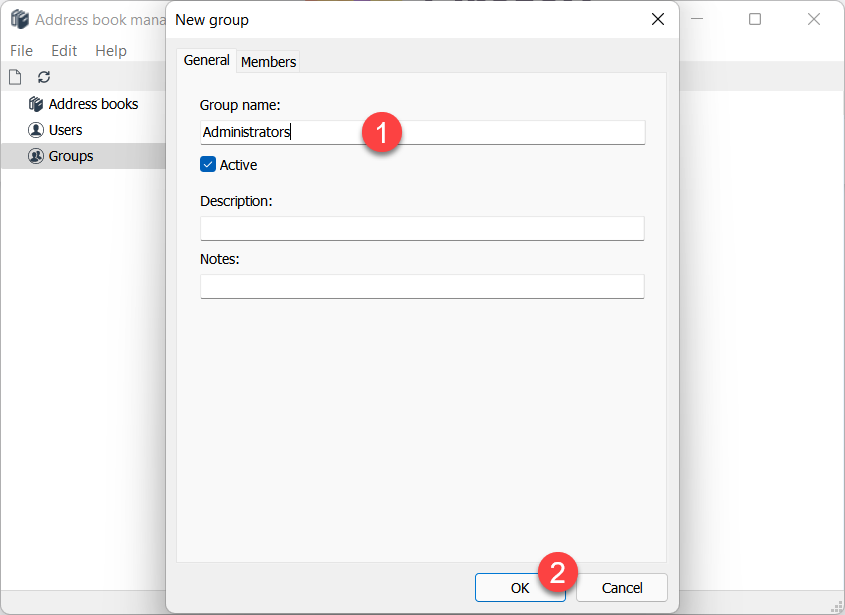
- Enter a group name and click OK.
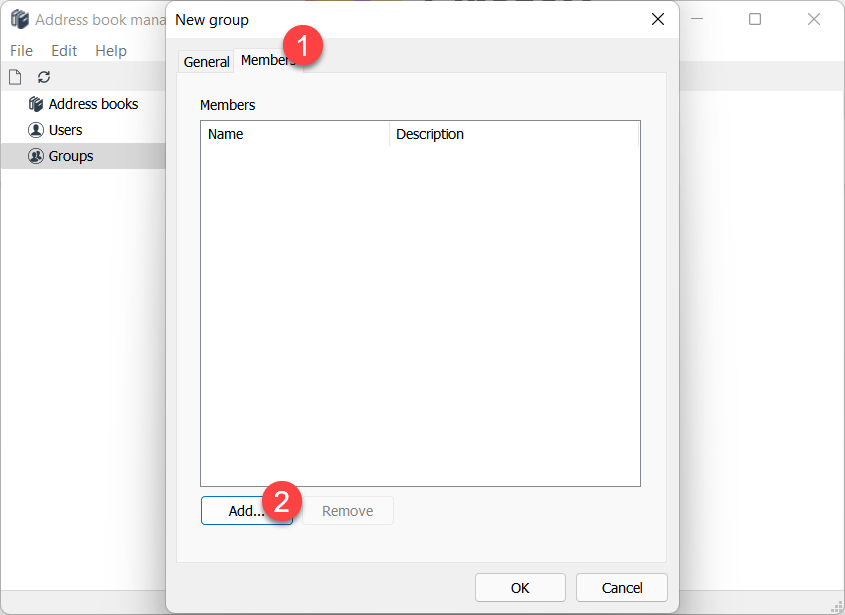
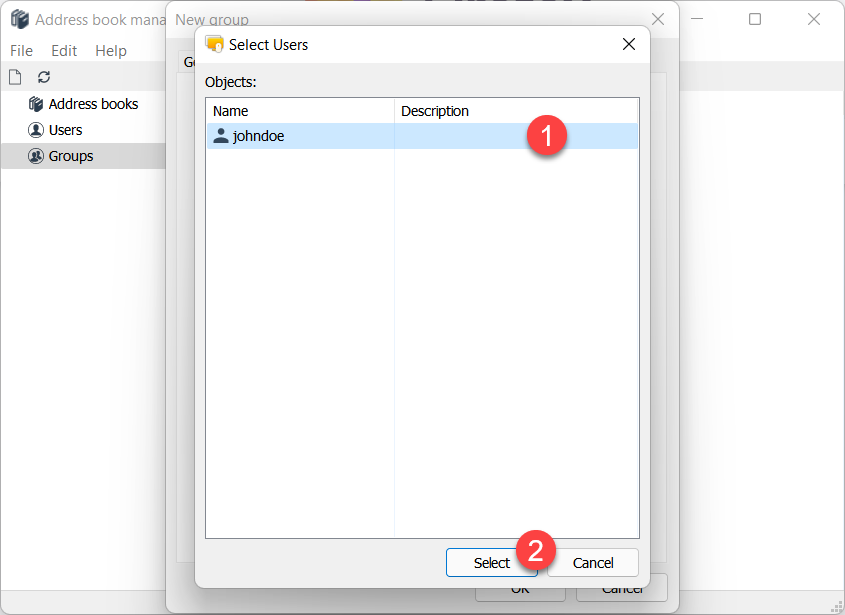
- Switch to the Members tab and click Add.
- Select the user in the list and click Select to add them to the group.
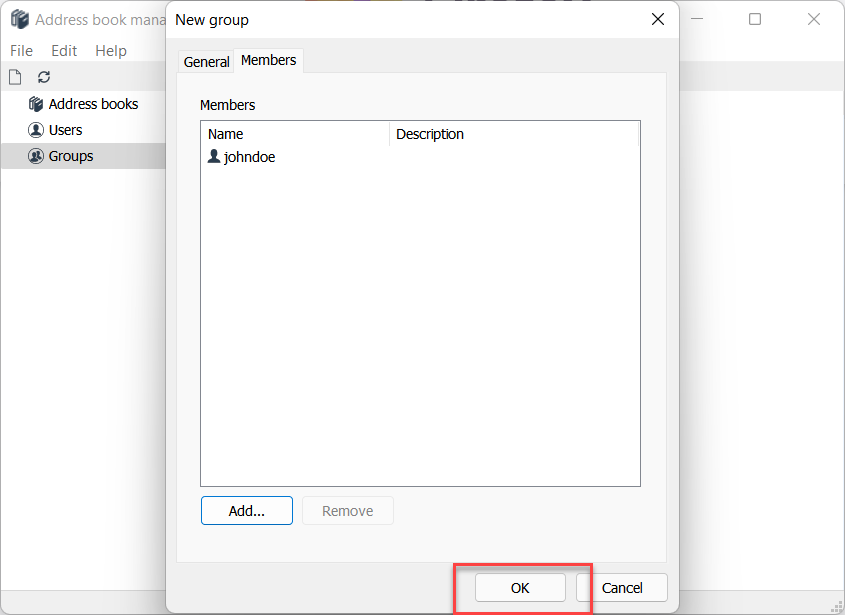
- The user 'johndoe' is now a member of the 'Administrators' group. Click OK.
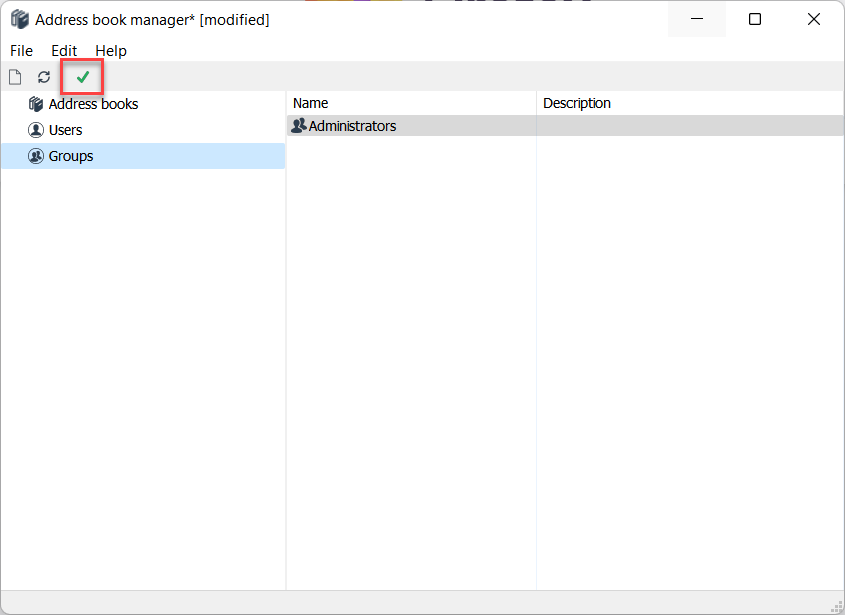
- Click the green checkmark to apply the changes.
Configure Host
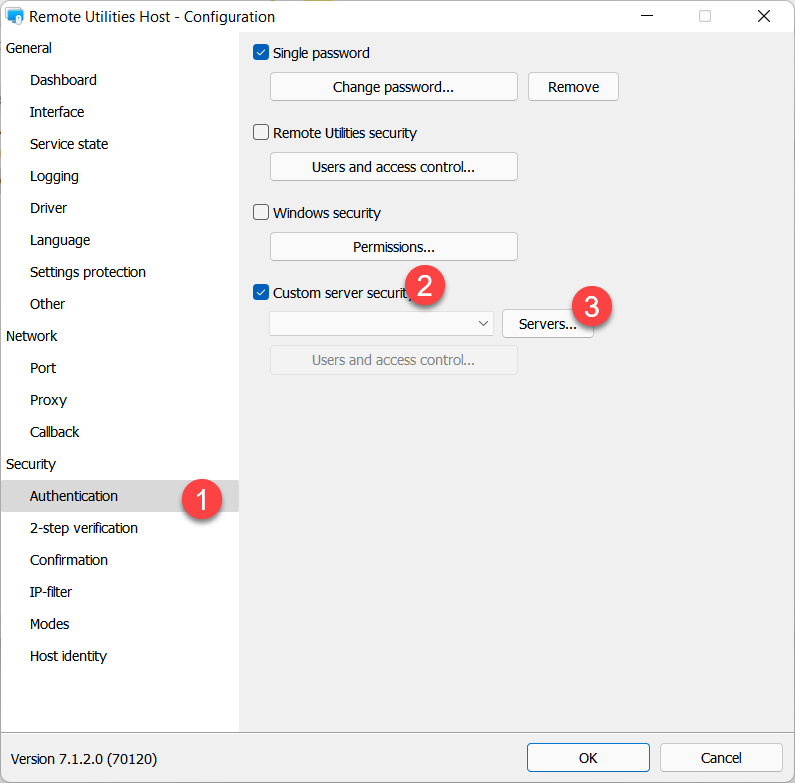
On the Host side you must enable Custom Server Security authentication method and select users and/or groups whom you want to grant access to this Host.
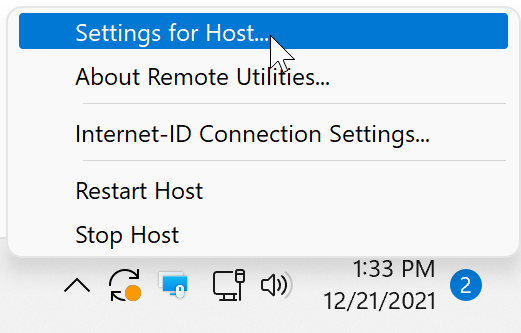
- Right-click the Host icon and select Settings for Host.
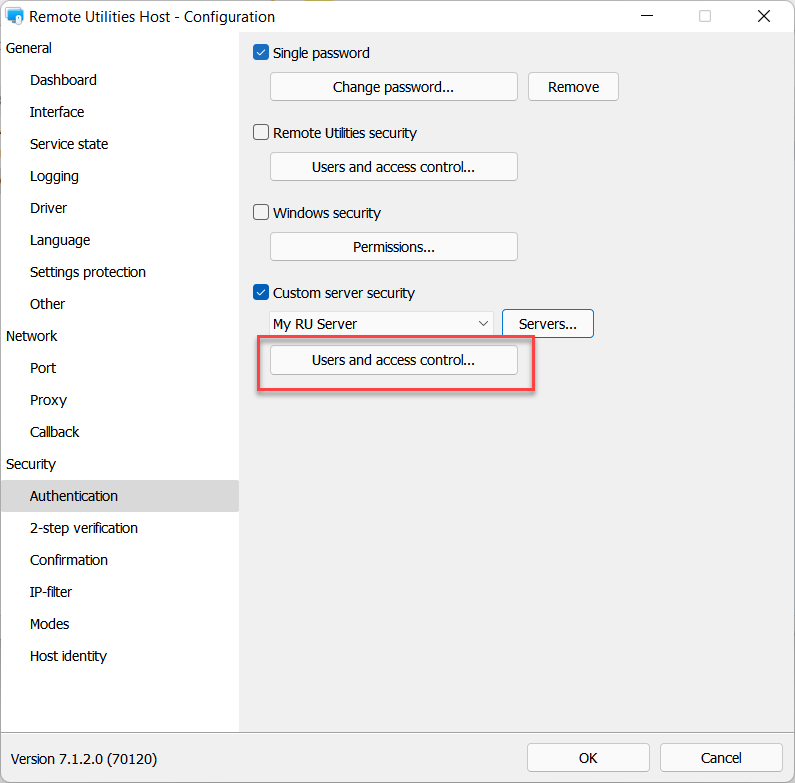
- Go to Authentication, turn on Custom server security and click Servers.
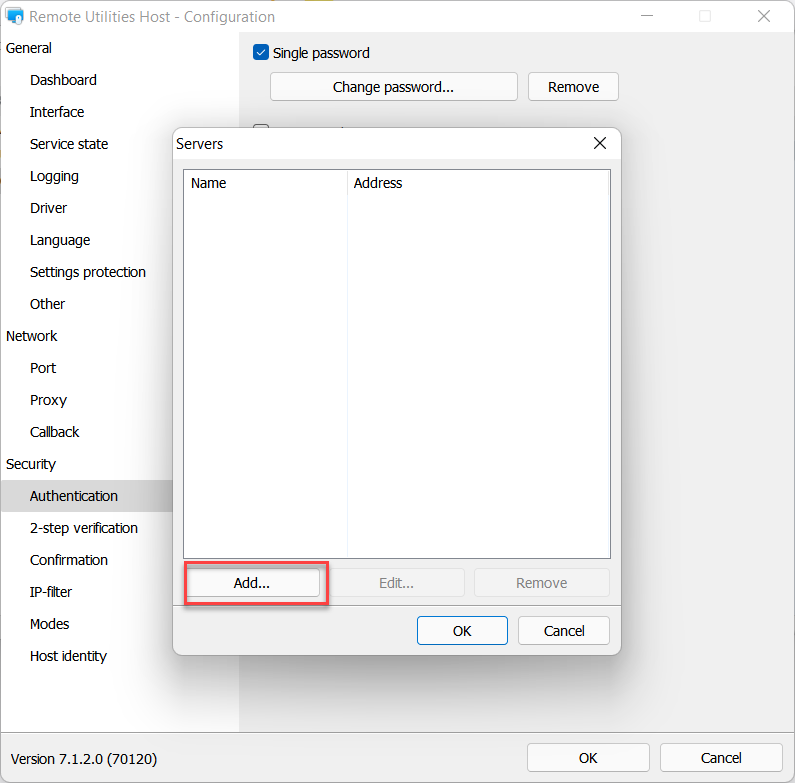
- Click Add.
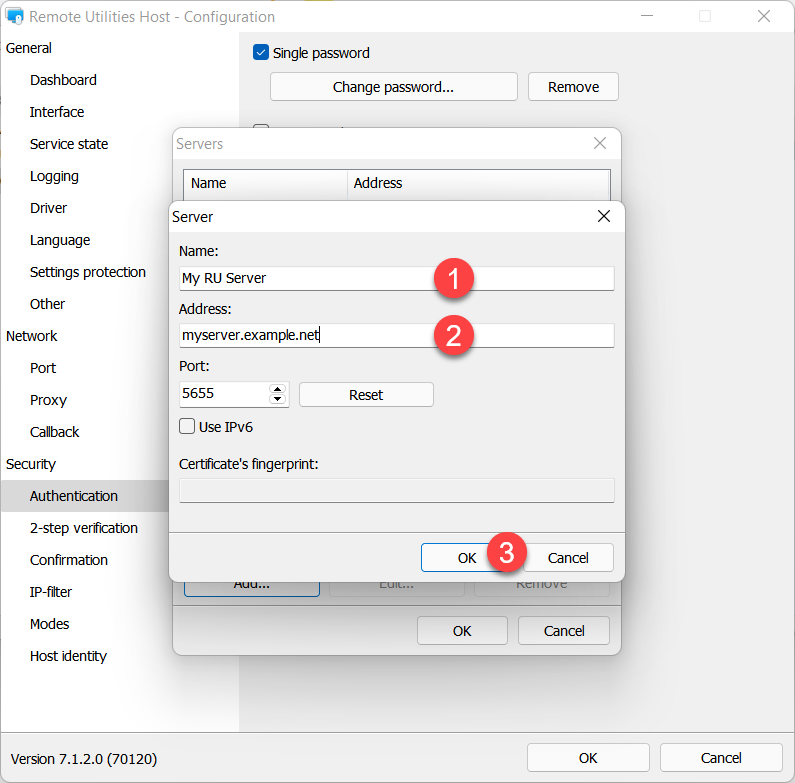
- Enter your RU server name and address and click OK.
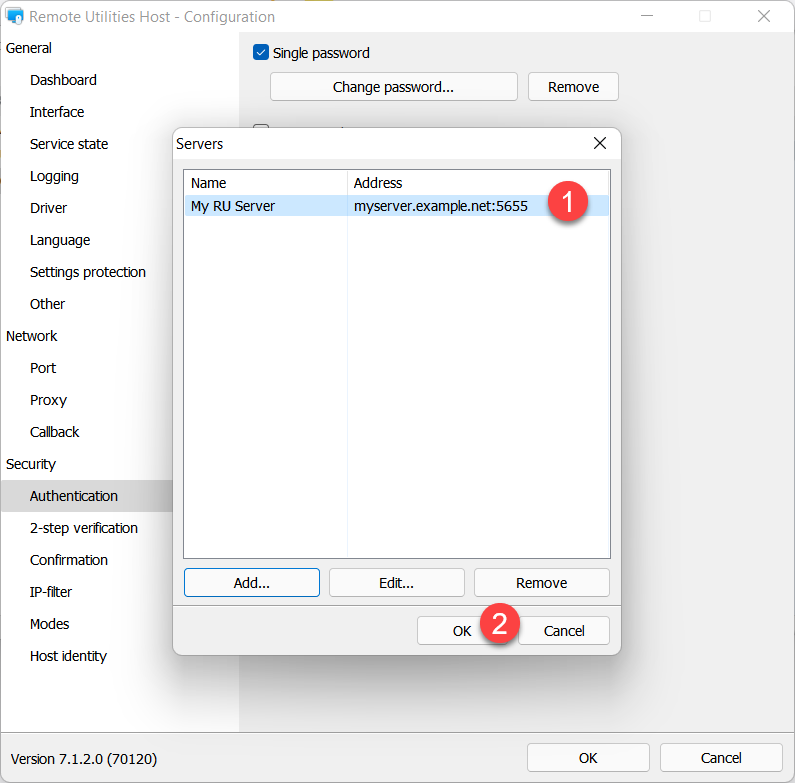
- Make sure the server is selected in the list and click OK.
- Click Users and access control.
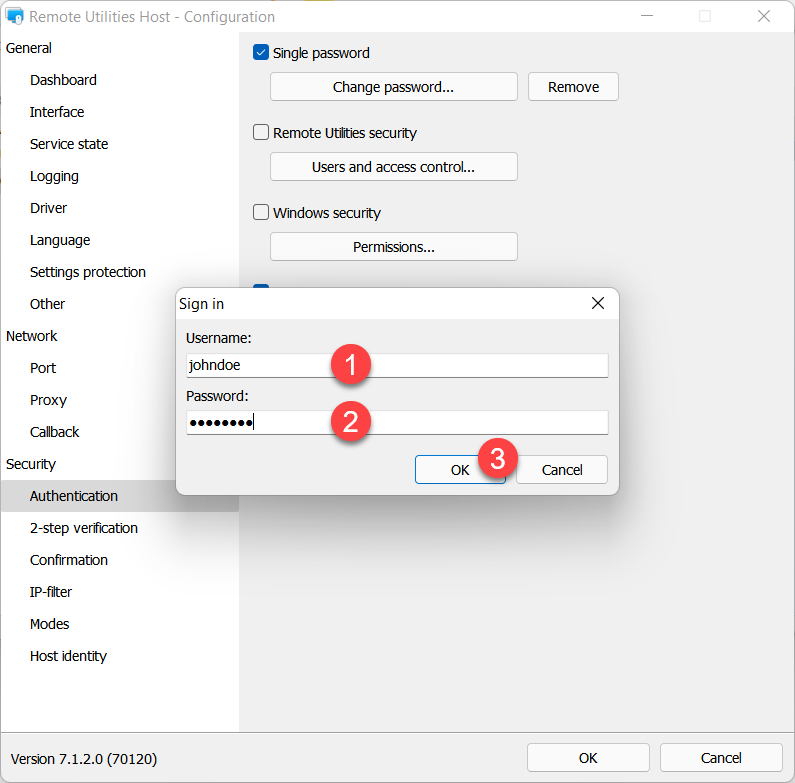
- Enter your server account credentials and click OK to sign in.
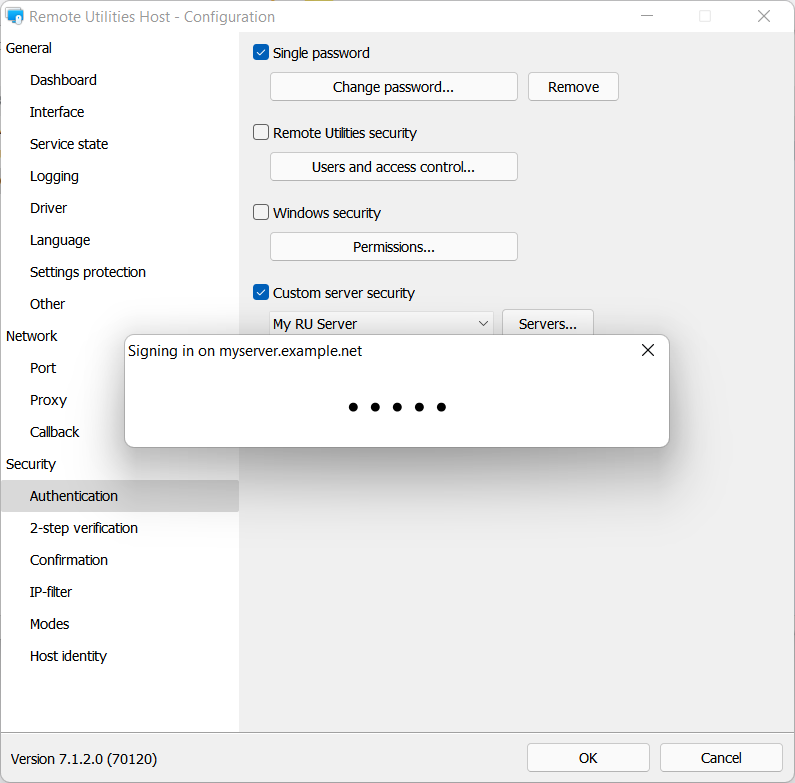
- Wait until your server sign-in is successful.
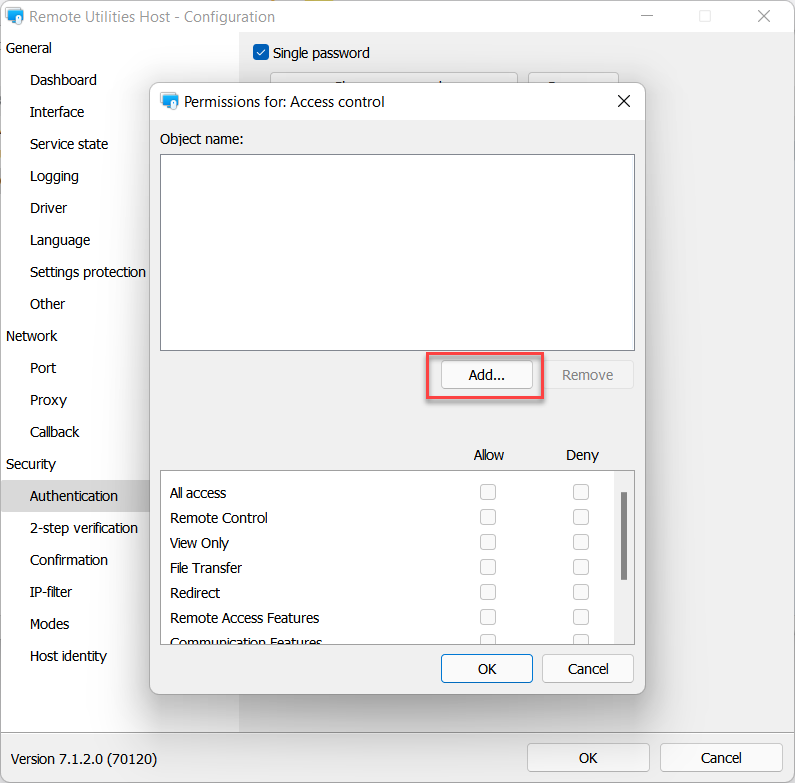
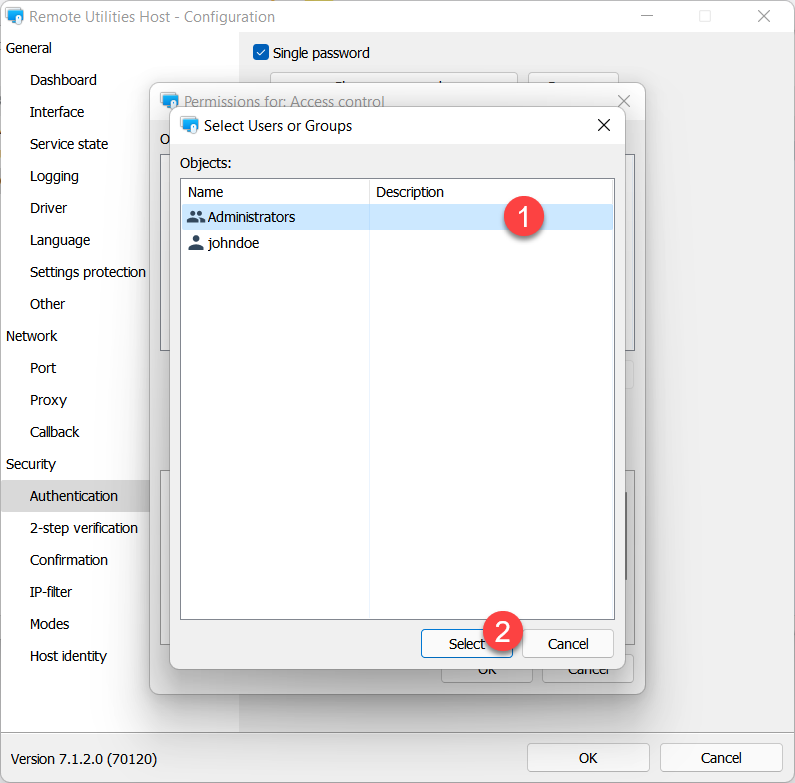
- The Permissions dialog will appear. Click Add:
- In our example we will select the group 'Administrators' which the user 'johndoe' is a member of. Select the group and click Select.
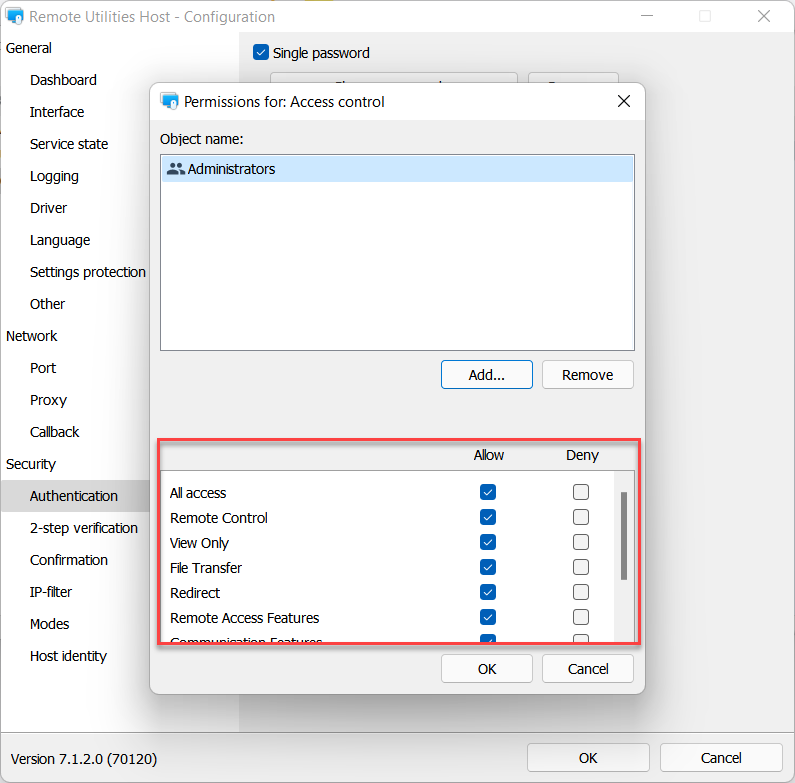
- Make sure the necessary permissions are set for the group 'Administrators' and click OK:
- Close the Host settings.
Now any member of the 'Administrators' group will be able to remotely access (authenticate on) this Host, provided they first sign in on RU Server.
Start a remote session
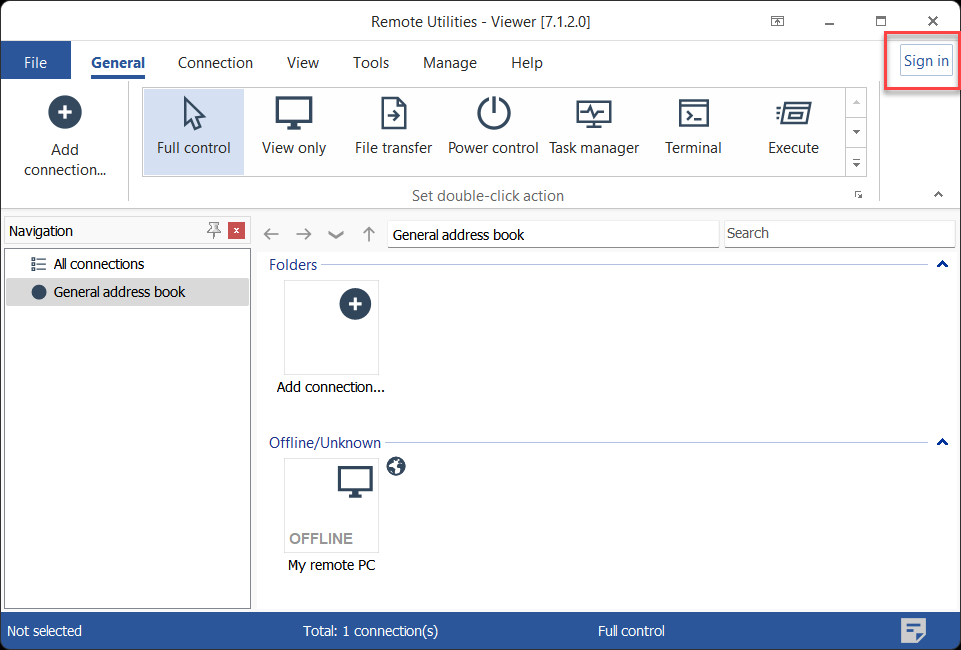
Because you set up 'Custom server security' as your authentication method, you must sign in on RU server in your Viewer app first.
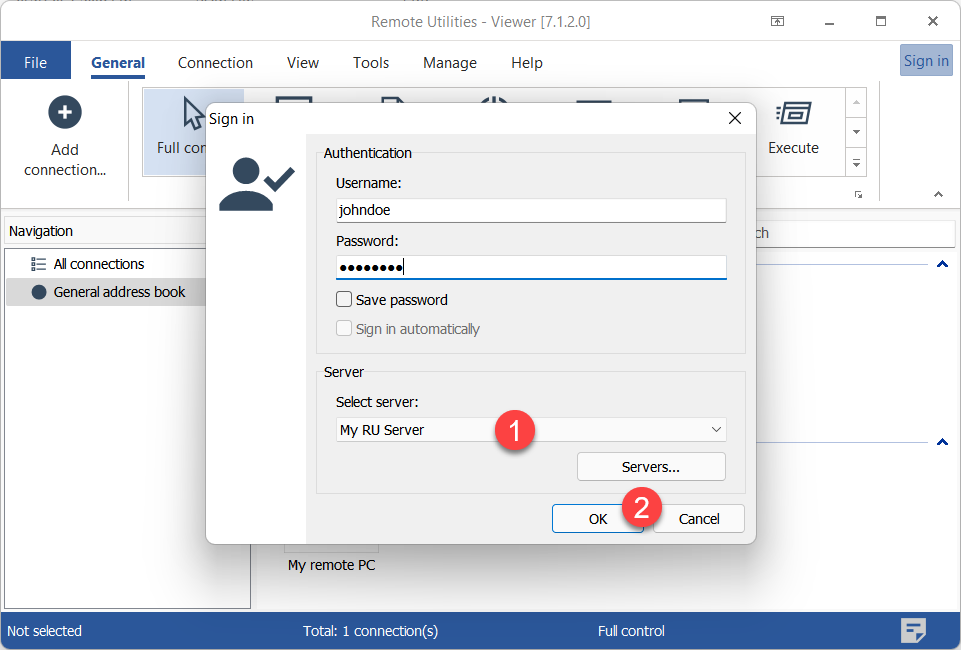
- In Viewer click Sign in at the top right corner of the window.
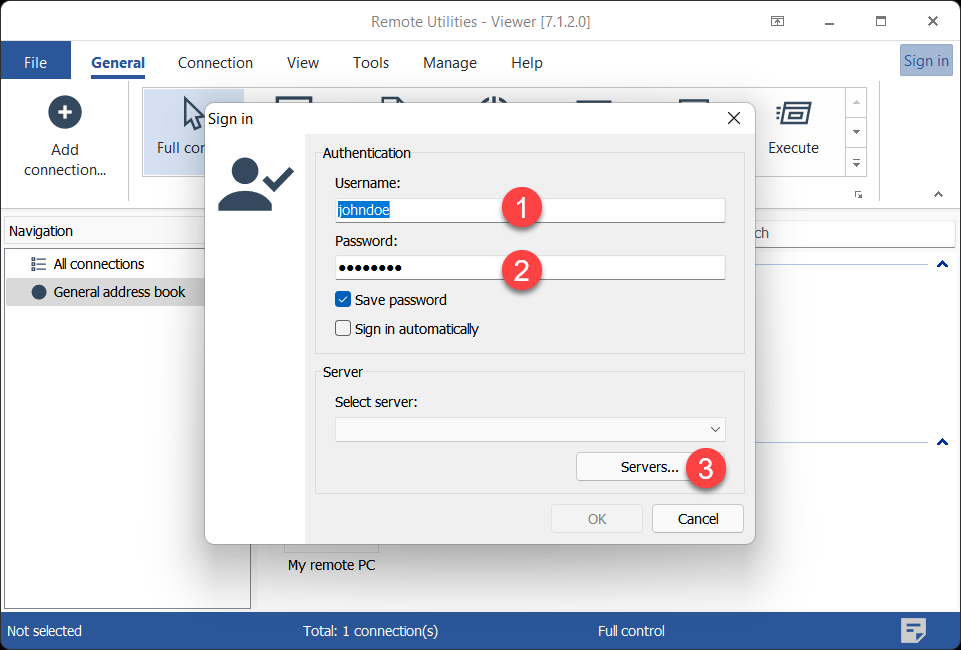
- Enter the account login and password—in this example 'johndoe' is a member of the 'Administrators' group which is allowed access to this Host—and click Servers.
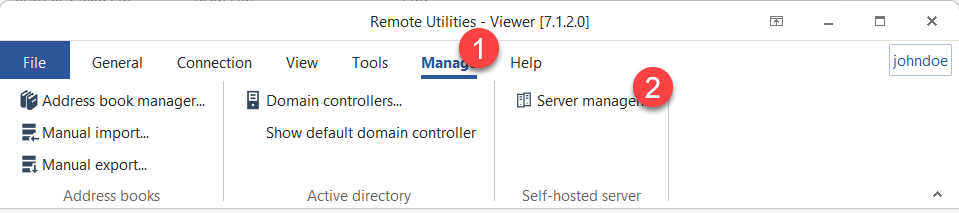
Alternatively, you can open the server list if you go to the Manage tab and click Server manager.
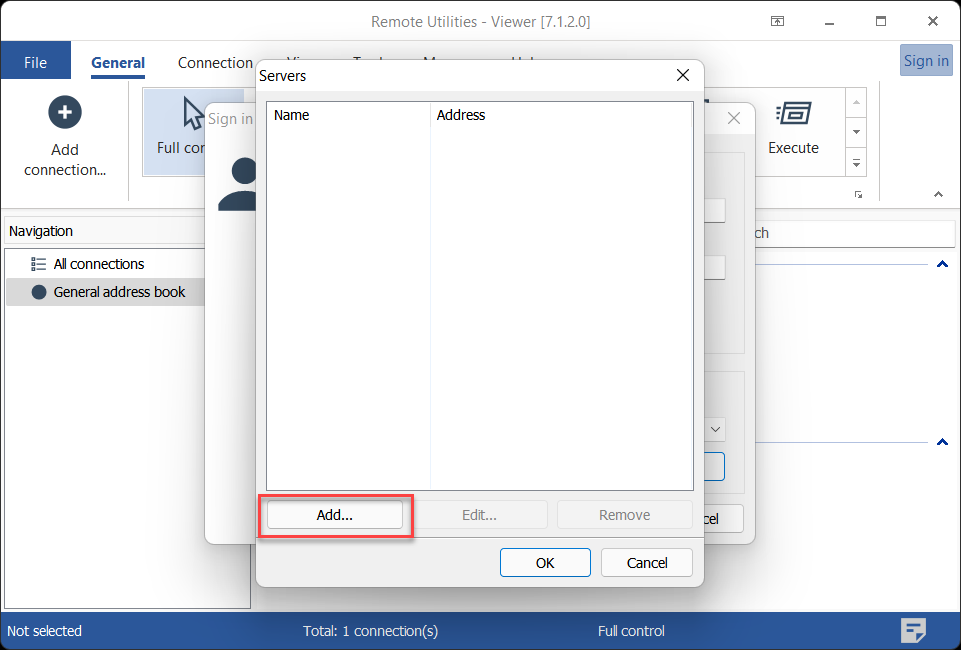
- Click Add.
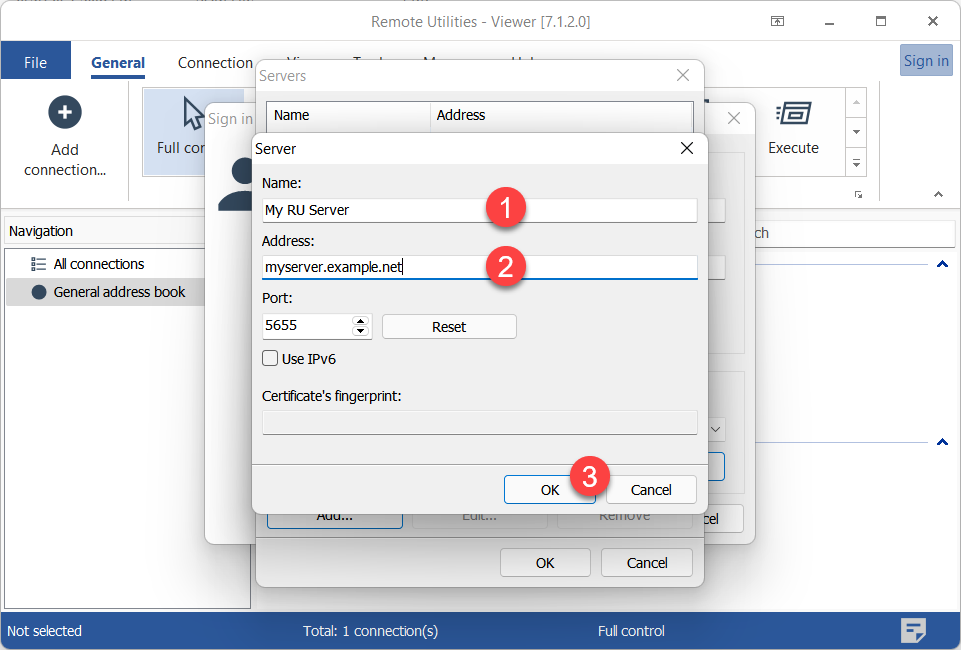
- Enter a descriptive name for your server and the server IP address or DNS name. Click OK.
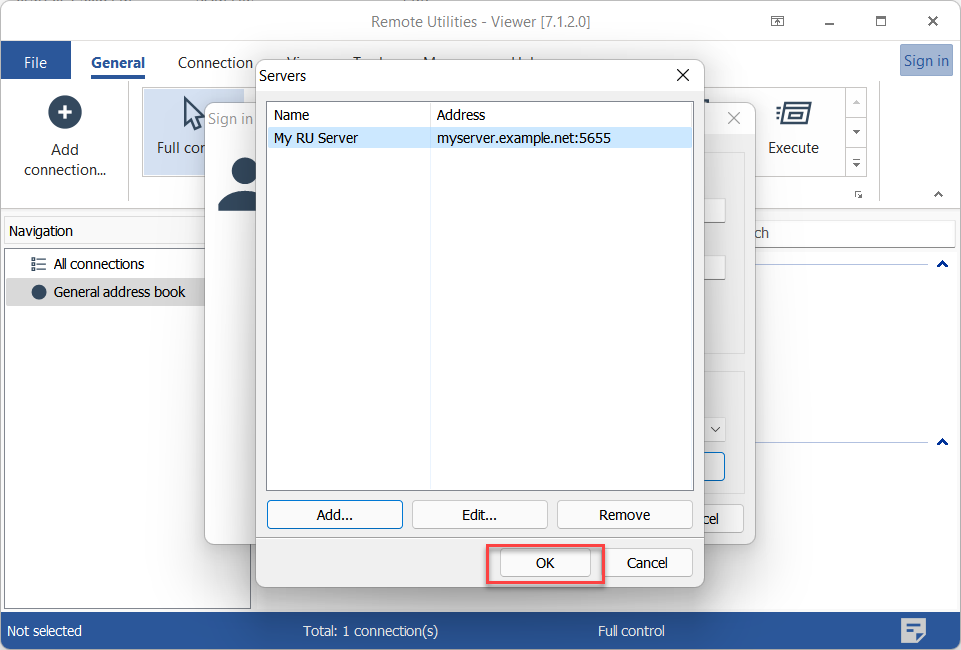
- The server will appear in the list. Select it and click OK.
- Make sure the server is selected in the dropdown list and click OK to sign in.
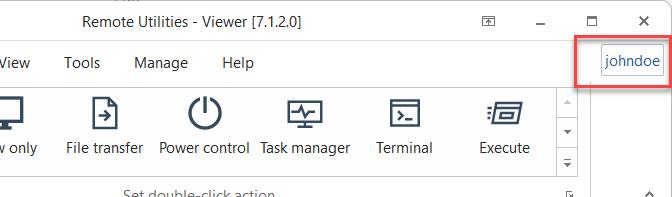
- You will know that you have signed in on the server if your username is shown at the top right.
- Connect to the remote Host as described in the guides for direct connection and Internet-ID connection. You can authenticate on the Host immediately without entering the password once you have signed in on RU Server.
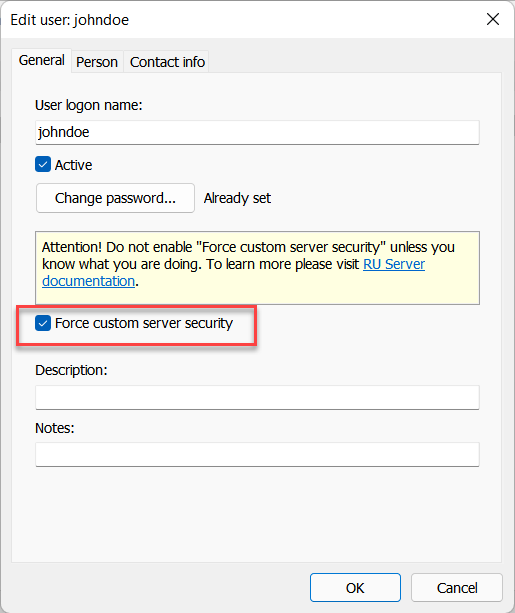
Force custom server security
When you turn on Force custom server security for a user on RU Server, that user will only be able to authenticate on remote Hosts using the 'Custom server security' authentication method. This only works when the user has been signed in on RU Server.
This option can be useful if the system administrator wants the users to exclusively use 'Custom server security' authentication when they are being signed in on RU Server.
Use MSI Configurator for bulk setup
If you need to deploy Host on multiple remote machines it would be suboptimal to set permissions manually on each Host after installation. Instead, use the MSI Configurator to pre-configure your Host including the Custom Server Security authentication method.
Setting permissions for groups rather than for individual users is the best strategy. Use groups with different permission sets and add them all as allowed groups for Custom Server Security authentication in Host settings. In order to change access permissions for a specific user, simply move this user between groups without changing the settings on the Host side.