Standard MSI Package
Before you start:
- Download and install the latest version of Viewer on the computer where you are going to run the configuration process.
- If you already have Host installed and running on the Viewer PC — stop Host (right click on the Host tray icon and select Stop Host).
Where to use
The "Standard MSI" configuration option is most suitable for automated deployment across your local network using GPO or Remote Install tool.
Sample goals
For the purposes of this tutorial, we will assume you have the following goals:
- Goal 1 Install Host without icons in the Windows Start menu.
- Goal 2 Access remote Hosts using Windows Security (e.g. on a domain).
- Goal 3 Connect to remote Hosts using direct connection.
Let’s see how you can configure the Host installer to achieve these goals.
Configuration process
Run Viewer as an administrator, select Tools ➝ MSI Configurator:

Step 1: Specify how the configuration process should proceed
Select Online configurator and click Next:

Important!
In this tutorial we select Online configurator at step 1. With this option your choices are uploaded to our server and a final output file is downloaded. The output file is signed with our digital signature. The Online configurator option is recommended in most cases.
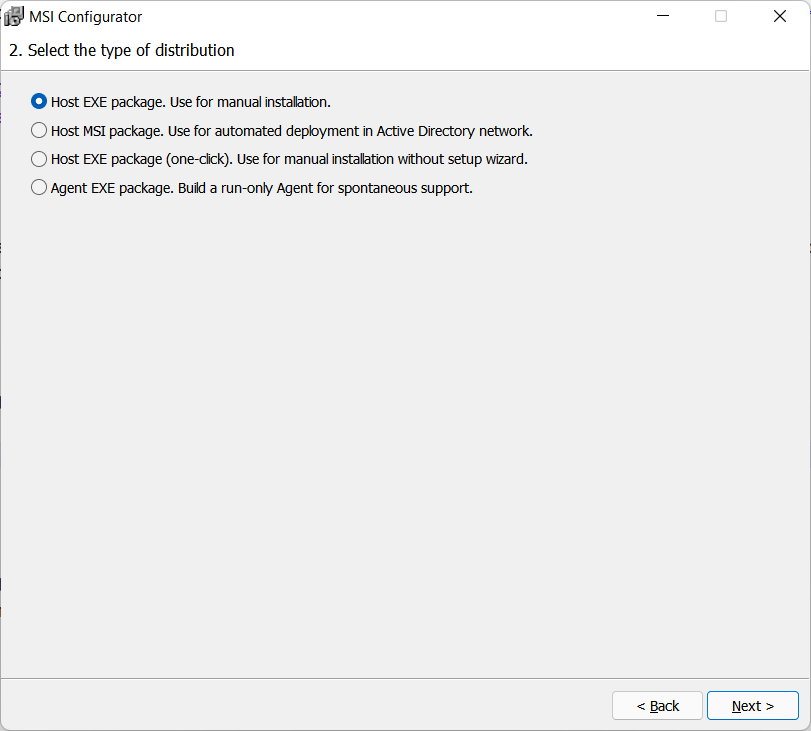
Step 2: Select the type of distribution
Select Standard MSI package and click Next.

Step 3: Advanced options
Skip the Internet-ID tab. On the Other tab, check the Do not create shortcuts... option (Goal 1). Click Next.

Step 4: Settings update
Under the Pre-configure radiobutton, select General and network settings and Security:

Click Finish. The Host configuration window will open.
Step 4a: Pre-configuring Host settings
In order to set the authentication method to Windows Security (Goal 2):
In the Host configuration window select Authentication, enable Windows Security and click Permissions.

Click Add.

Select a user (or a group) whom you want to allow access to Host. Click OK:

In the Permissions section, select the specific permissions that will be granted. You can add multiple users and specify different permissions for each user.

Click OK and close the Security dialog.
In order to disable the Internet ID feature (Goal 3) click Other and select Disable Internet-ID and callback connections:

Important!
Disabling Internet ID in the Host settings ensures that Host only accepts direct connections and will not communicate with a third-party server on the Internet. This is suitable for highly secure environments to restrict Host access to LAN/VPN connections only.
Click OK to close the configuration window:

The configuration process will begin:

At the end of the configuration process the output file will download:

You will be prompted to save the output file. Choose a destination and click Save:

When the process is complete, a thank you message will appear:

You can now use your custom MSI installer to push-install Host across your network. If you want to build an MSI installer with different settings, you need to repeat the configuration process from the beginning.