Active Directory Integration
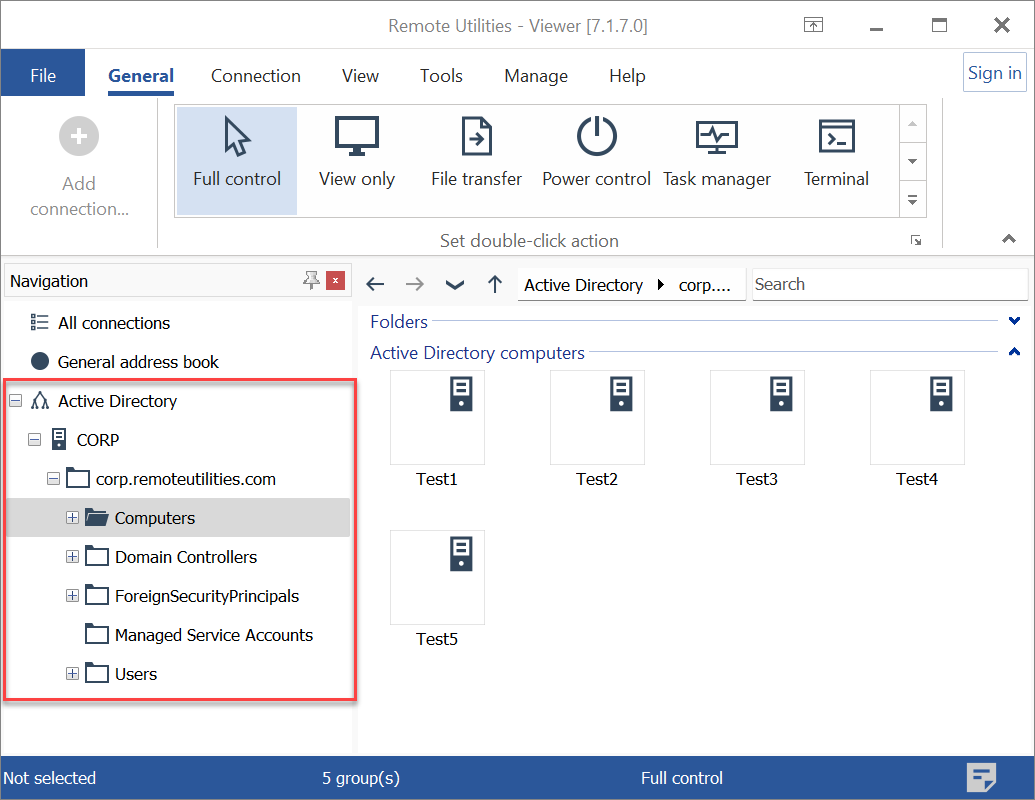
If you install Viewer on an Active Directory (AD) computer, the Viewer will fetch the Active Directory tree automatically (this can be turned off in Viewer options) and display it in the Navigation pane.
Add domain controllers
You can also manually add a domain controller or multiple domain controllers:
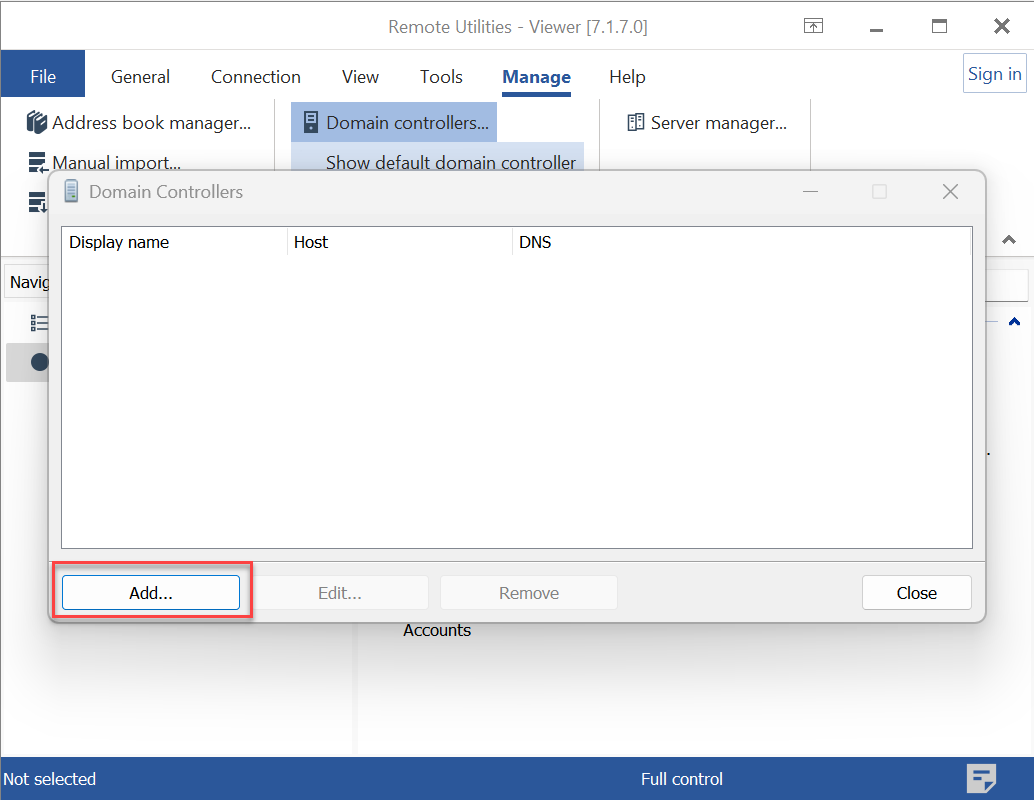
- Go to the Manage tab and click Domain controllers:

- In the Domain Controllers window, click Add:
- Enter the domain controller details and click OK:
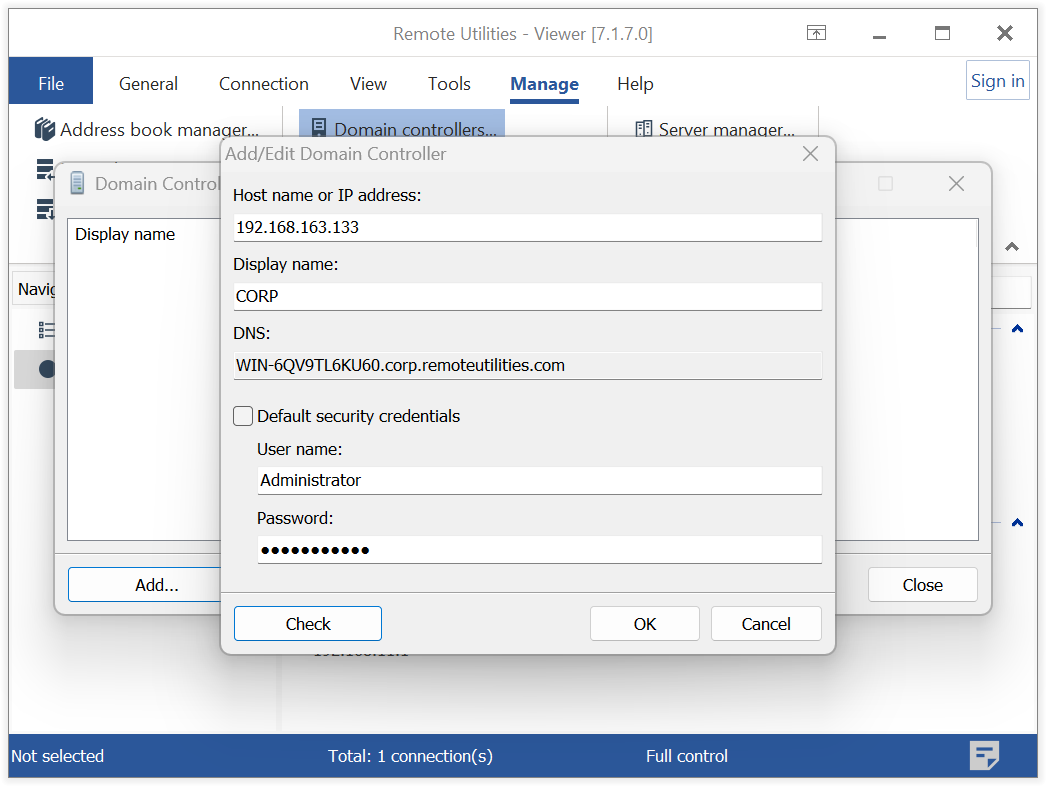
- Host name or IP address—the host name or the IP address of a domain controller.
- Display name—how the domain controller is shown in the Viewer tree.
- DNS—DNS server address.
- Default security credentials—leave this checked if you want to access the domain controller using the current user credentials. Otherwise, specify different credentials.
- The domain controller will be displayed in the domain controllers list.
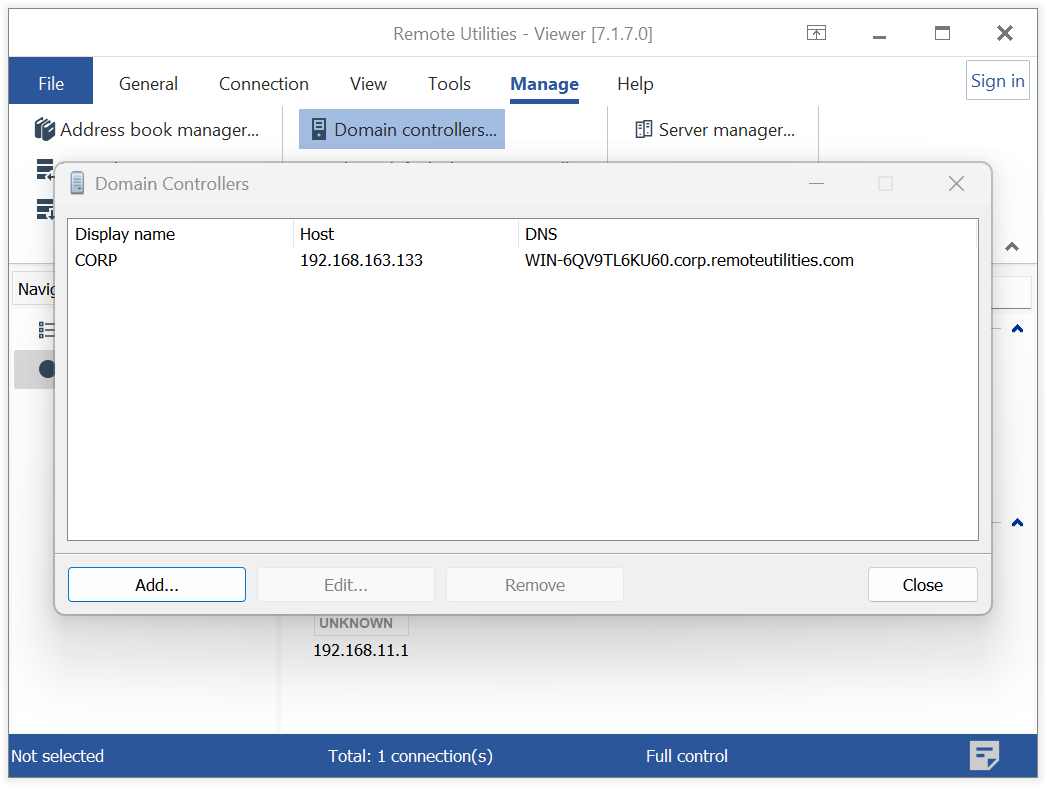
- Click Close.
Add Active Directory computers
The entries in the Active Directory tree in Viewer are simply references to the corresponding Active Directory computers. Before you can establish a connection to them as well as edit connection properties, you must "convert" them into full-fledged address book records.
- Select Computers in the Active Directory tree, right-click in the right pane, and select Add all computers as connections.
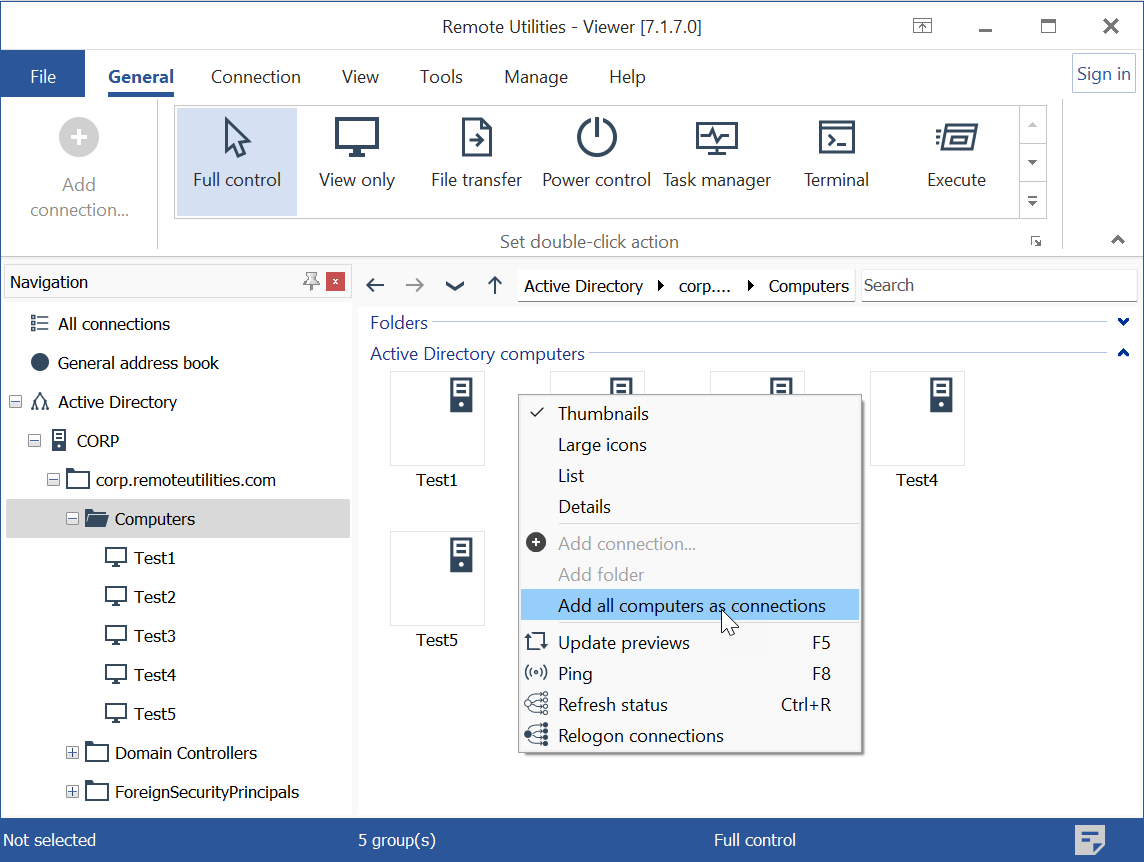
- Corresponding connections will be created for AD computers in the same folder. You can treat them as regular address book connections—start a remote session, edit properties, etc.

Refresh the AD tree
If new computers have been added to Active Directory, you can manually refresh the tree. Right-click on the tree and select Refresh. The new computers will then appear in the tree.
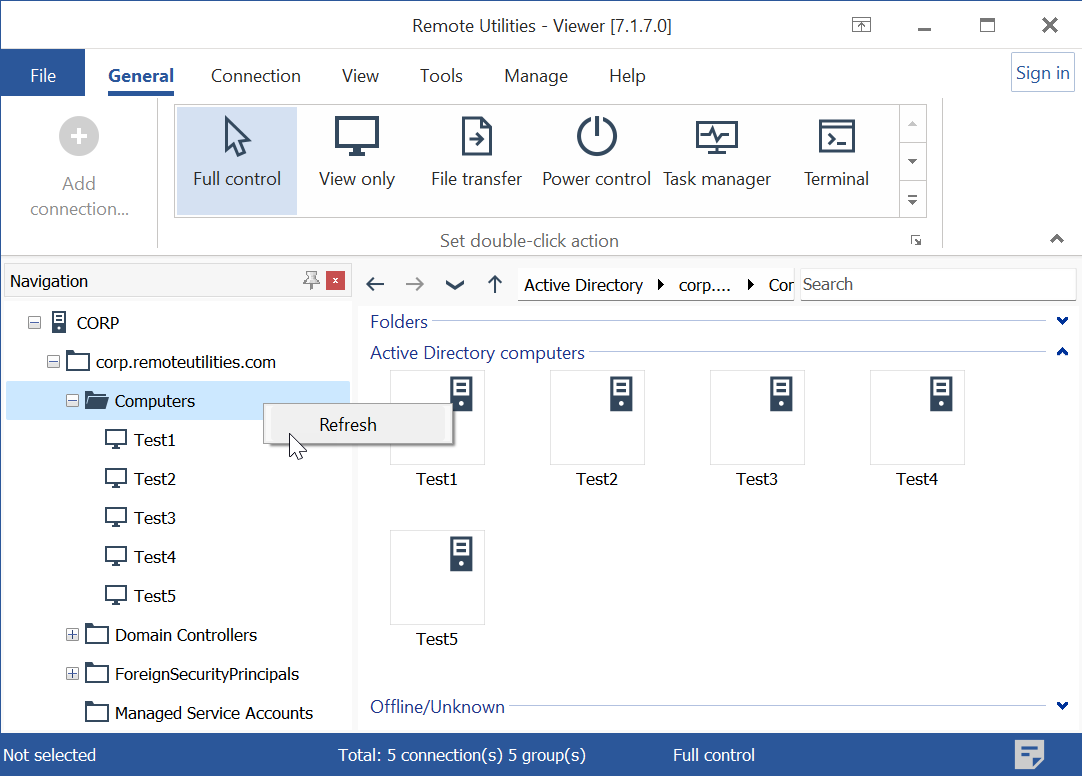
To add them as new connections, right-click on the connection list and select Add all computers as connections. Don't worry about duplicates—only newly added computers will be added as connections to your address book.
Turn off showing AD tree
You can disable the automatic showing of the Active directory tree:
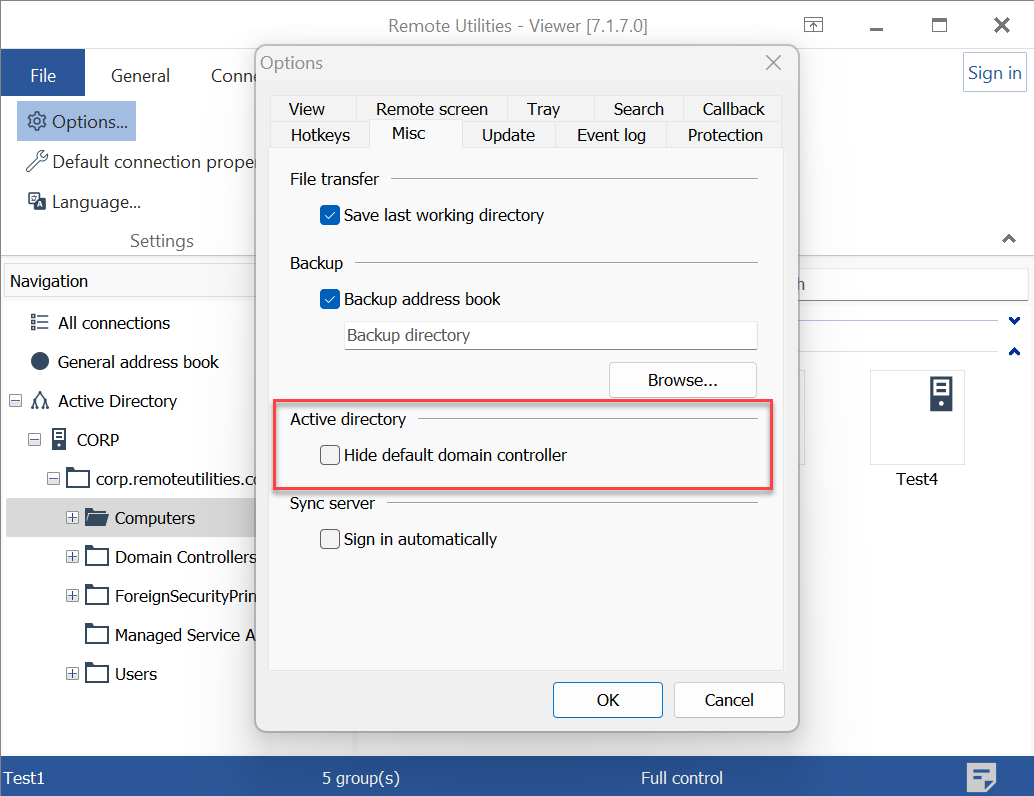
- In the Viewer, go to the Tools tab and click Options.
- Go to the Misc tab and select Hide default domain controller.
Integrating AD with RU Server
When utilizing RU Server, you can schedule regular imports of AD records to your synchronized address book. This means your AD tree will be imported into the address book regularly, according to the set schedule, and subsequently synchronized across all your connected Viewers.
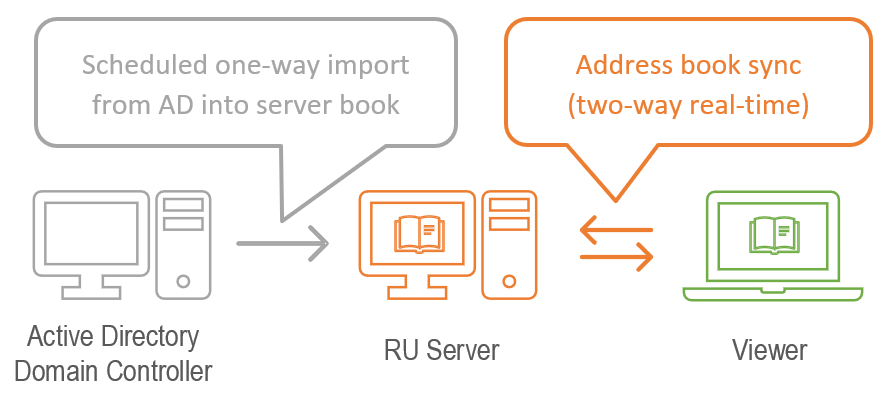
In contrast to enabling the AD tree in a standalone Viewer, importing AD records with this method allows your AD computers to be directly integrated as regular address book connections. This eliminates the need to 'convert' them into connections later.
To set the AD sync schedule:
- Make sure you set up address book sync.
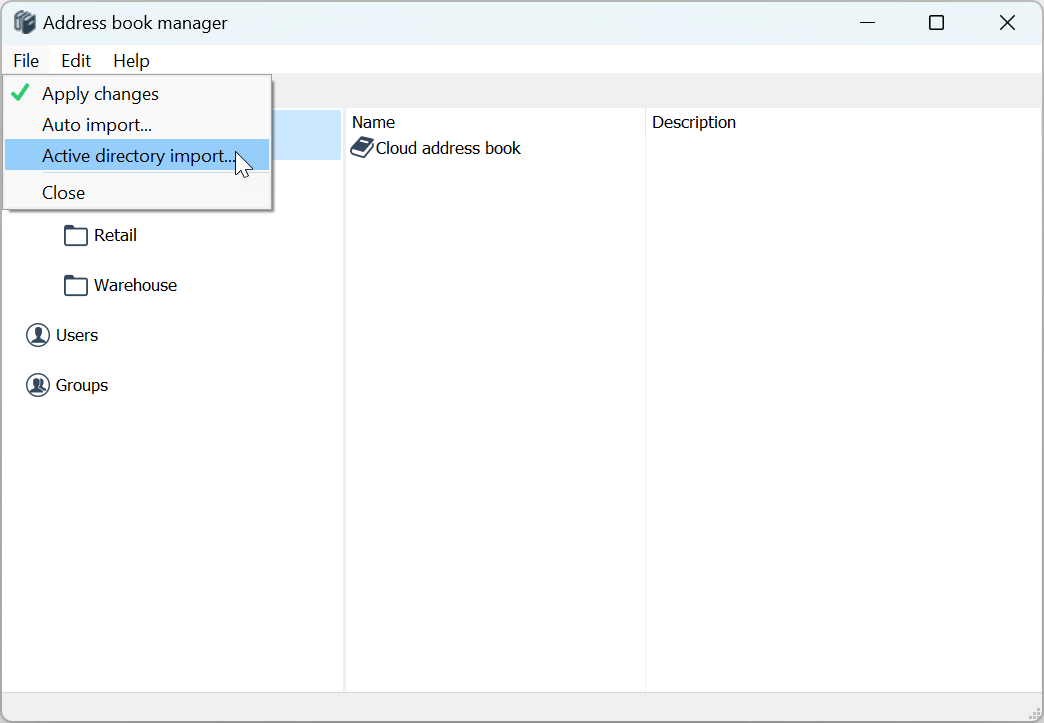
- Open RU Server Admin Console, click File and select Address book manager.

- In the Address book manager click File and select Active Directory import:
- In the scheduling window select Enabled and specify domain controller access credentials. Specify the scheduling details and click OK.
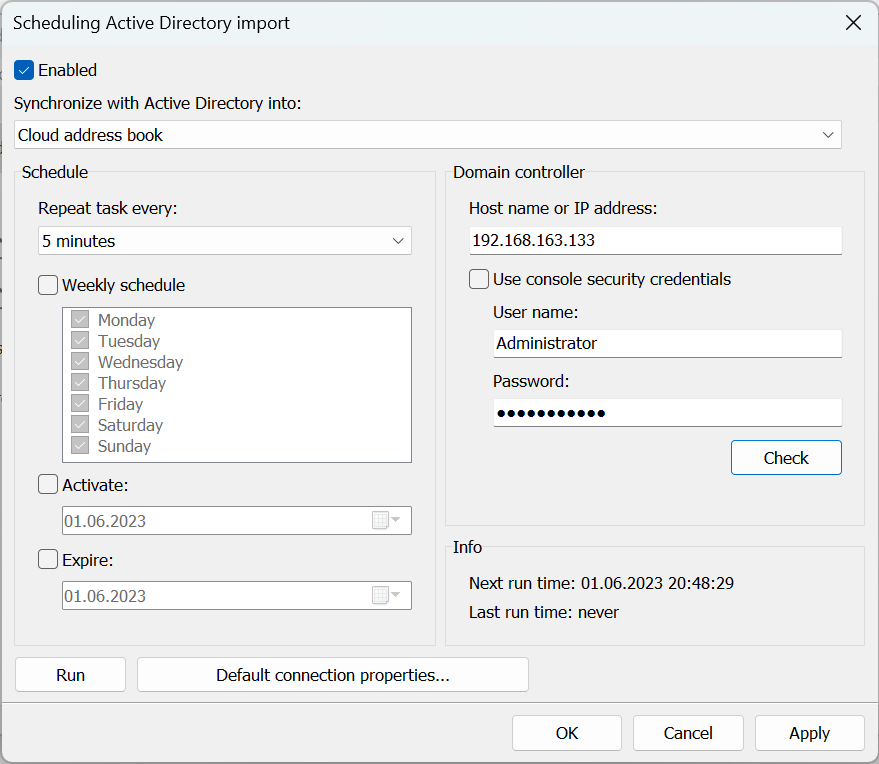
- Upon successful connection with the domain controller, the AD tree will be imported directly into your server address book.
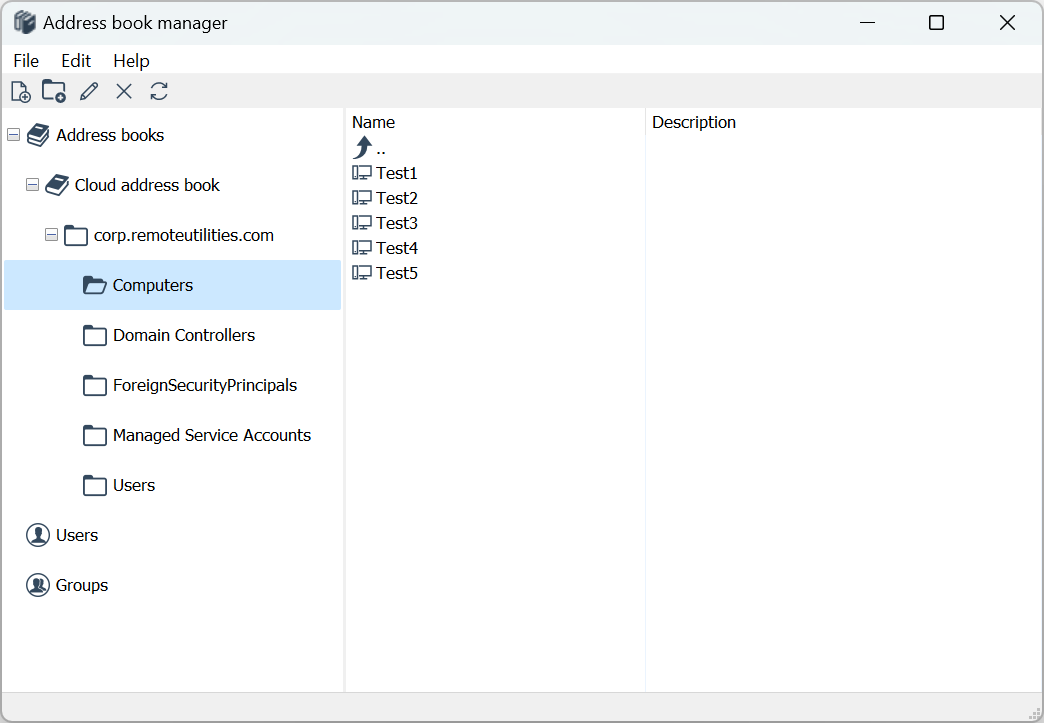
- Assuming that you're signed into RU Server in your Viewer, the address book in the Viewer will be automatically updated with the newly imported records.
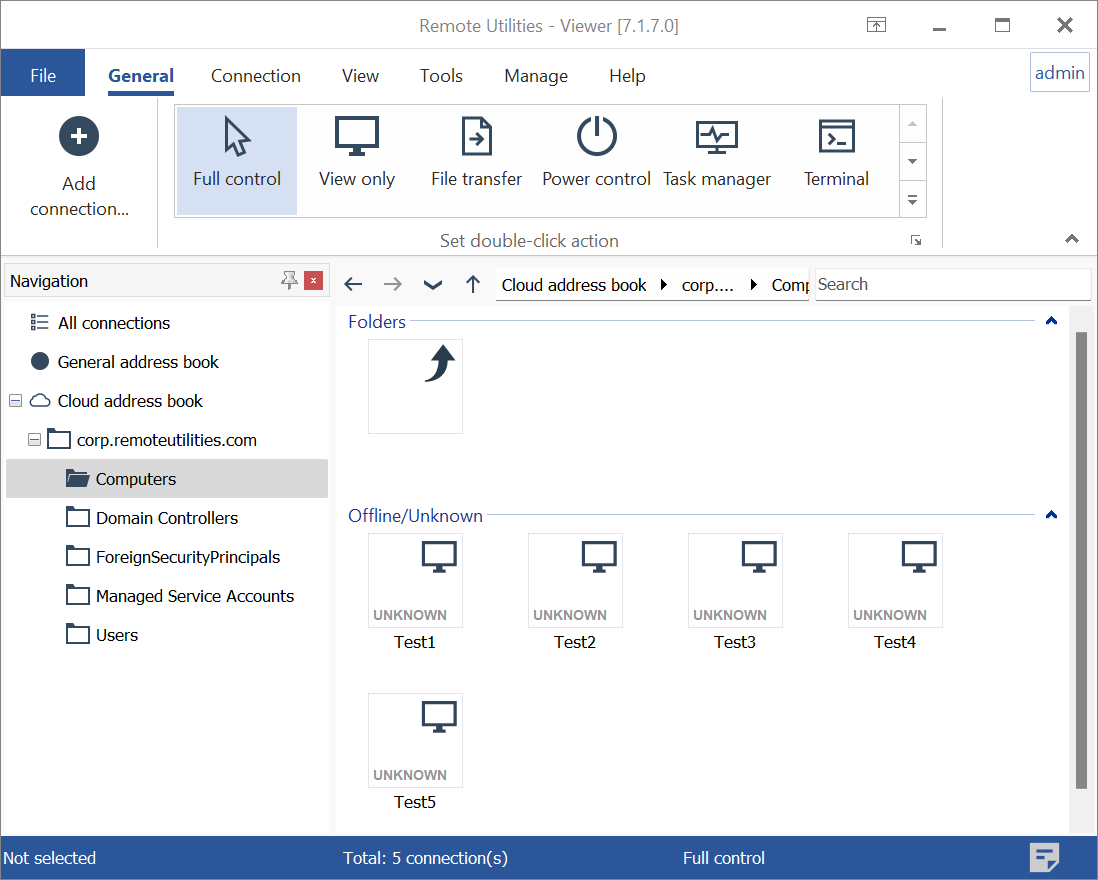
- Going forward, any additional computers added to the Active Directory will automatically appear in your address book, thanks to the scheduled import and address book synchronization process.