How do I import records from a spreadsheet into my address book?
Overview
This guide shows you how to populate Remote Utilities address book with records from a spreadsheet file.
Create a template address book file
You need to generate a sample XML code to get started. The easiest way to do this is to create a new address book with sample records:
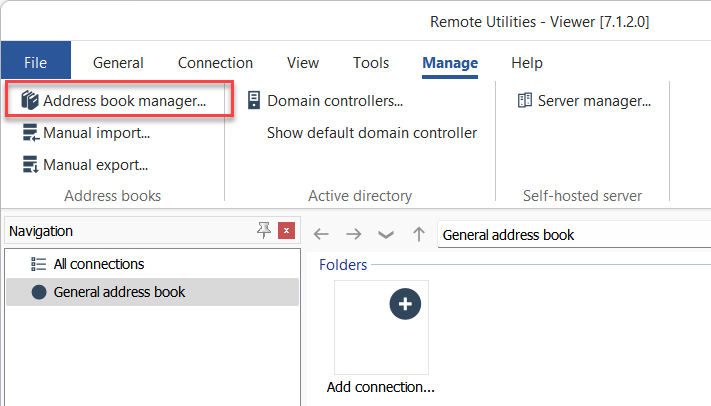
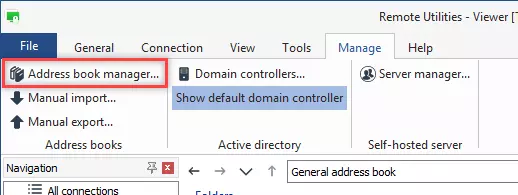
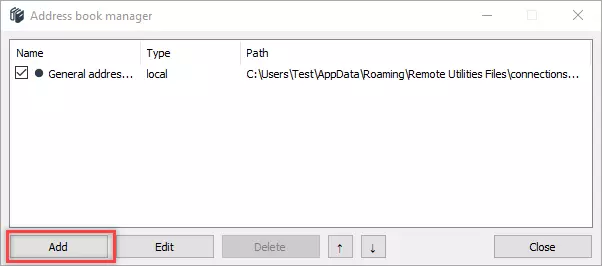
- In Viewer go to the Manage tab and click Address Book Manager:
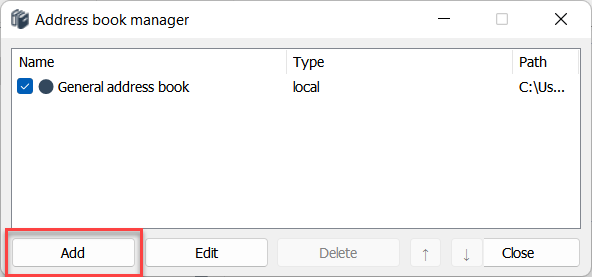
- Click Add:
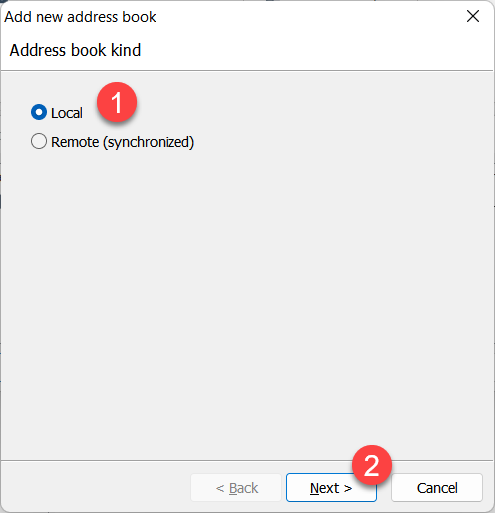
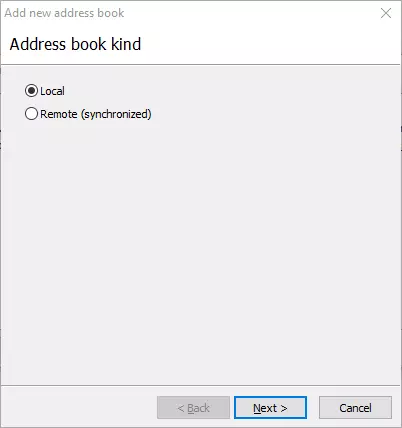
- Select Local and click Next:
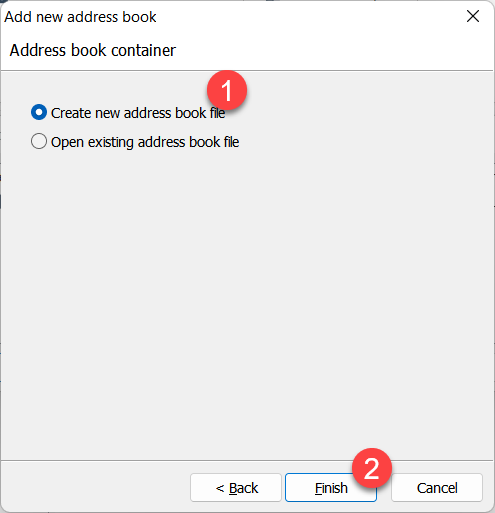
- Select Create new address book file and click Finish:
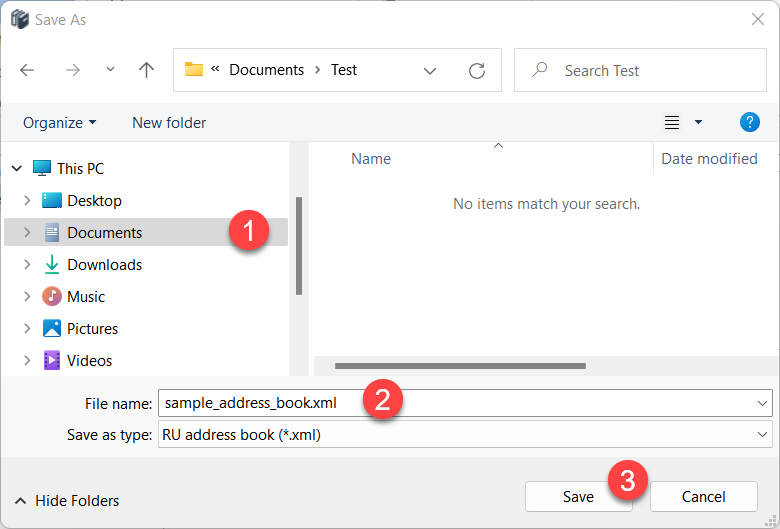
- Select a destination folder, name the file and click Save:
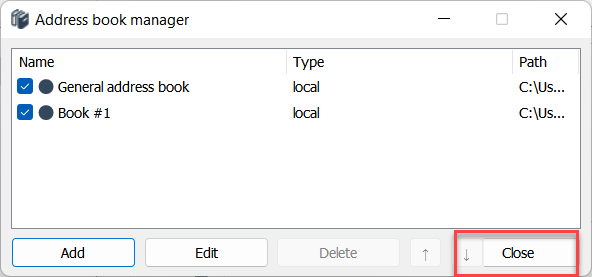
- Close the address book manager.
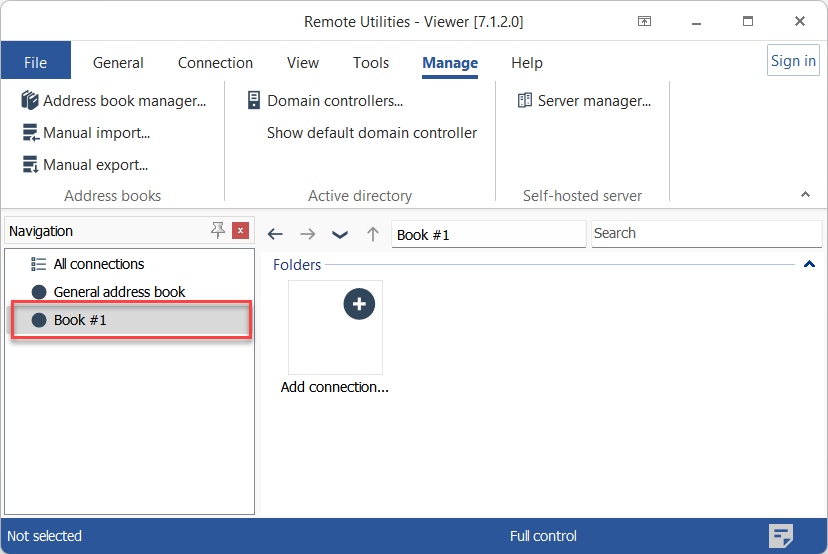
- Your new address book will get loaded in the main Viewer window.
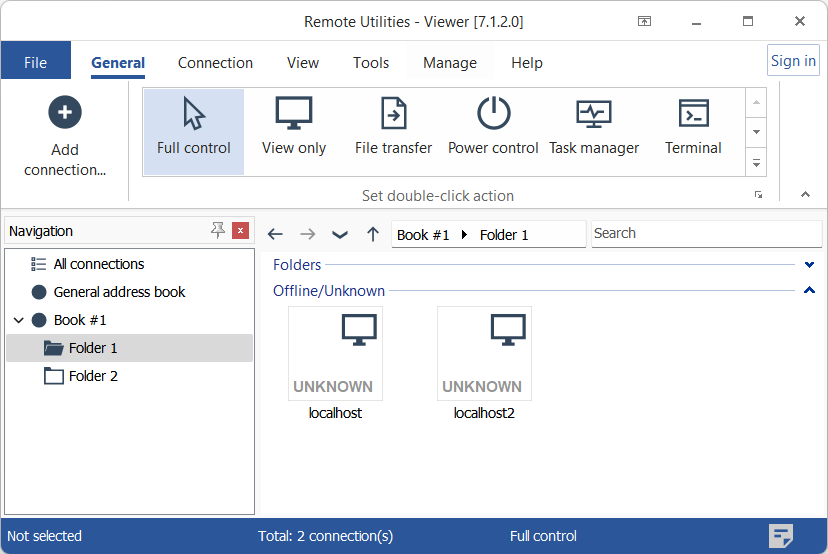
- Create two folders in the new address book, and two connections in one of the folders. These are sample records so you can use any names you want. The result may look like this:
- Completely exit Viewer (File→Exit) and proceed to the next section below.
Open the file in XML editor
Use any XML editor to open the sample address book file that you've just created. You should see the following:
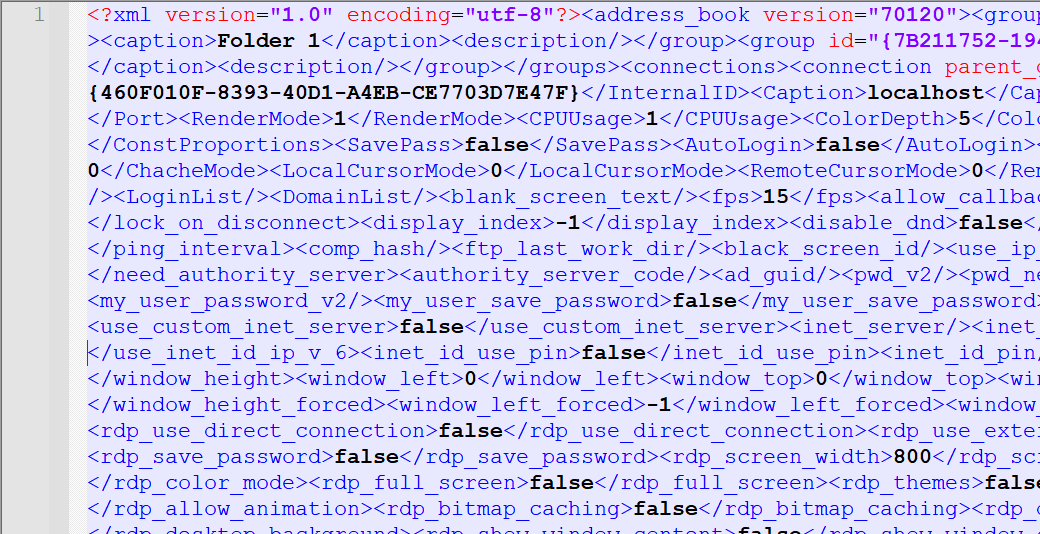
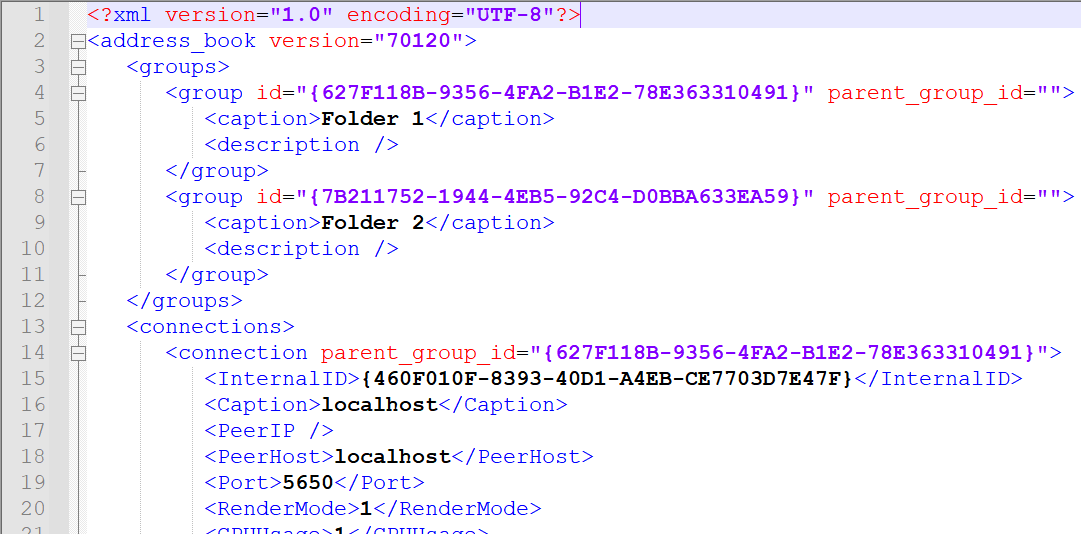
Use the free XML code formatter to format the code for better readability:
Tags and attributes explained
The <groups> tag encloses address book folders. Each folder is marked with the <group> tag with two attributes—id and parent_group_id. The id attribute is used as a unique identifier for each folder. The parent_group_id attribute is only used for subfolders and shows the id of the parent folder for that specific subfolder.
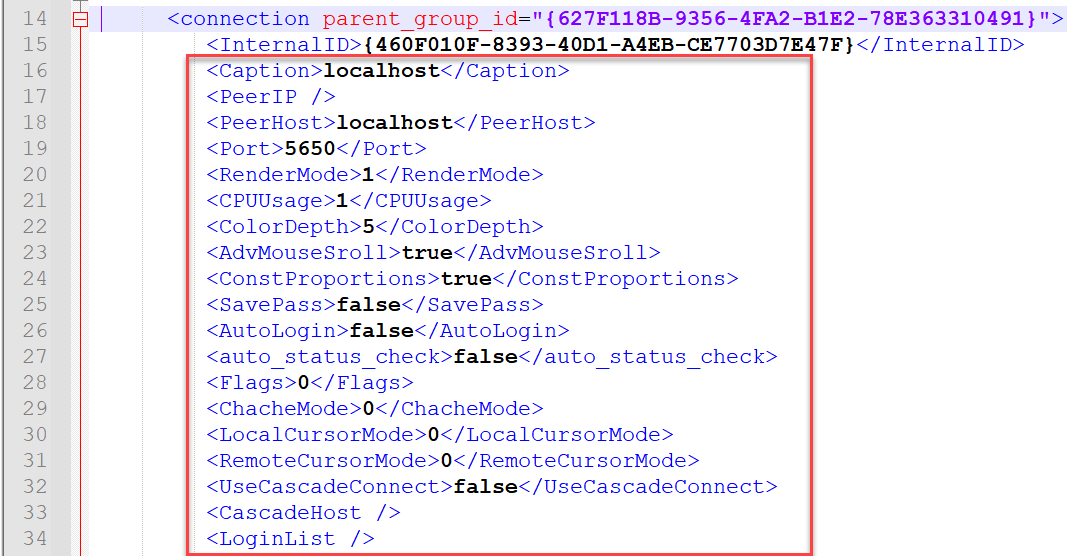
The <connections> tag encloses connections that represent remote computers. Each connection is marked with the <connection> tag. The <connection> tag has the parent_group_id attribute that refers to the unique ID of the folder where this connection is located.
In addition, each <connection> tag encloses tags that hold the properties of that connection:
You can close the file for now and proceed to the next step.
Add XML map to Excel
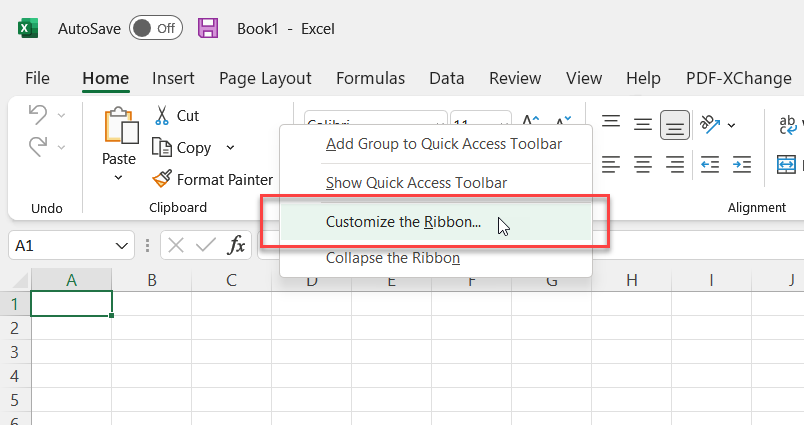
- Open Microsoft Excel, right-click on the ribbon and select Customize the ribbon:
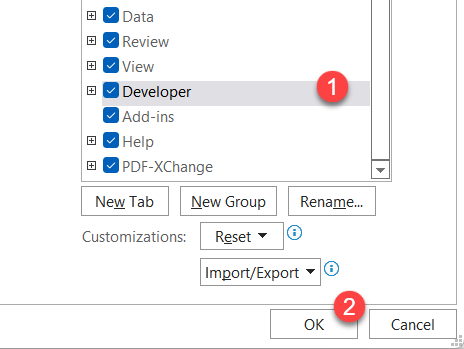
- Turn on the Developer tab and click OK:
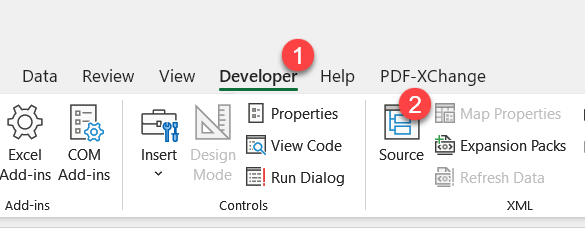
- Go to the Developer tab and click Source:
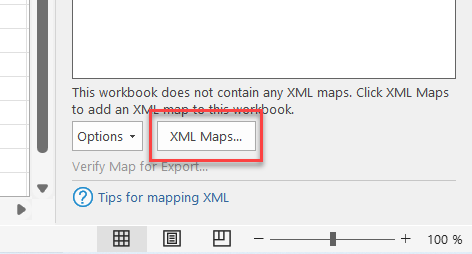
- In the XML pane click XML maps...:
- Click Add:

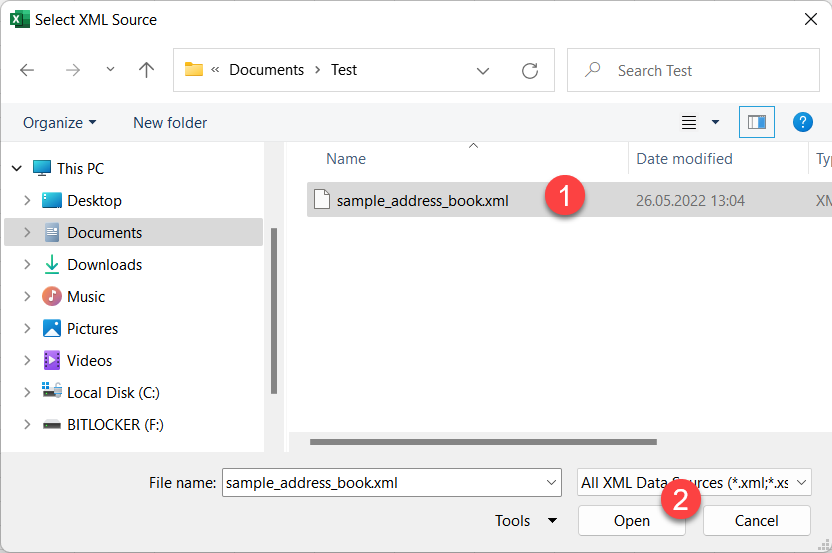
- Open your sample address book XML file:
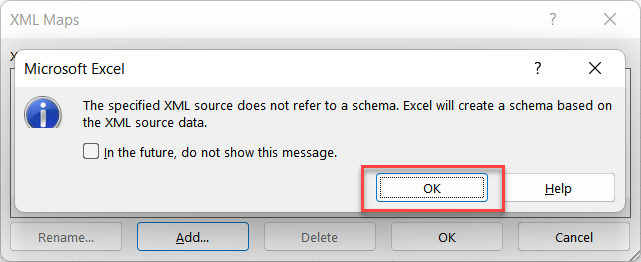
- Click OK in the XML schema warning:
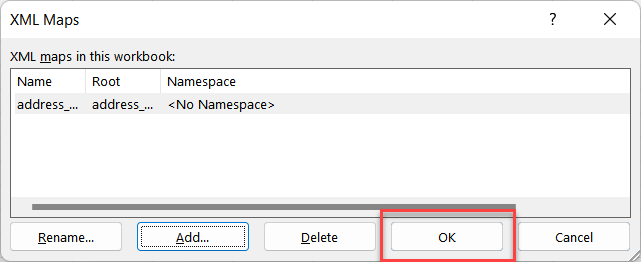
- Click OK in the XML maps window:
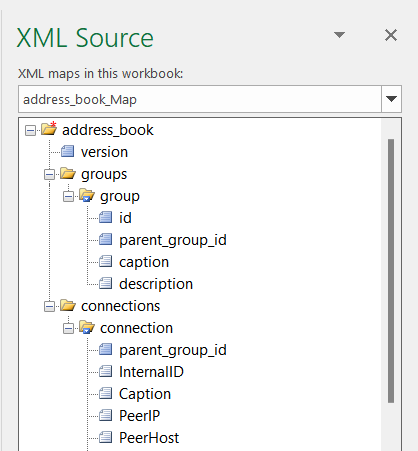
- You will see your map added to the XML source pane:
- Create two empty sheets in Excel and name them Folders and Connections:
- Switch to the Folders sheet, select the
groupselement in the XML Source pane and drag it to the cell A1 in that sheet.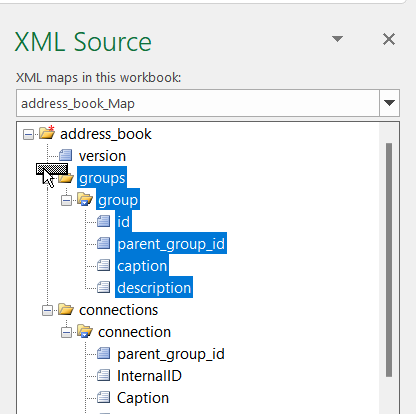
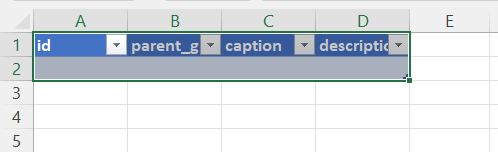
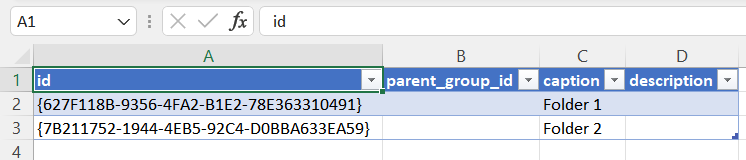
- The result should be as follows:
- Similarly, switch to the Connections sheet, select the
connectionselement in the XML Source pane and drag it to the cell A1 in that sheet.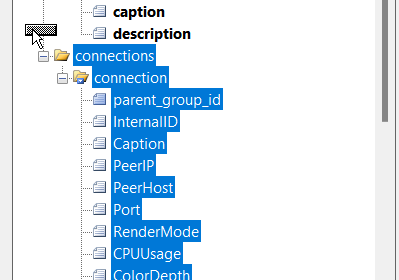
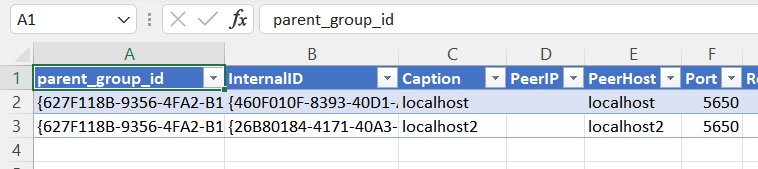
- The result should be as follows:

- In the Developer tab click Refresh data:
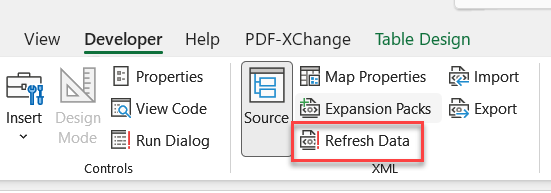
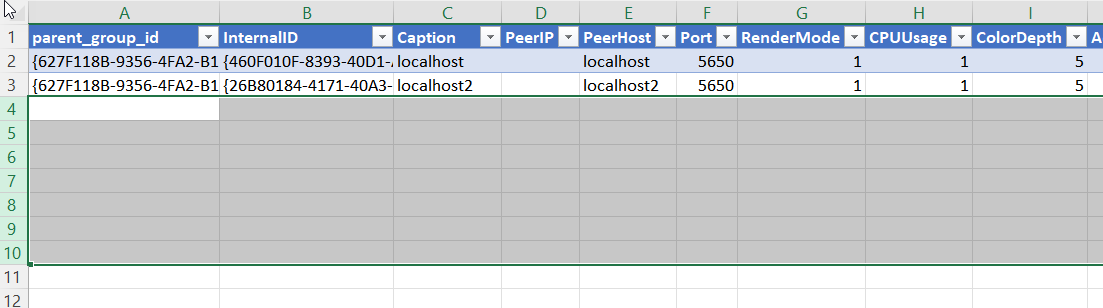
- The sheets will get populated with the folder and connections data from your sample address book:
Add records to spreadsheet
Now you can populate the spreadsheet with your own data.
- Switch to the Folders sheet and populate the table with unique IDs and folder names (captions). You can use any alphanumeric string as the folder ID. The only requirement is that it must be unique:
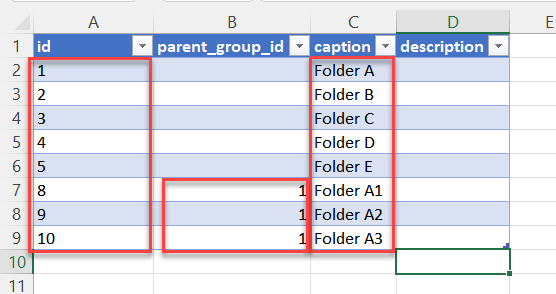
Note how the parent group ID is specified for folders A1, A2 and A3. These are sub-folders of the Folder A whose unique ID is "1". Setting the
parent_group_idis how you define folder hierarchy in your address book. - Switch to the Connections sheet, select a sample row and copy it:
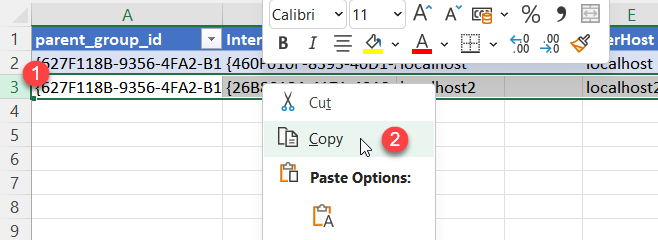
- Select as many empty rows below as the number of connections that you want to add to the address book:
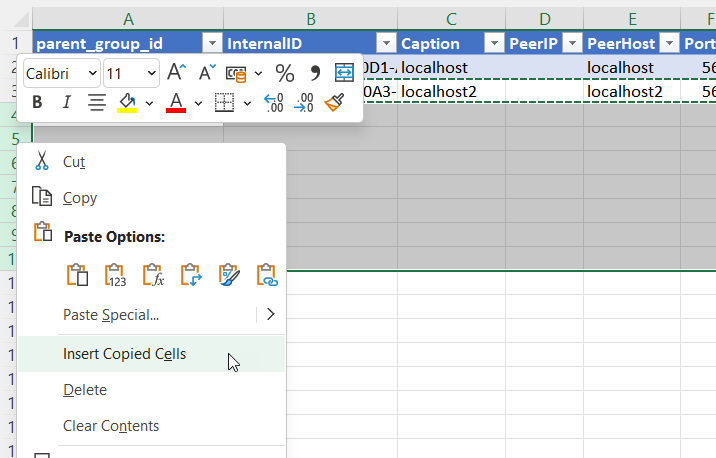
- Right-click on the selection and select Insert copied cells:
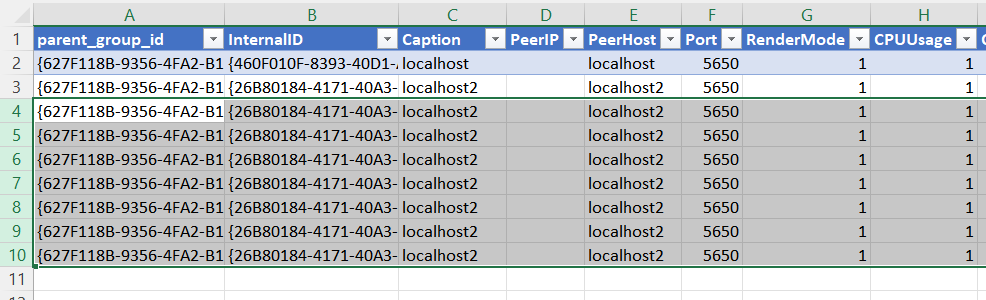
- The result should be as follows:
Why do I need to copy the sample data?
Each connection item has about 90 different properties (represented by columns in the table). To avoid filling out the values manually you need to copy the default values across all your records first. You will be able to edit the properties later in the Viewer app, both individually and in bulk. For now, just use the default values.
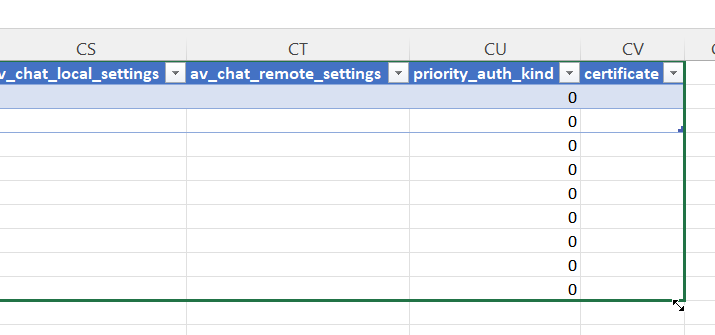
- Make sure that you select the entire table by dragging a tiny black selector at the bottom right corner. Only the records included in the table will be exported:
- Clear the contents of the first five columns in the table:
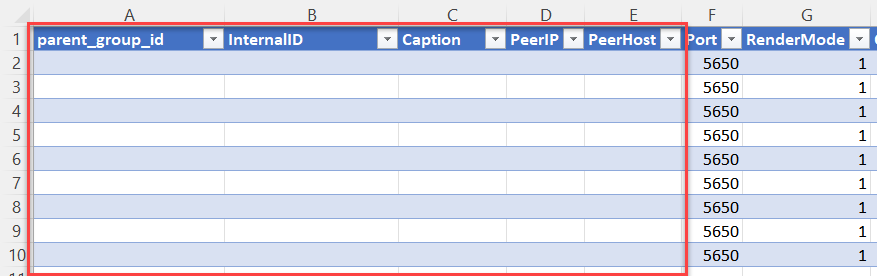
- Populate the columns with your connections data:

Note how the
parent_group_idpoints to the ID of the folder where the connection is to be located. In this example we put the first five connections to Folder A and the other four connections to folder A1 (a sub folder of folder A).
Export address book
Now let's export your data to XML format to be used as Remote Utilities address book.
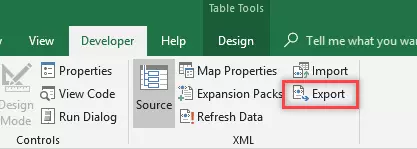
- In the Developer tab click Export:
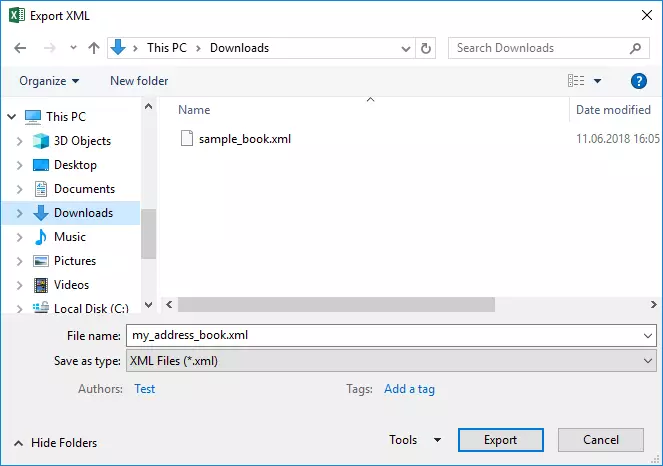
- Select a destination for your address book file and click Save:
- Open the
my_address_book.xmlfile in your XML editor and replace the first two rows with the respective rows from yoursample_book.xmlfile. Save and close your address book file.
- In Viewer select the Manage tab and click Address Book Manager:
- In the address book manager click Add:
- Select Local and click Next:
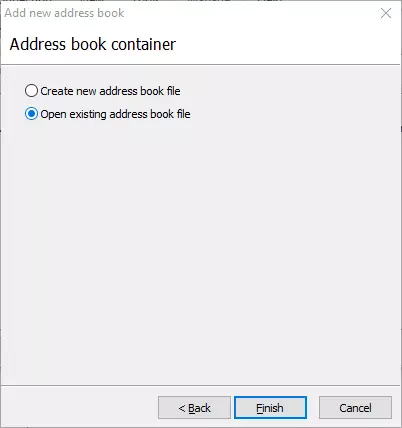
- Select Open existing address book file and click Finish:
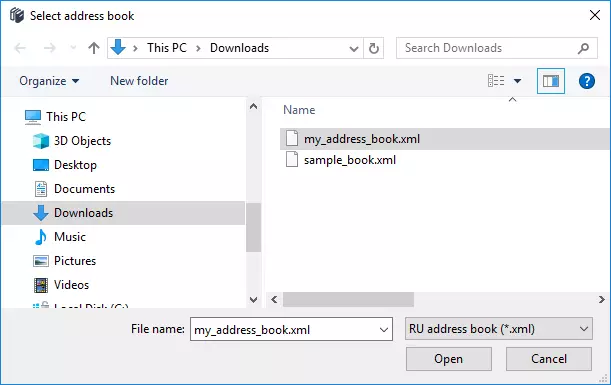
- Navigate to your saved XML file and click Open. Then close the Address Book Manager.
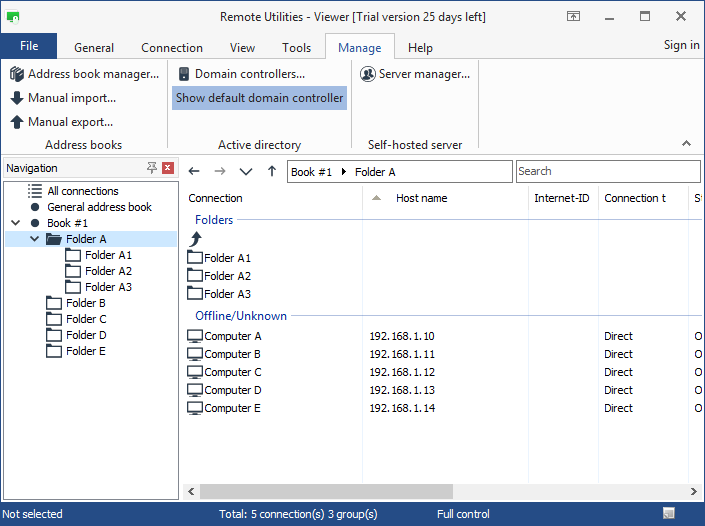
- You can see that your address book has been loaded into the Viewer. The Folder A contains 5 connections:
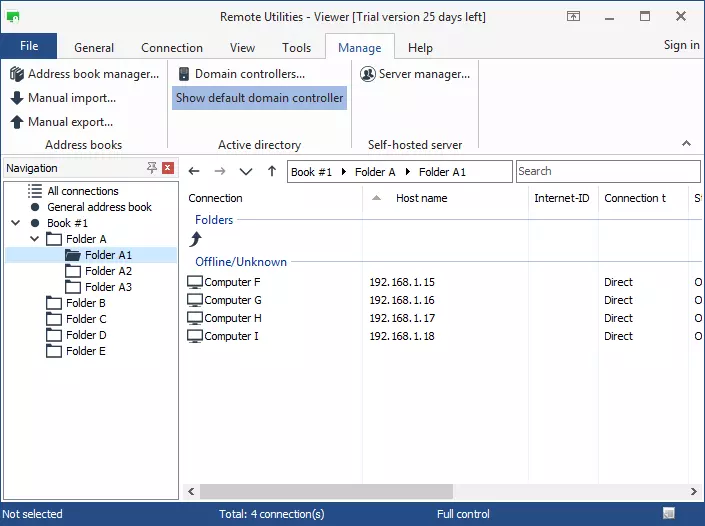
- The Folder A1 contains 4 connections:
Conclusion
Use the process described above to add as many records — folders and connections — to your address book as you like. You can create hierarchy and put records into folders by referencing them using the parent_group_id attribute.