Version 6.9: Host authorization
This post is about how we have improved Host authorization system and related security aspects in Remote Utilities 6.9. Feel free to visit the related community discussion to leave your comments.
We added new features and made significant changes to the way you authorize on remote Hosts. This includes the following:
- You can enable multiple authorization methods on a given Host;
- 2-step verification has been added;
- Host identity is now verified automatically using a certificate;
- Data encryption protocol has been changed to TLS 1.2.
Multiple authorization methods
In version 6.9 there are four distinct Host authorization methods that can be enabled separately:
- Single-password authorization;
- RU Security, formerly known as “Uses and access control”;
- Windows security;
- Custom (self-hosted) server security.
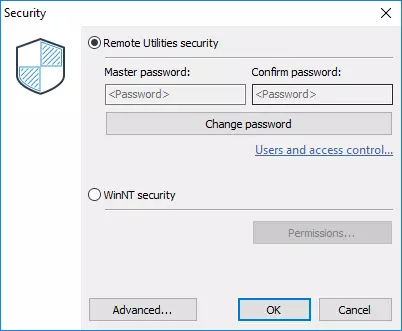
In earlier versions you had to select either Remote Utilities security (which also included single-password authorization) or Windows Security. The Custom Server Security authorization method had to be enabled in a different dialog window under the Advanced button.
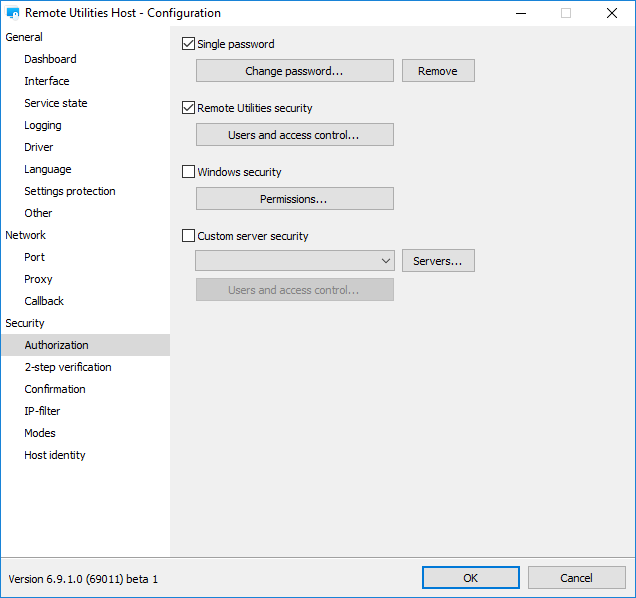
In version 6.9 you can enable and configure your authorization methods in one place:
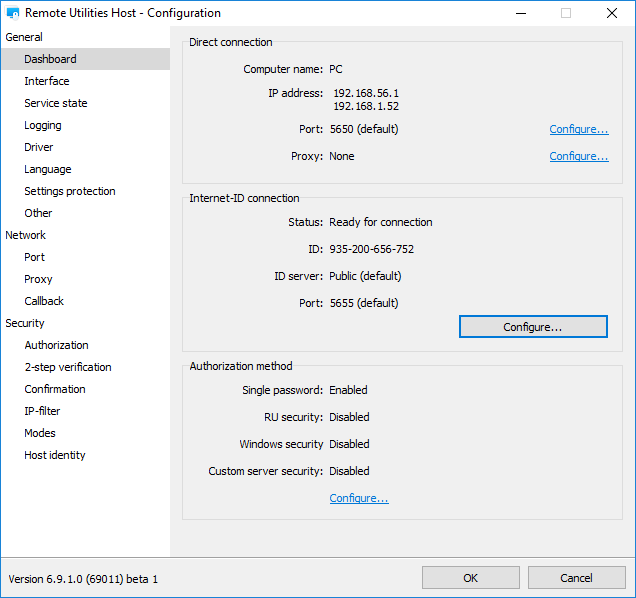
The authorization methods enabled for this Host are also shown in the Dashboard:
What happens if you enable multiple authorization methods on a given Host and then try to connect to that Host from your Viewer? How does the Viewer know which authorization method to use and what password prompt to show? The Viewer behavior can be set on the Authorization tab in connection properties:
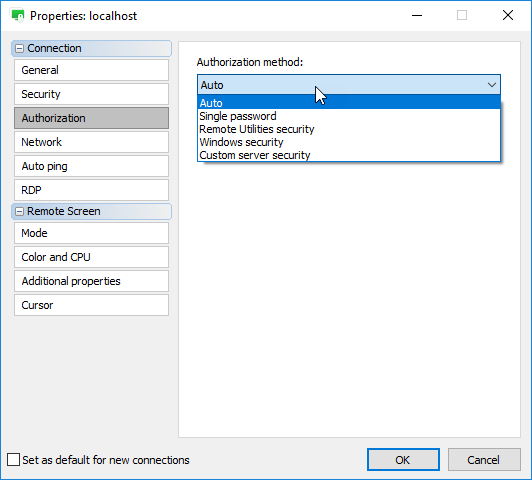
The “Auto” option which is set by default means that the Viewer automatically selects an authorization method in the order of priority:
- Custom Server Security (CSS)
- Windows Security
- RU Security
- Single-password authorization
Let’s say you enabled and configured all four authorization methods in the Host settings. If you have signed in on the server and attempt to connect to the Host, the Viewer will try Custom Server Security authorization.
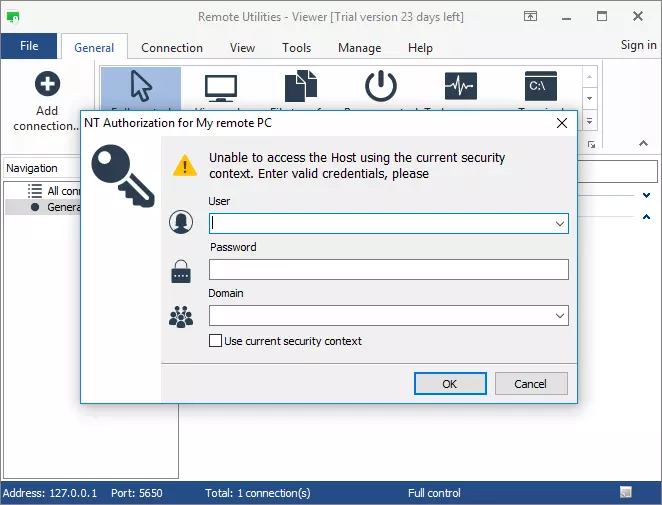
If you are not signed in on the server, Viewer will use the next authorization method in the list, which is Windows Security:
There are two things to keep in mind:
- Viewer only tries the authorization methods that are enabled on the Host side. In our example we enabled all the 4 methods. If some authorization method is not enabled in the Host settings, the Viewer will skip it when going through the list.
- Viewer does NOT automatically pick the next authorization method in the list if you provided wrong access credentials in the authorization prompt. If you want the Viewer to jump to a specific authorization mode, select it in the dropdown menu to override priority-based auto-selection.
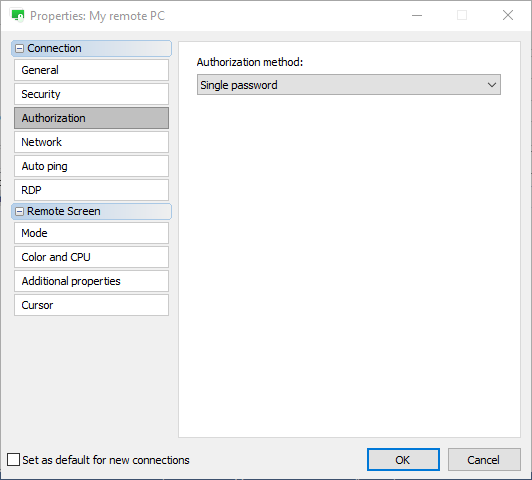
For example, you can force Viewer to always use single-password authorization for this Host by selecting the “Single password” option in the dropdown menu:
2-step verification
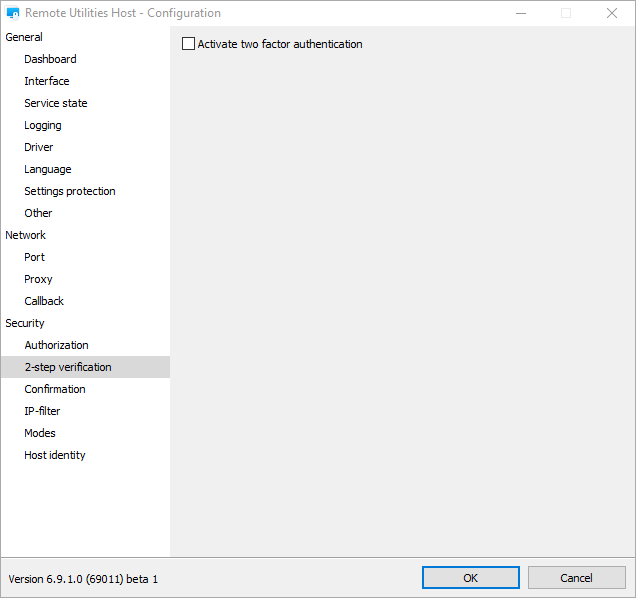
In version 6.9 you can enable 2-step verification (two-factor authentication) for your remote Hosts. Just open the Host settings, navigate to the “2-step verification” section and enable “Activate two-factor authentication”:
In the 2-step verification setup dialog scan the QR code, add a new record in your authenticator app and confirm setup by entering the security code:
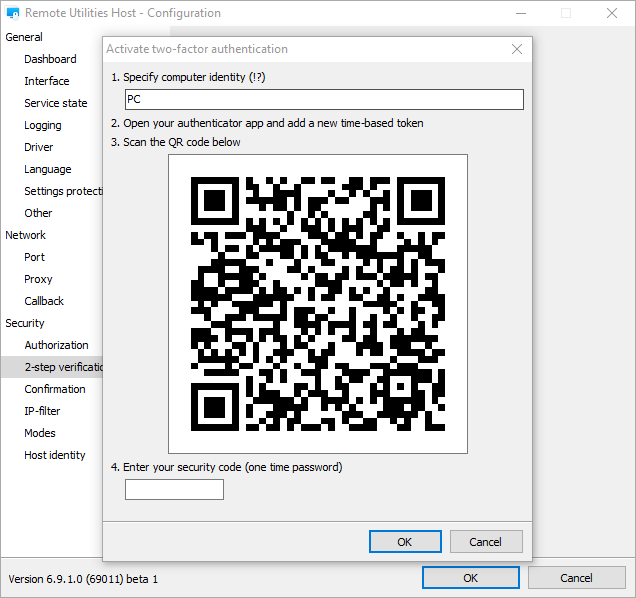
We recommend that you use either Google Authenticator or Microsoft Authenticator. Both apps are available on iOS and Android.
Now the next time you connect to that remote Host you will have to enter security code in addition to your regular authorization routine. 2-step verification adds another layer of security and guarantees that your Hosts are well protected from unauthorized access even if someone guessed or otherwise got possession of your access password.
When you build a custom Host installer using the MSI configurator, you are essentially creating a “master installer” (a template) from which to deploy your Hosts. If you enable 2-step verification during MSI configuration you’ll be using the same security code for all the Hosts that you deployed using your custom installer.
New Host identity checking
In version 6.9 a certificate-based Host identity check mechanism replaced the “shared secret” option. Unlike the “shared secret” option the new mechanism doesn’t require any configuration and works automatically.
When you connect to a remote Host the first time the Viewer will record and store information about the Host’s public key (certificate) and will run a verification process each time you connect to that Host.
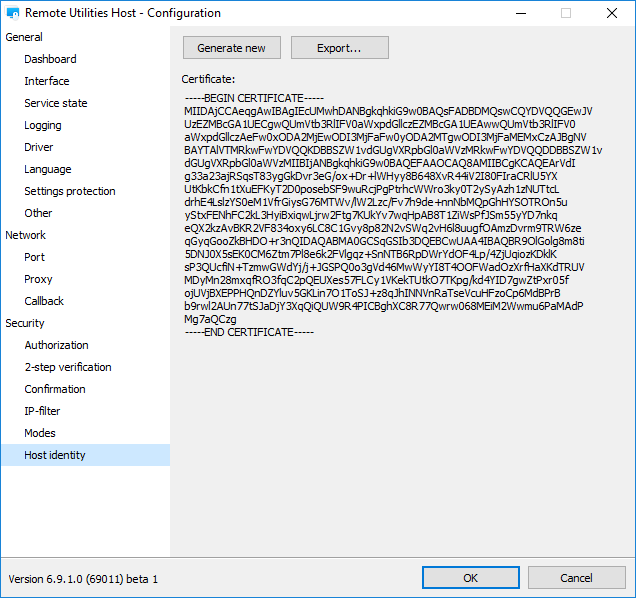
You can re-issue a certificate manually in “Host identity” section:
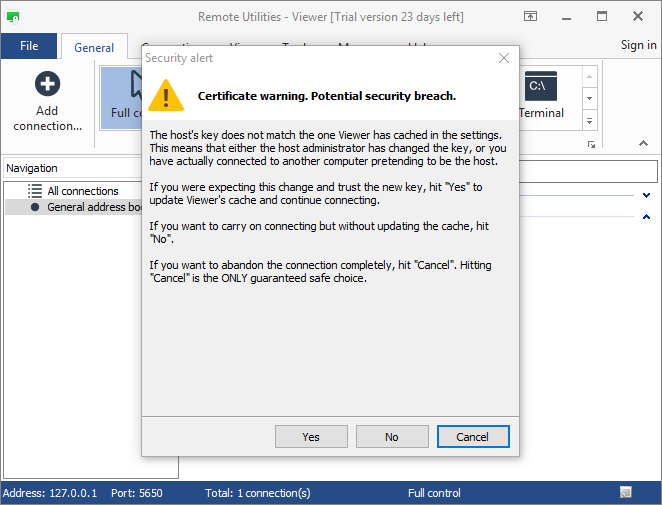
If the Host certificate was changed a warning message appears on the Viewer side when you connect to that Host the next time:
The "Shared secret" option will still remain in Viewer connection properties for compatibility with older Hosts.
If you have any questions or suggestions feel free to post in the community discussion.